

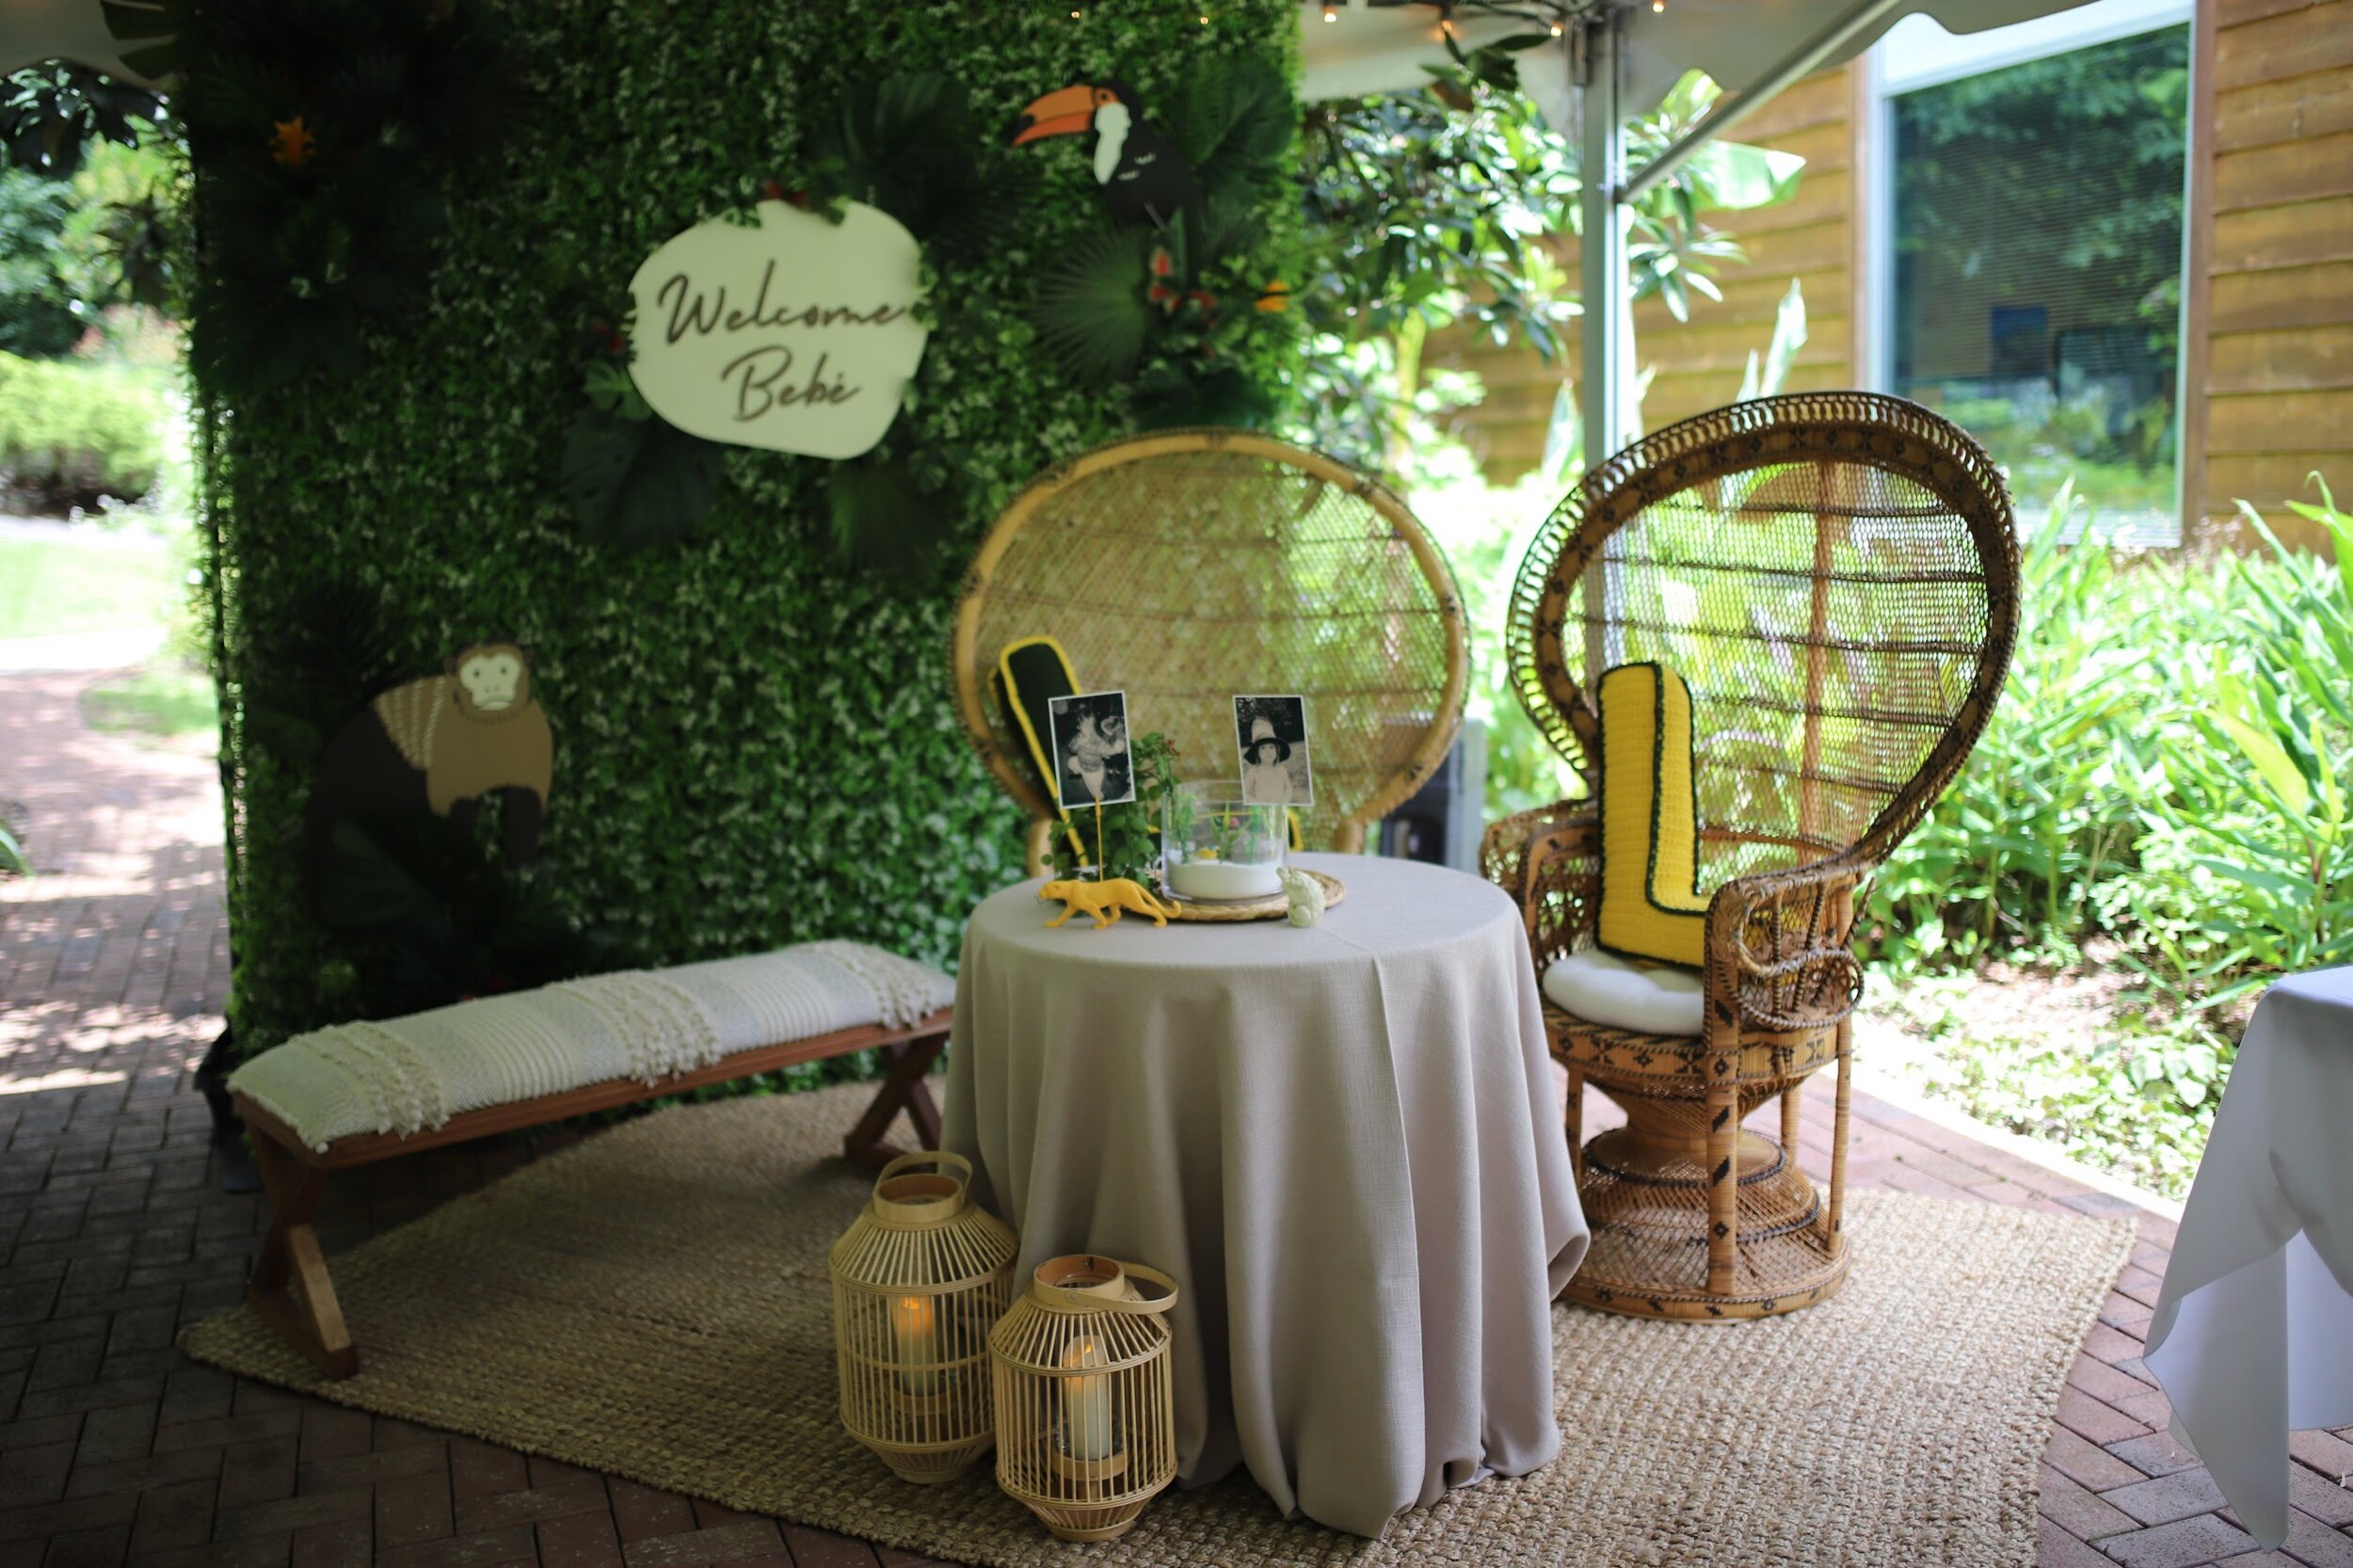
This backdrop was the biggest labor of love, and it was so worth it! We started our party planning and preparation about two and a half months before the shower, so what you see here is an evolution over many weeks. We set the backdrop up by the parents’ table, and there are so many amazing pictures of the soon-to-be-parents and their guests with this as a surround. This DIY in particular I wanted to write about, since we learned so much in the process, in hopes it helps others creating a similar piece. All the photos from the baby shower shown here are by Gabe Romero.
We saw a ton of boxwood panel backdrops on Pinterest while we were searching for ideas, and this wedding arch from Inspired by This gave us more ideas for additions to the wall, specifically large sprays of tropical greenery around the perimeter.
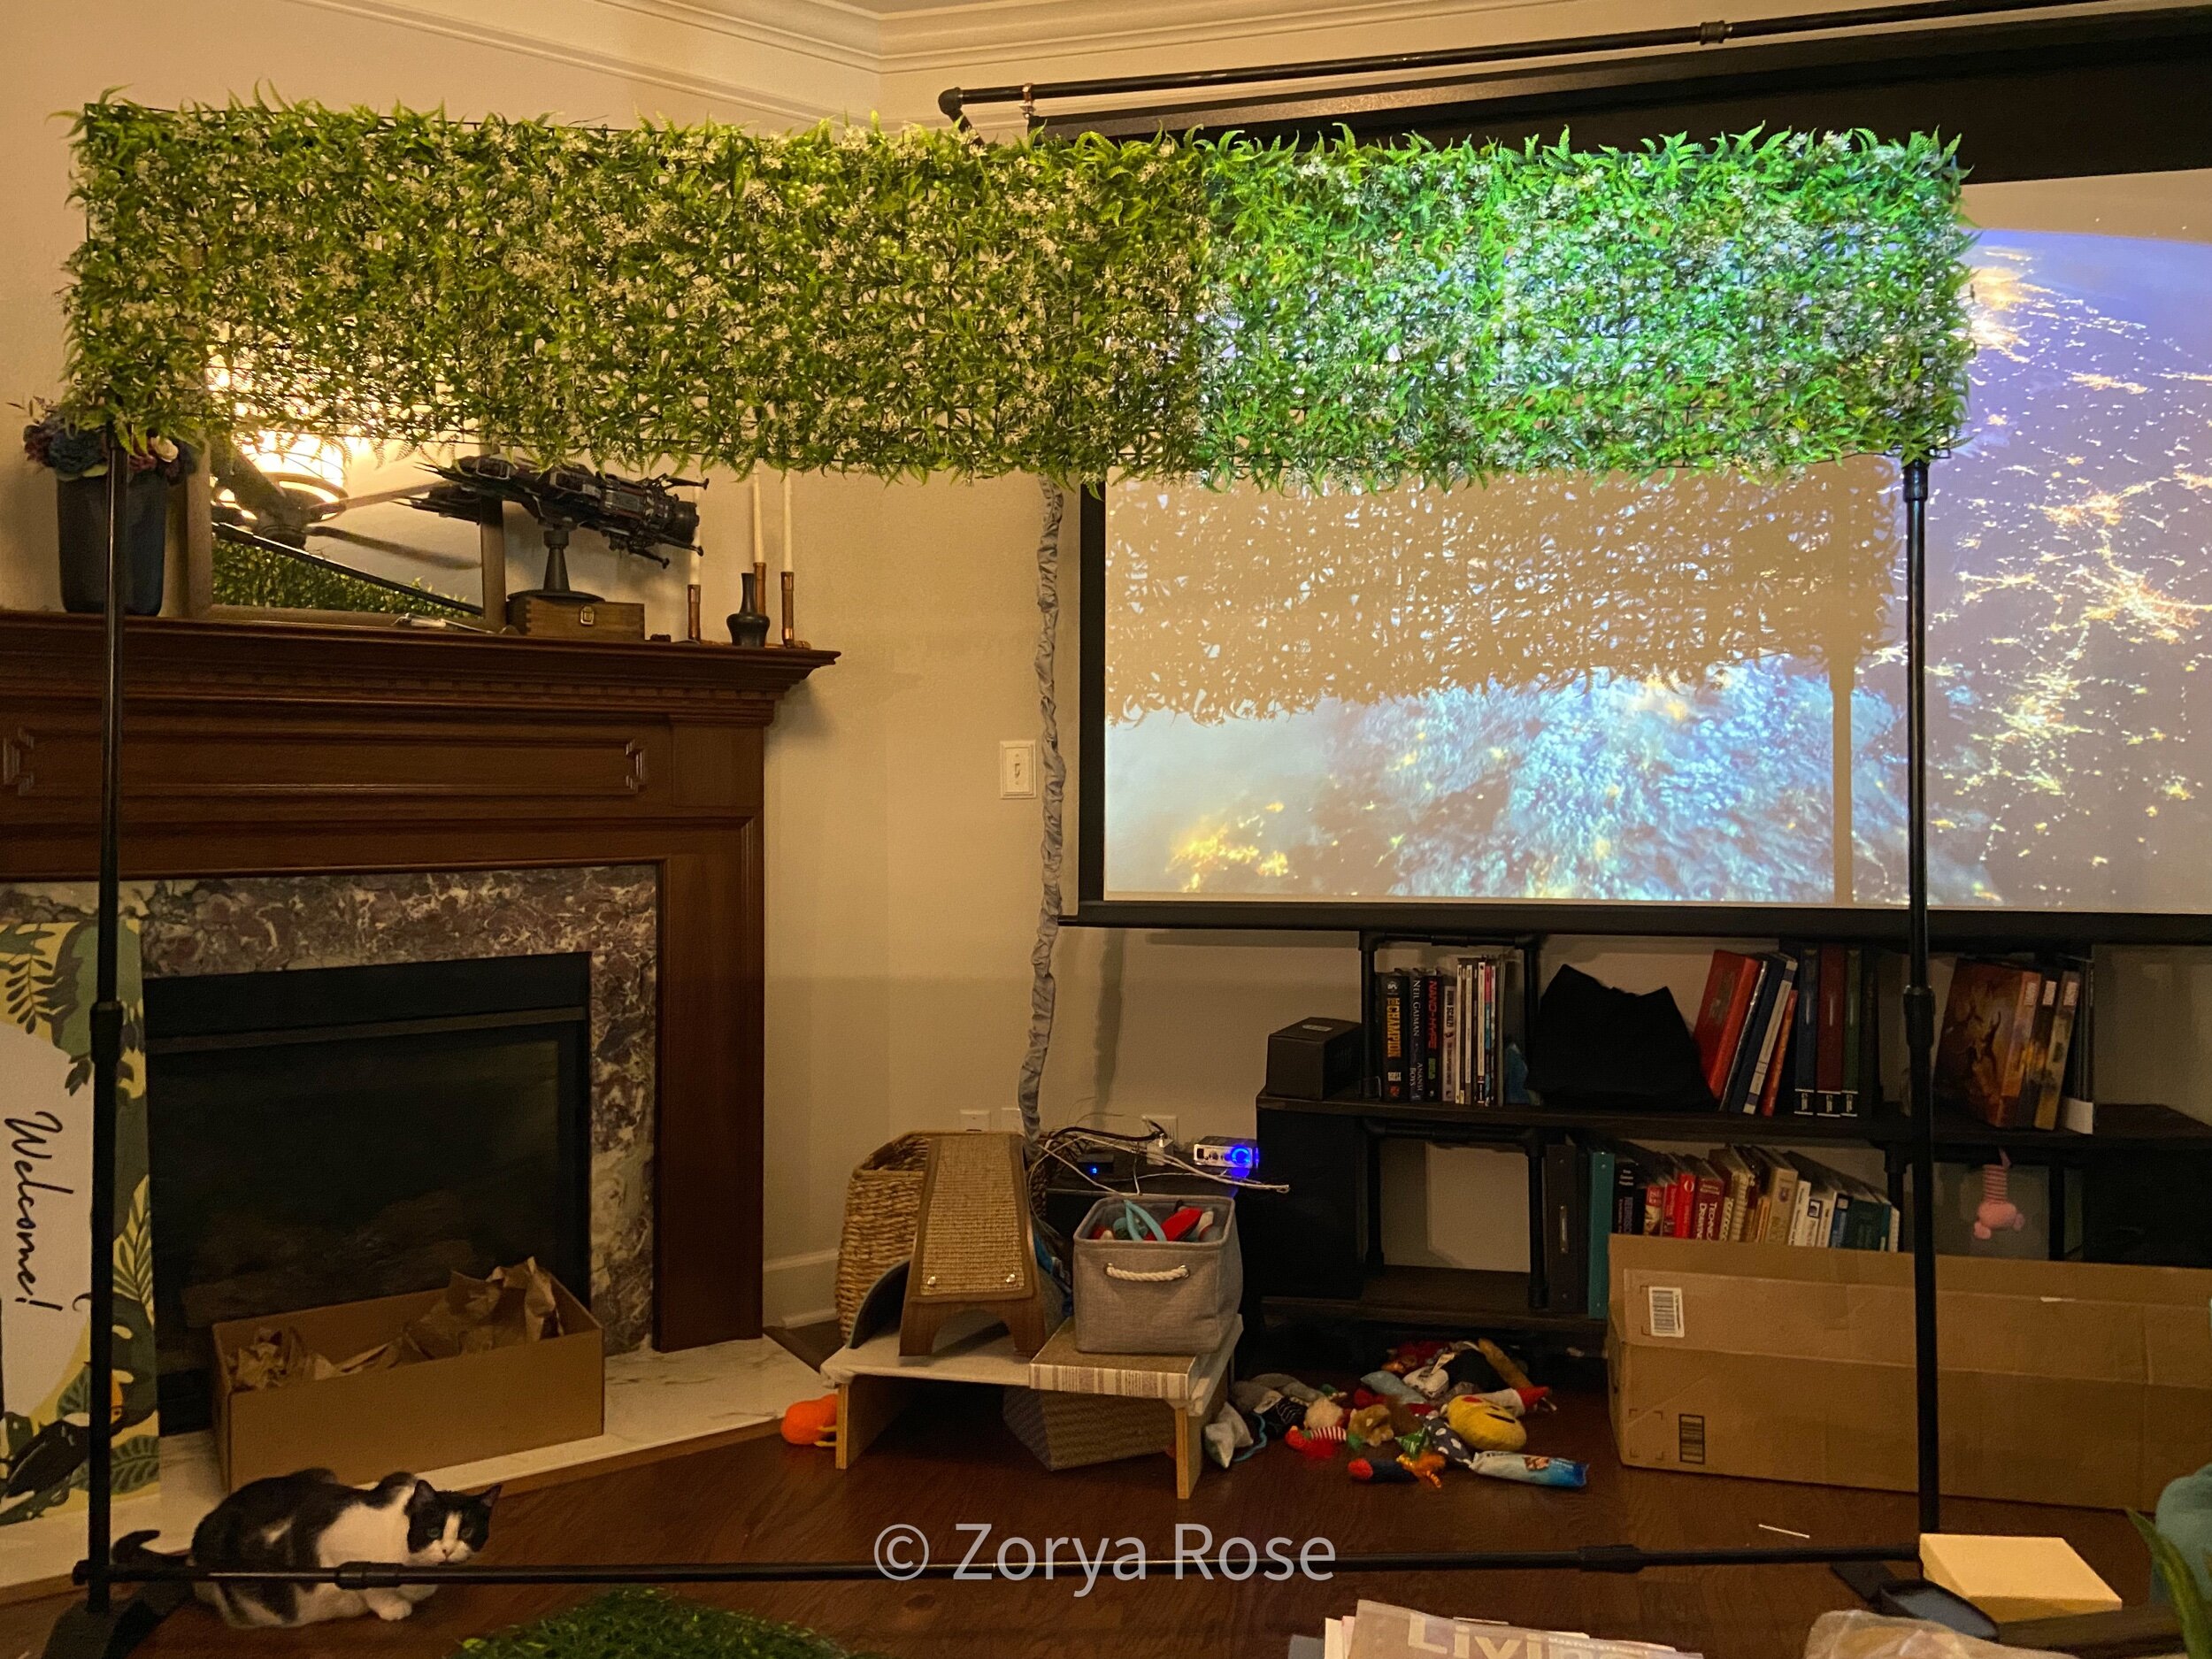
We decided on an 8’x8’ display, and purchased boxes of fern and clover greenery panels from eFavorMart. This frame was from Amazon, and while it was easier than DIYing a frame to start, I wouldn’t recommend this frame in particular. We ended up doing a lot to help support the weight of the backdrop, and then the frame still bent during the drive home.
We attached the panels with green twist ties for the first little bit as it was easy to reverse if we needed to change something. Later on, we switched to black zip ties which felt like the sturdier option.
Side note: this is when we discovered our cat Moxxi’s love for faux foliage. She had a lot of fun hiding behind the wall or making beds out of extra leaves we had around.

We started out with the frame not extended fully so we could attach panels to the top, but this is it in its full eight foot height. One trick we learned was to attach a whole row of panels end to end before doing the more strenuous work of attaching it vertically. That much greenery is heavy!
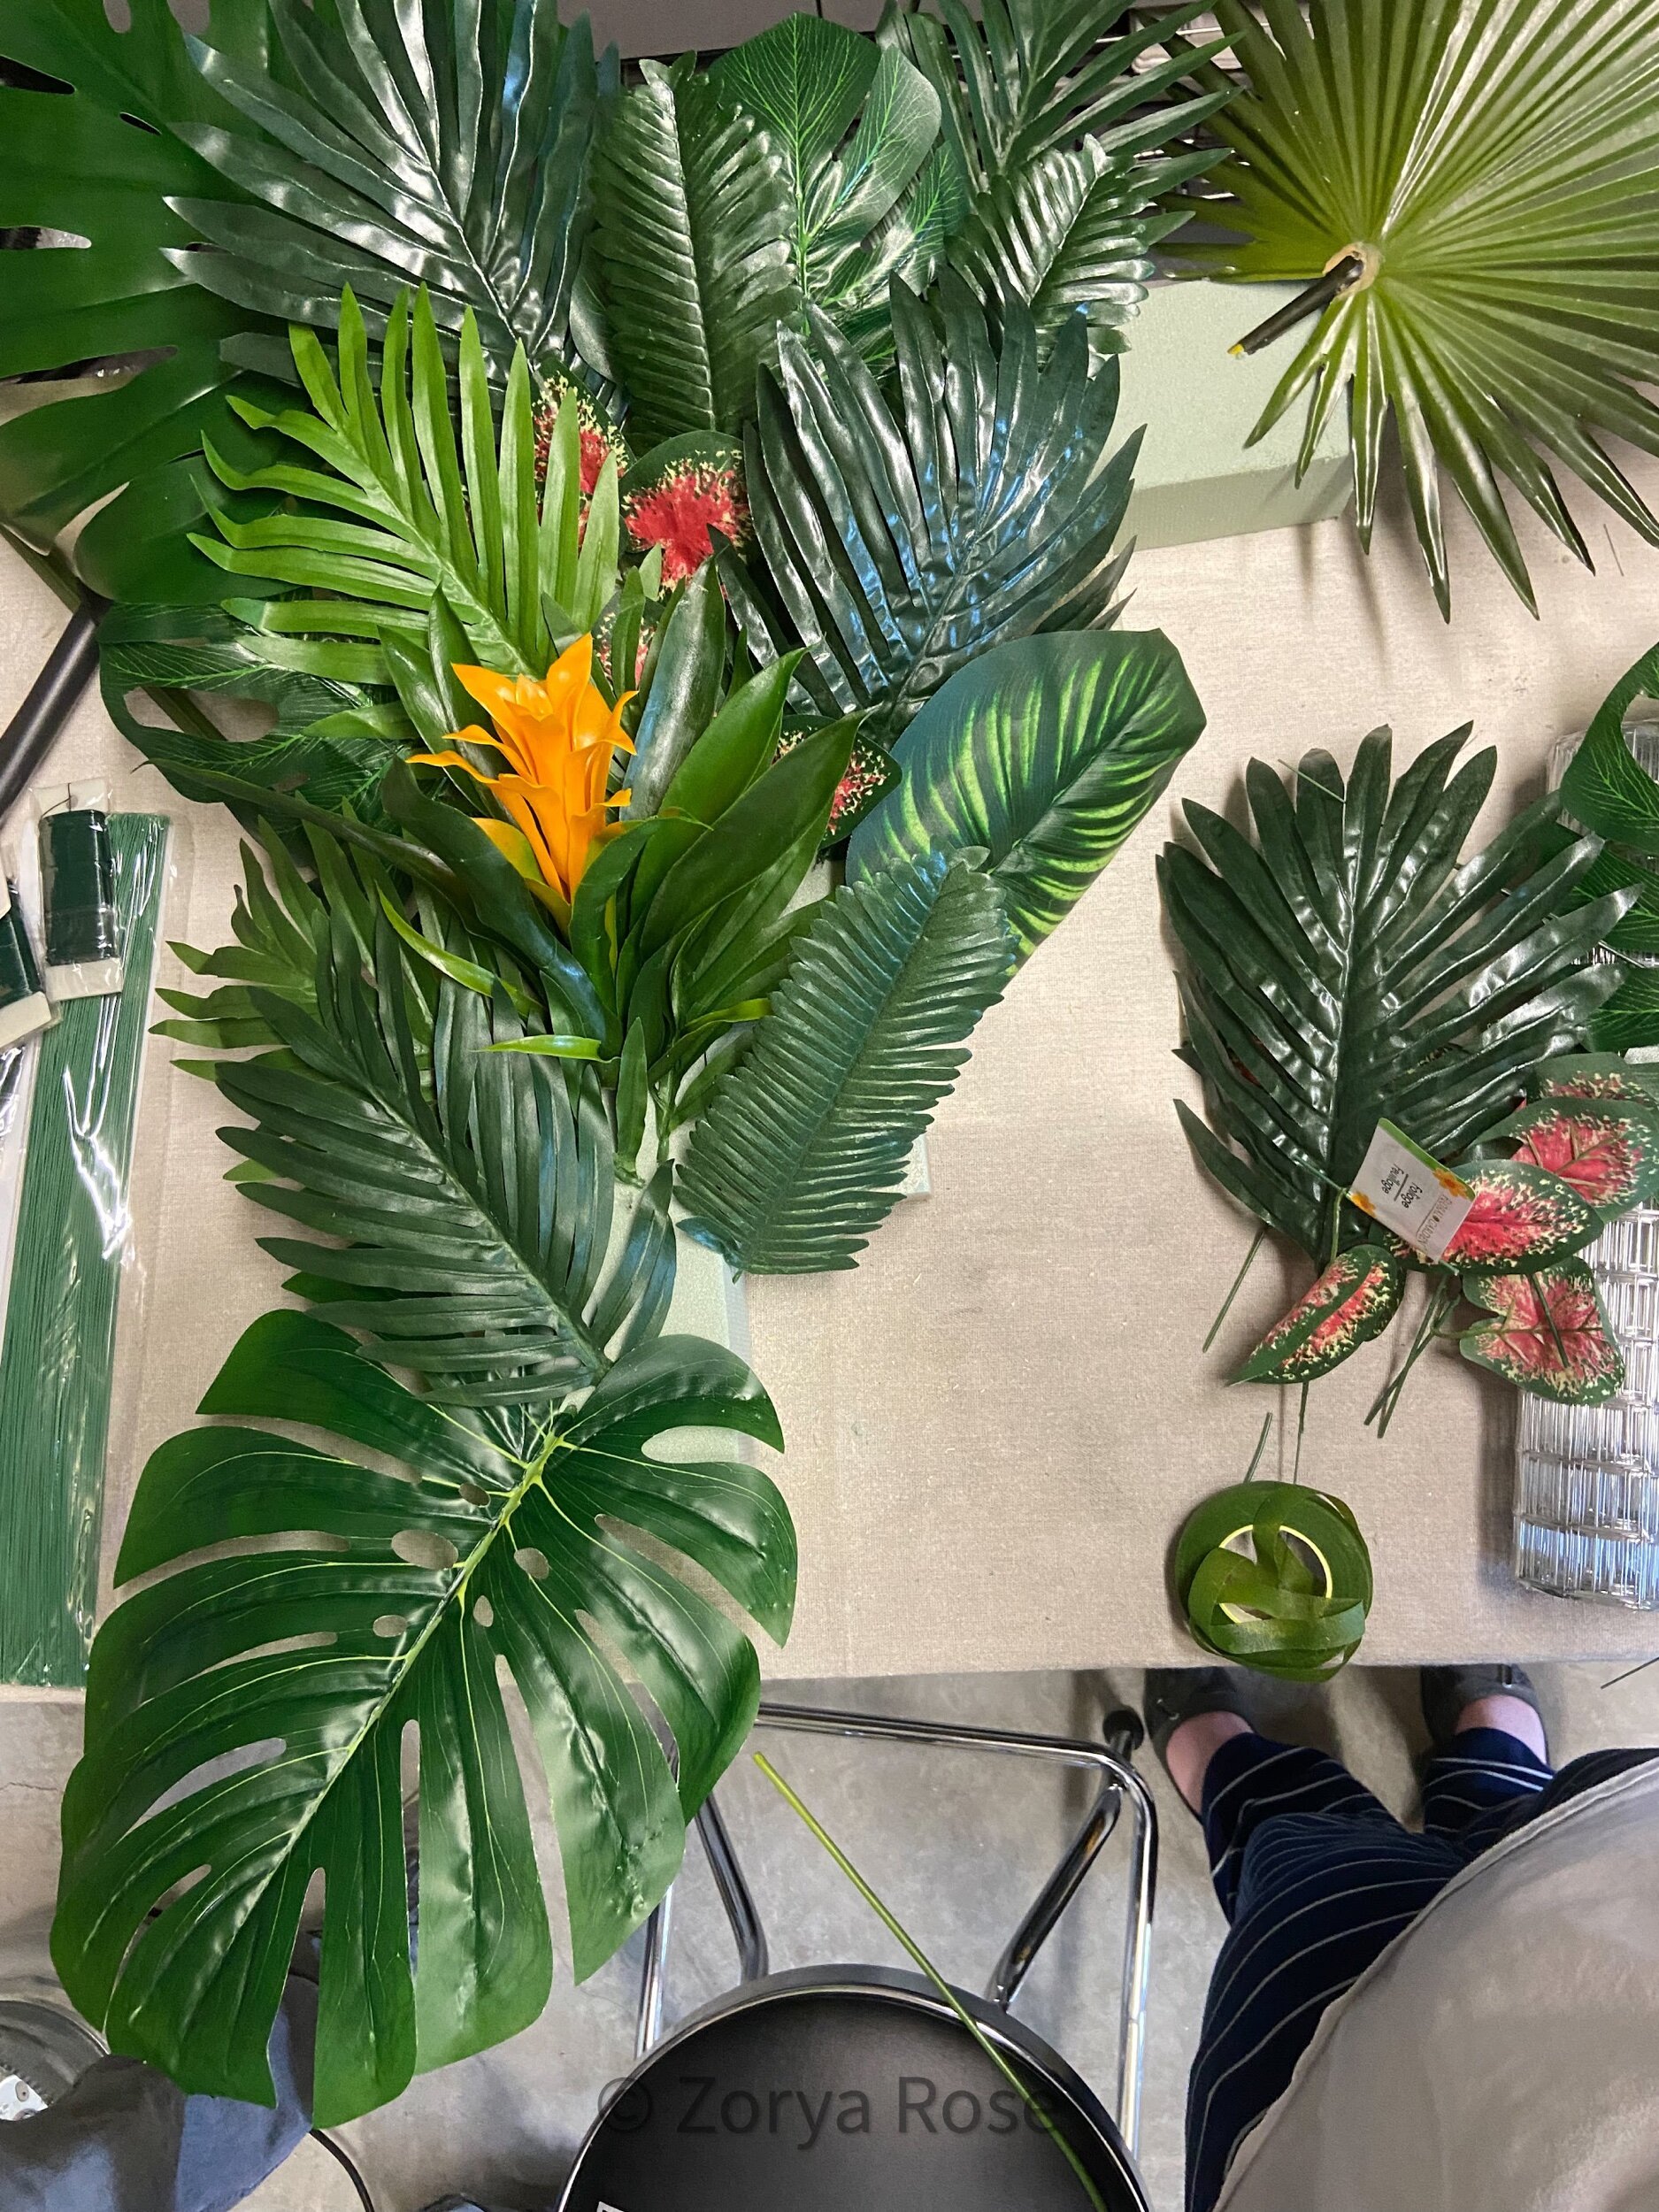
For our foliage additions, we built rough shapes out of floral foam. We glued blocks together with wood glue, reinforcing the structure with dowels driven through the whole assembly. We accumulated a lot of faux greenery throughout this process:
Large “showcase” leaves like the large monstera and palm leaves. These were probably the biggest part of the budget, but places like IKEA, Target, and Party City had pretty reasonable prices of around $5-$8 per leaf. The yellow flowers also fall into this category, and I’m glad we added them for more color variety.
Medium-size background leaves like the smaller palm leaves and narrow leaves. These give interesting shapes to your greenery add-ones without being as expensive as the largest leaves, but they’re sometimes not as high-quality or detailed so I would often layer them to make that less of an issue. Many of these were from Amazon, but I did buy several large ferns from Michael’s and cut individual leaves off to use.
- Small filler leaves, like the red leaves here. These are for tucking in between the other types of leaves, to hide the floral foam and add smaller details. For these, Dollar Tree was the champion. We could get 30 bunches per box at $1 per bunch, and each bunch could be clipped into multiple sprigs. Plus, the details and variety of the leaves was pretty great.
As our work progressed on the wall, we also added some trailing vines we clipped from larger pieces of greenery. It’s definitely a fair amount of trial and error, but once you assemble a few of these blocks, it gets a lot easier to arrange your leaves.
To shop a lot of our greenery picks, you can check out our tropical baby shower shopping list page!
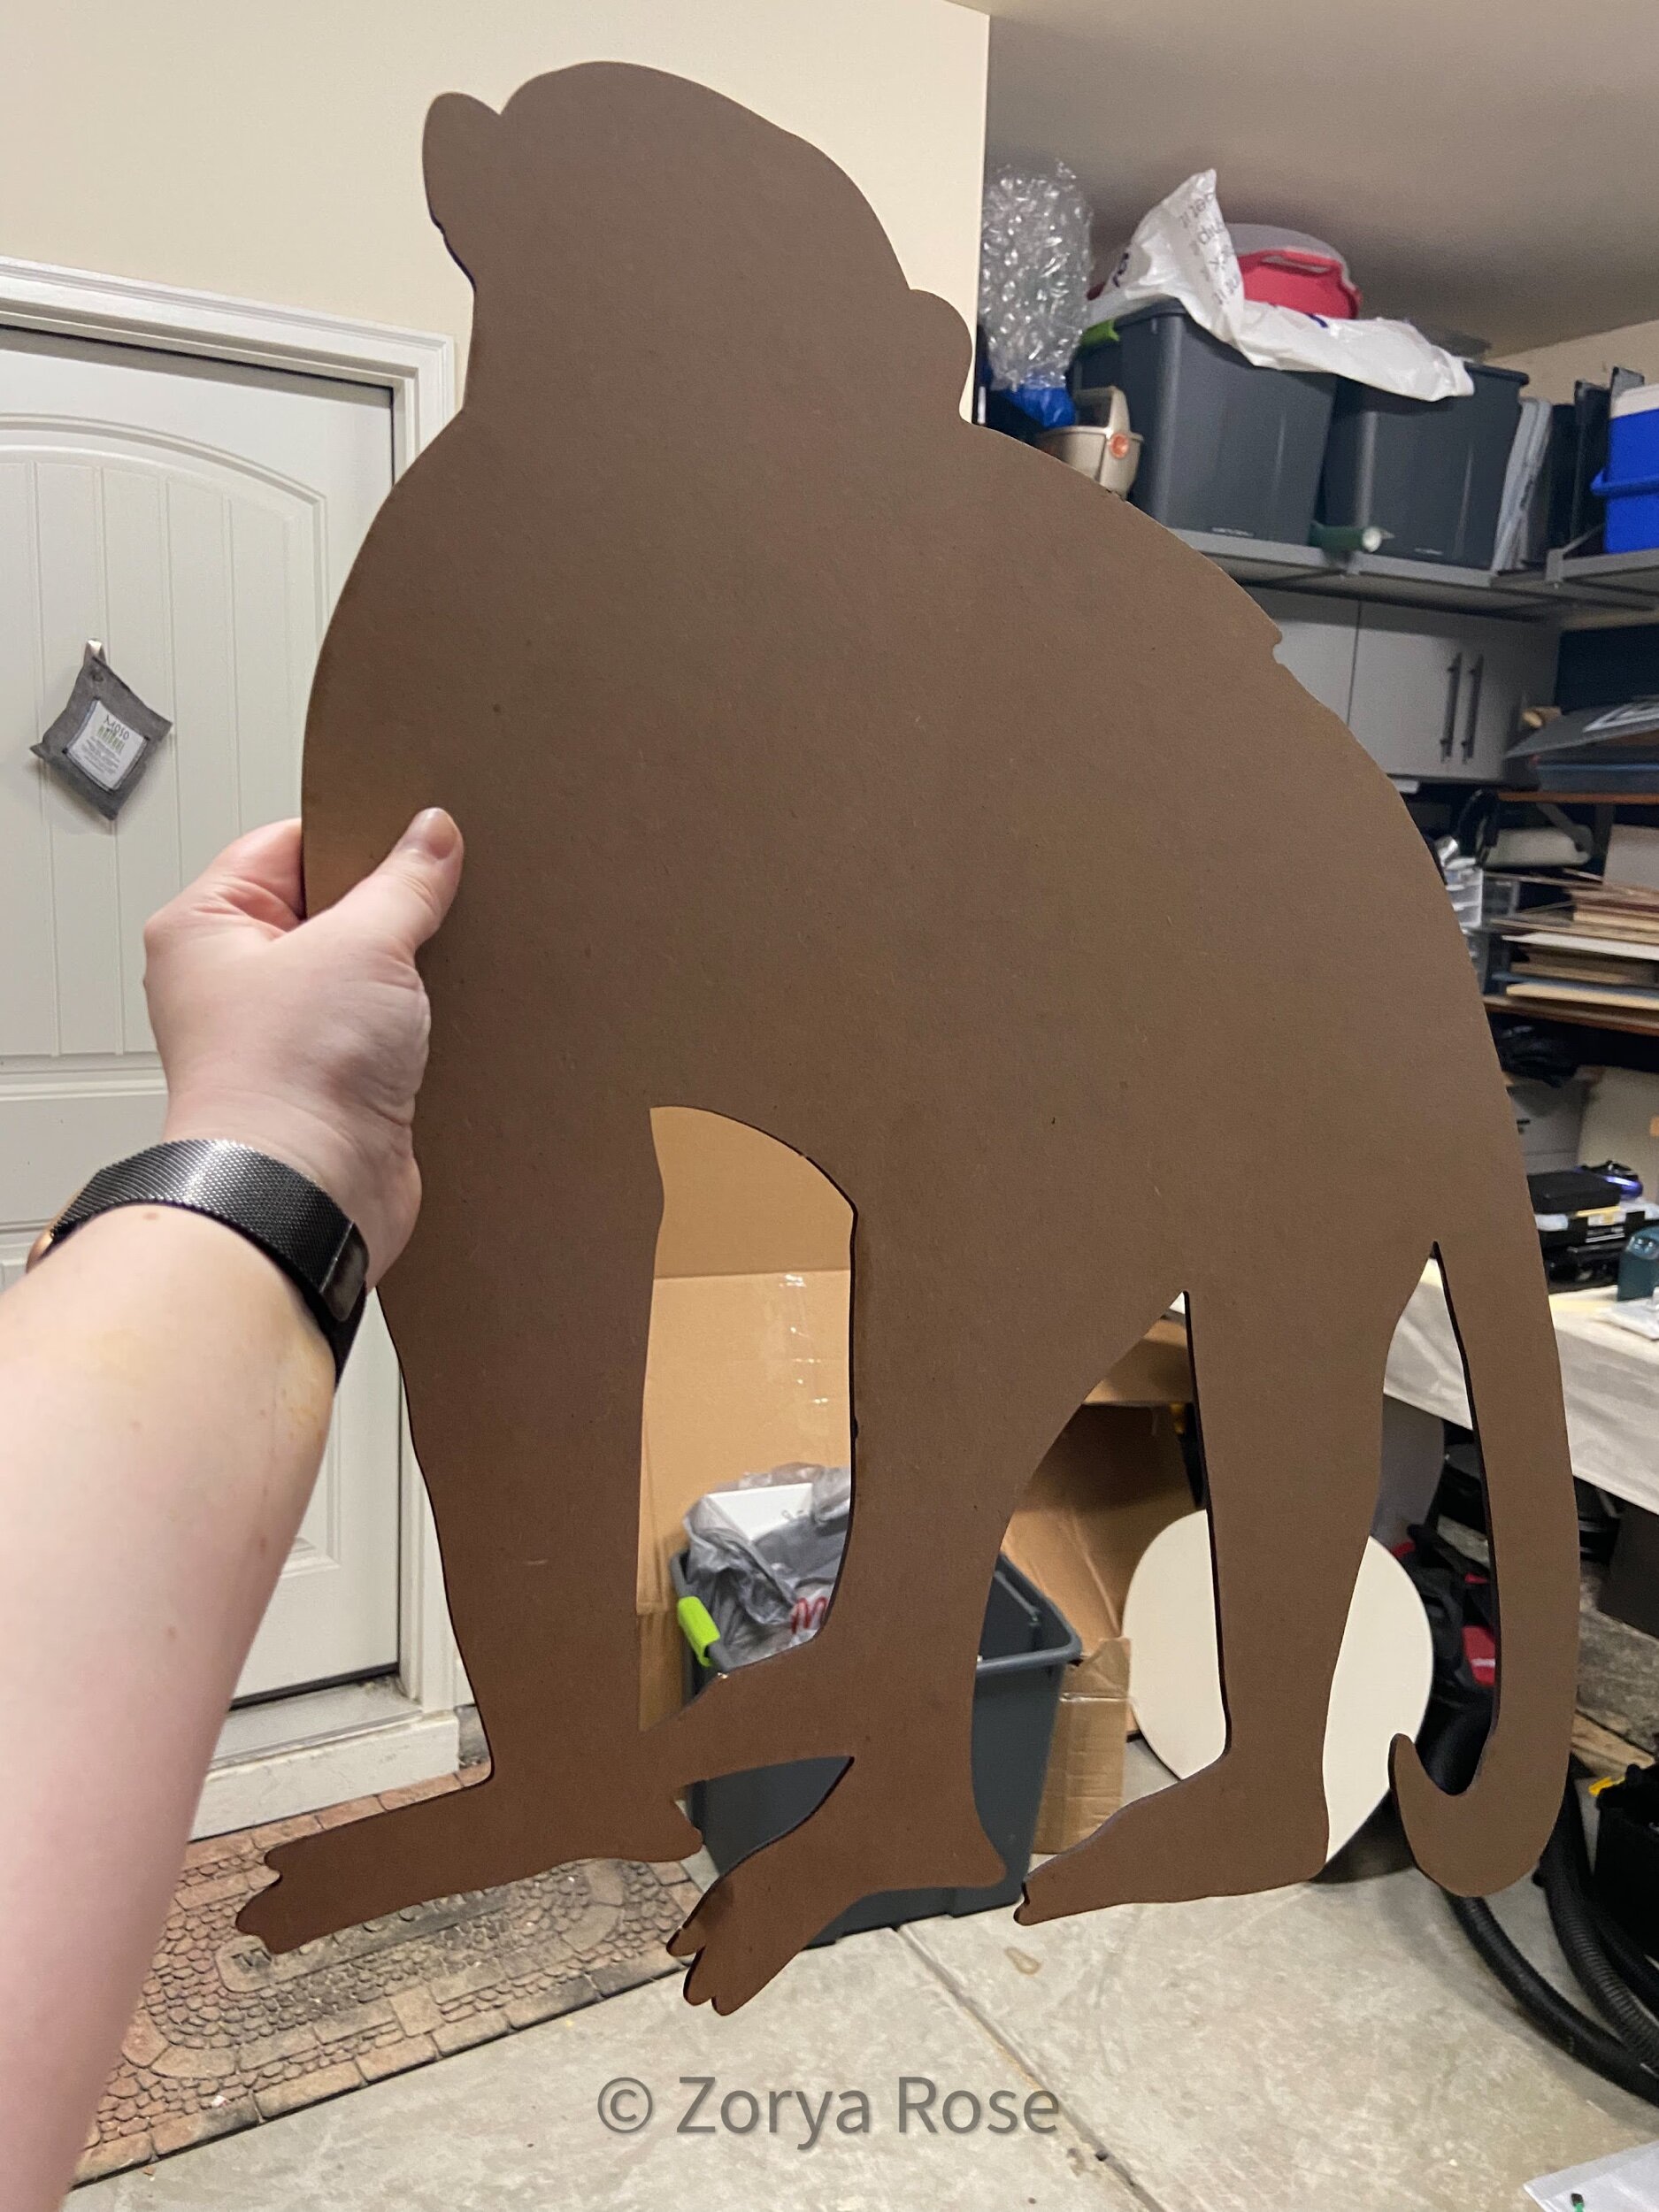
Even starting from the invitation, rainforest animals featured heavily in our theme, so we wanted to carry those through to the backdrop as well. We began by taking the clip art from Canva I had used for the paper products into Adobe Illustrator and creating svgs. We then laser-cut 1/8” MDF into layers for each section of the animals.
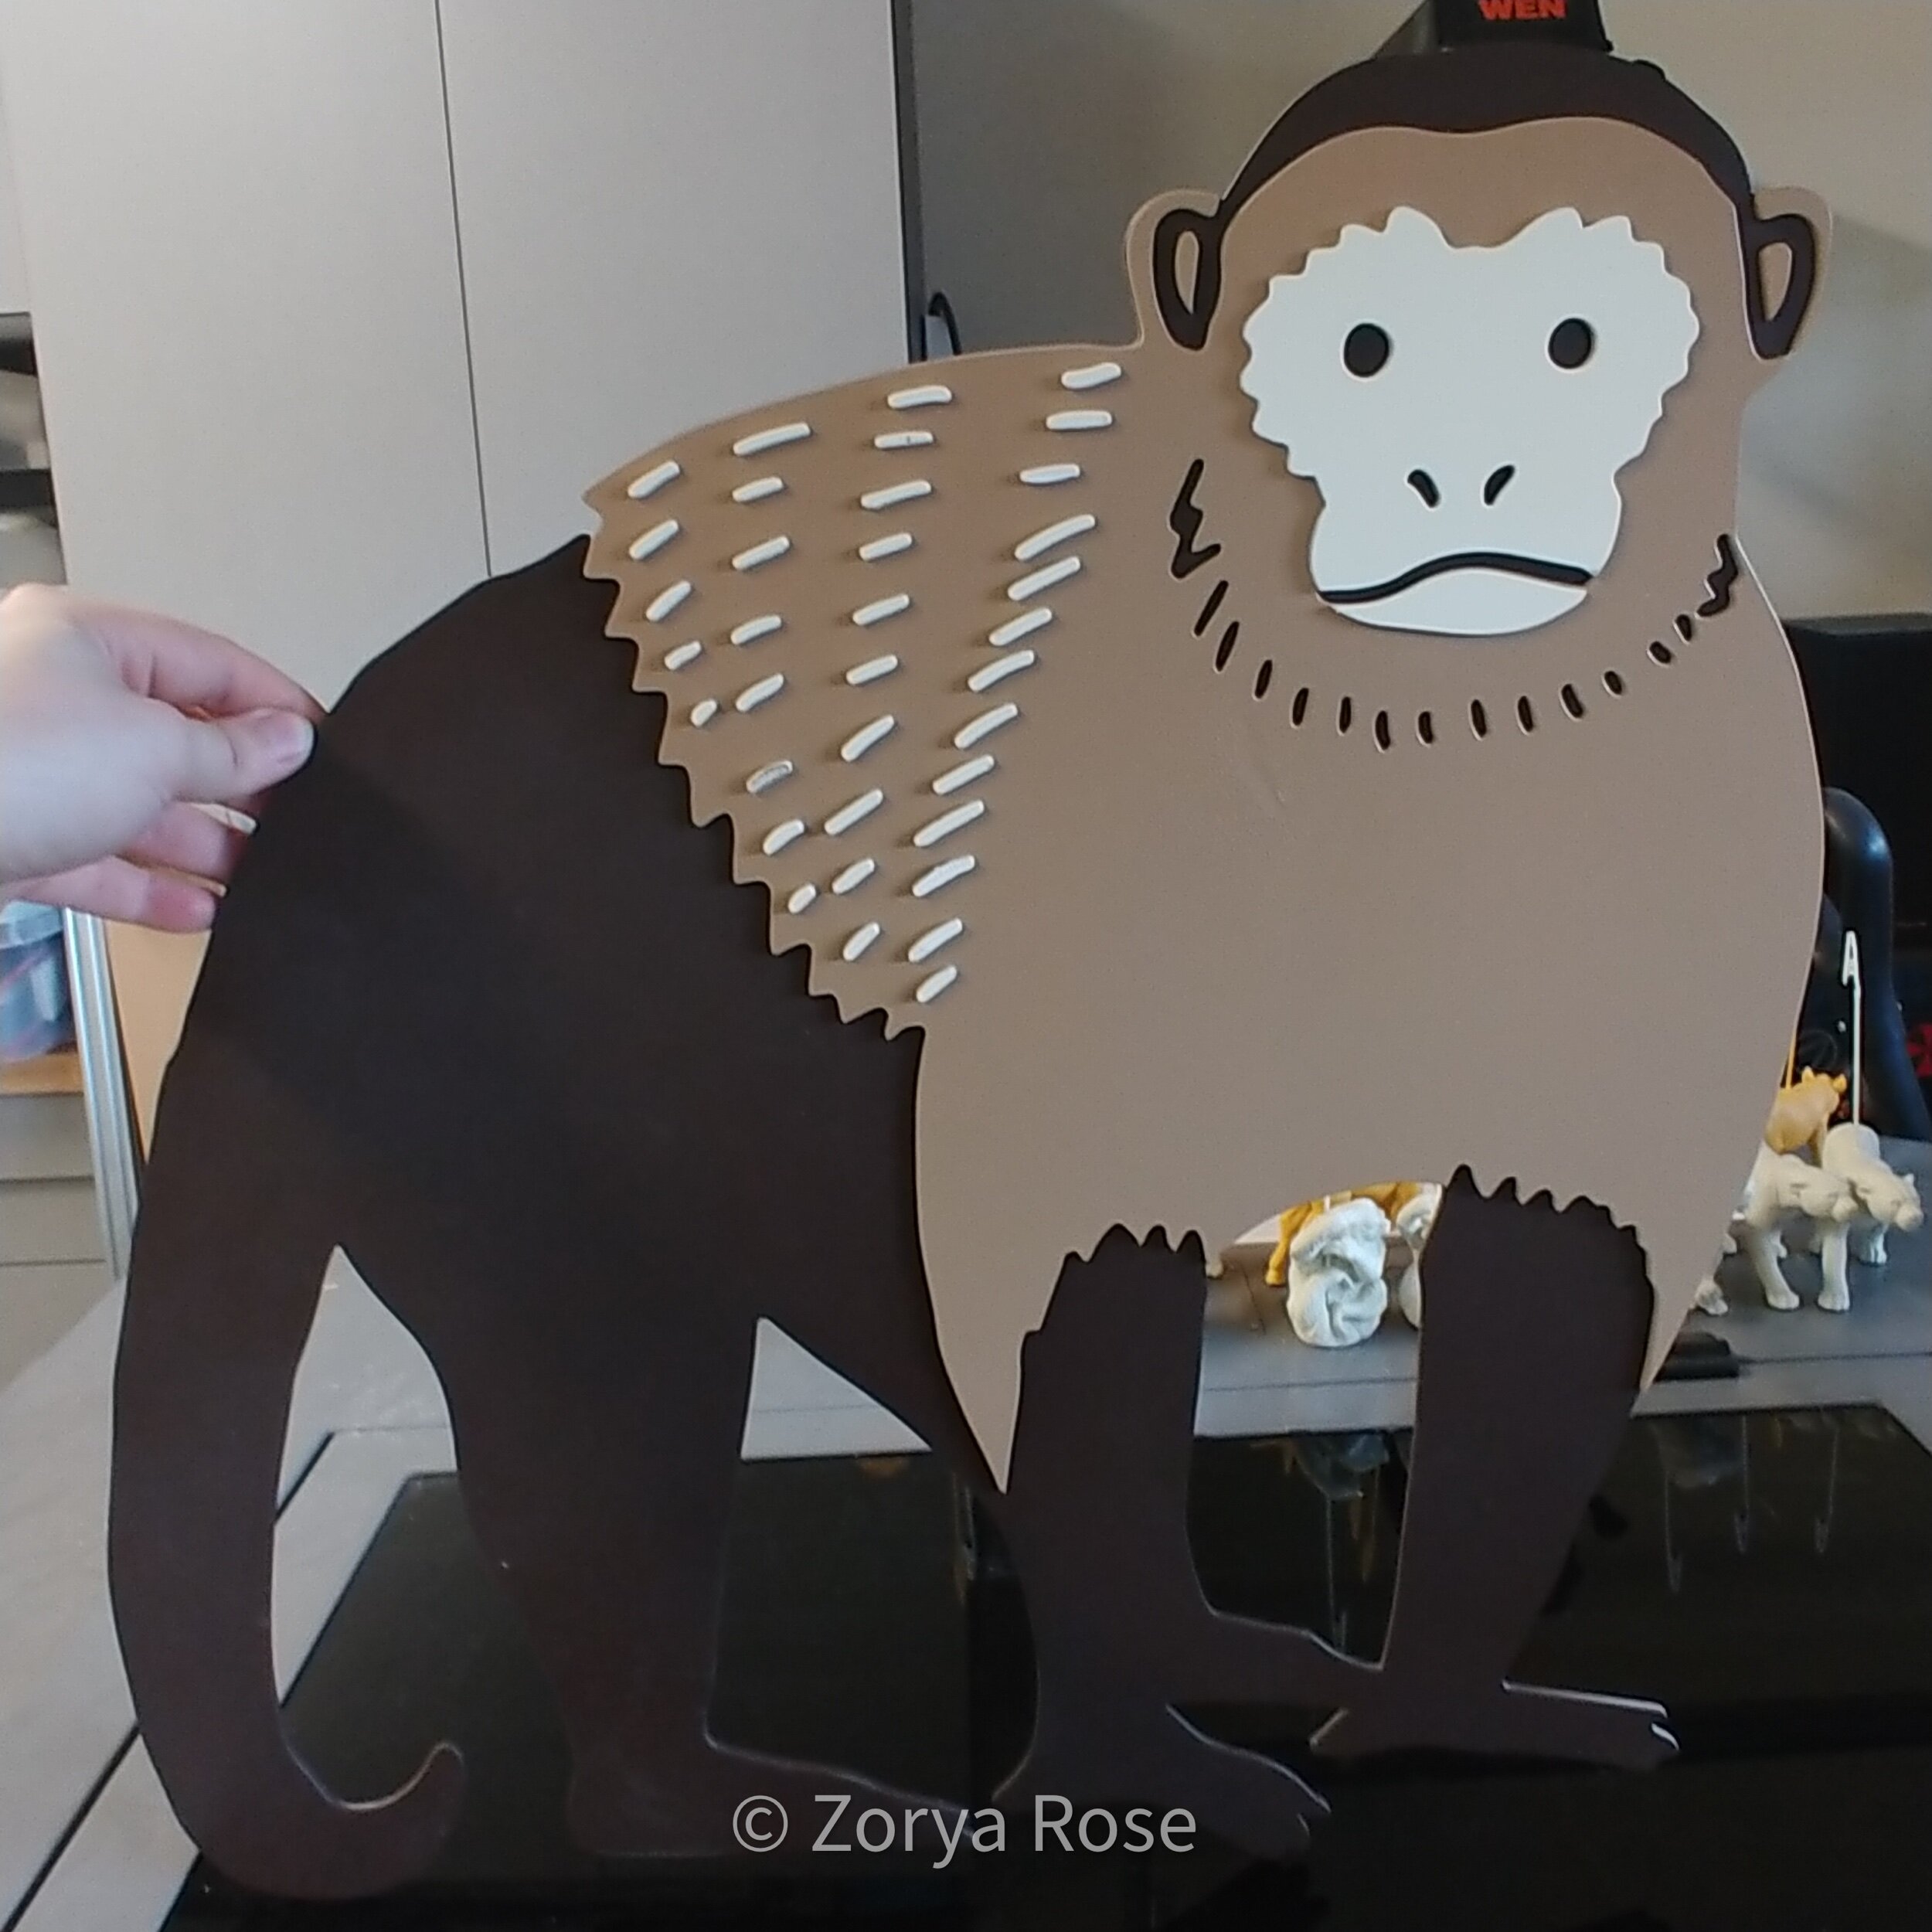
We then painted each section individually and glued them into place with wood glue to create the finished animal sign. One thing to note is that primer is key when using MDF. Without it, we had a really coarse and uneven finish as the material soaked up the paint. A can of Zinsser spray primer did the trick, and we were able to spray paint with no issues with that as the base coat.
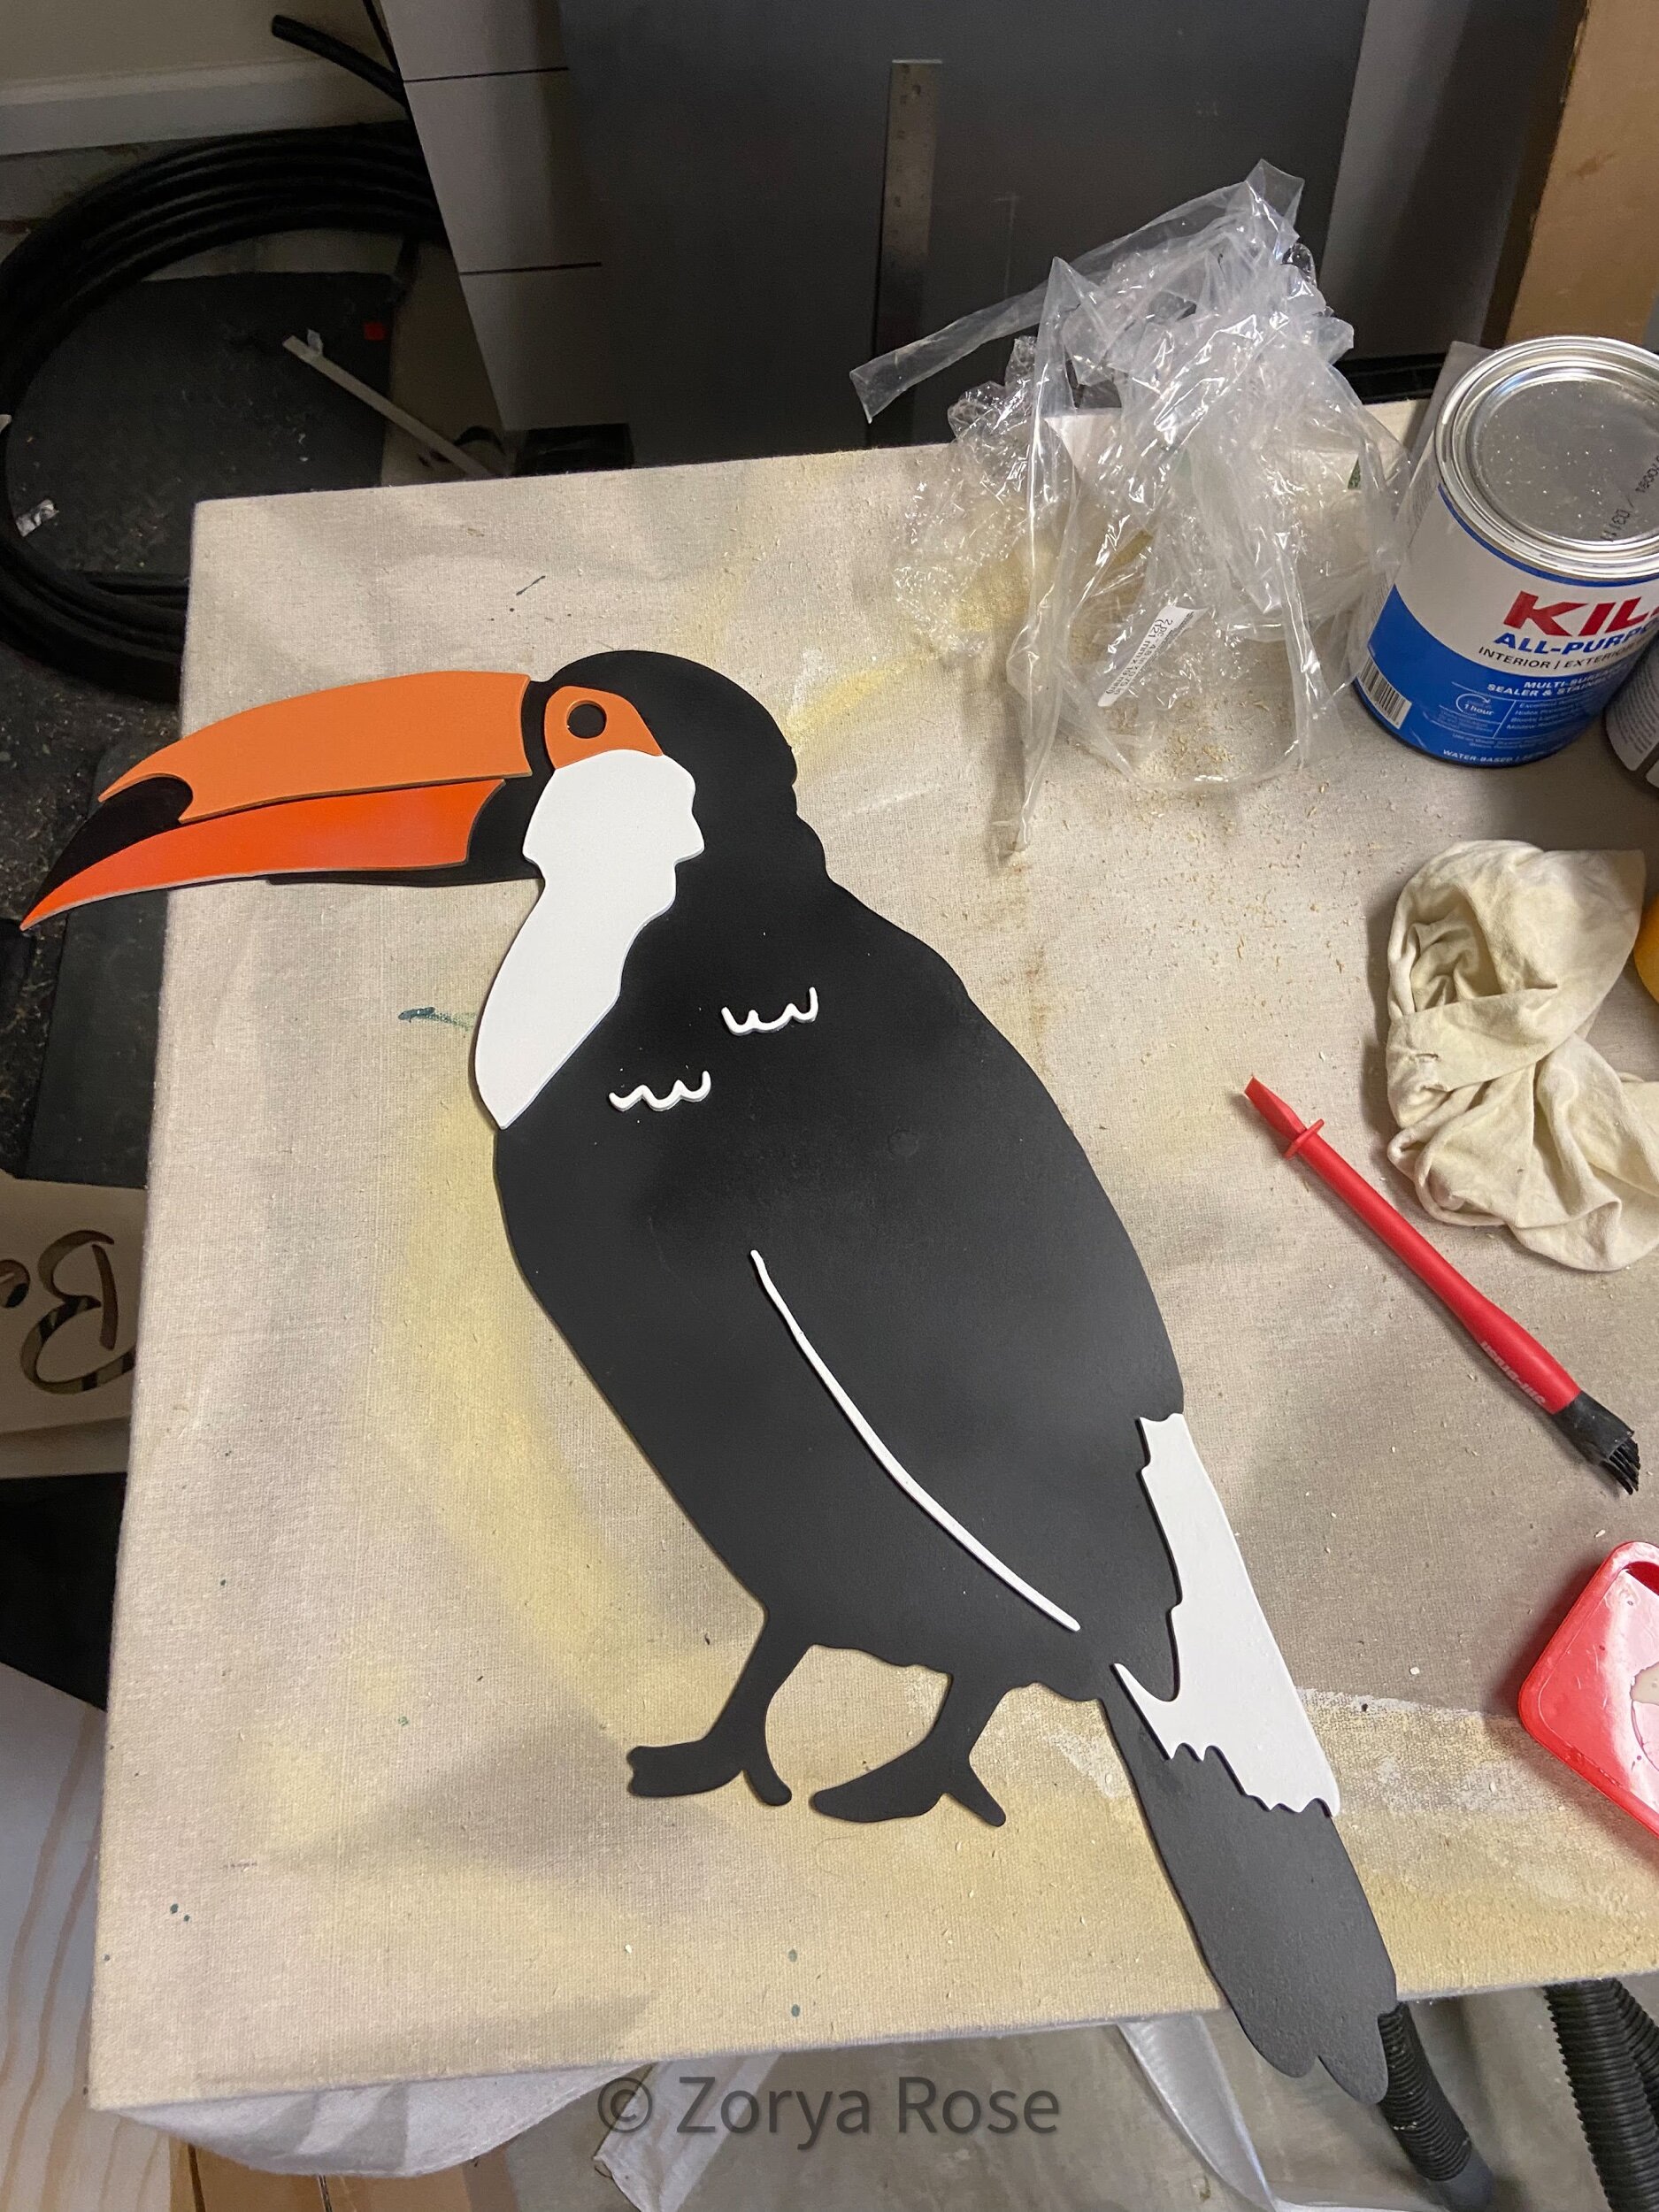
We repeated the same process for this toucan. Here you can also see a tin of Kilz primer which did also seal the MDF well, but we preferred the spray process and finish. A silicone glue brush and tray (affiliate link) made the glue-up process and clean-up super simple.
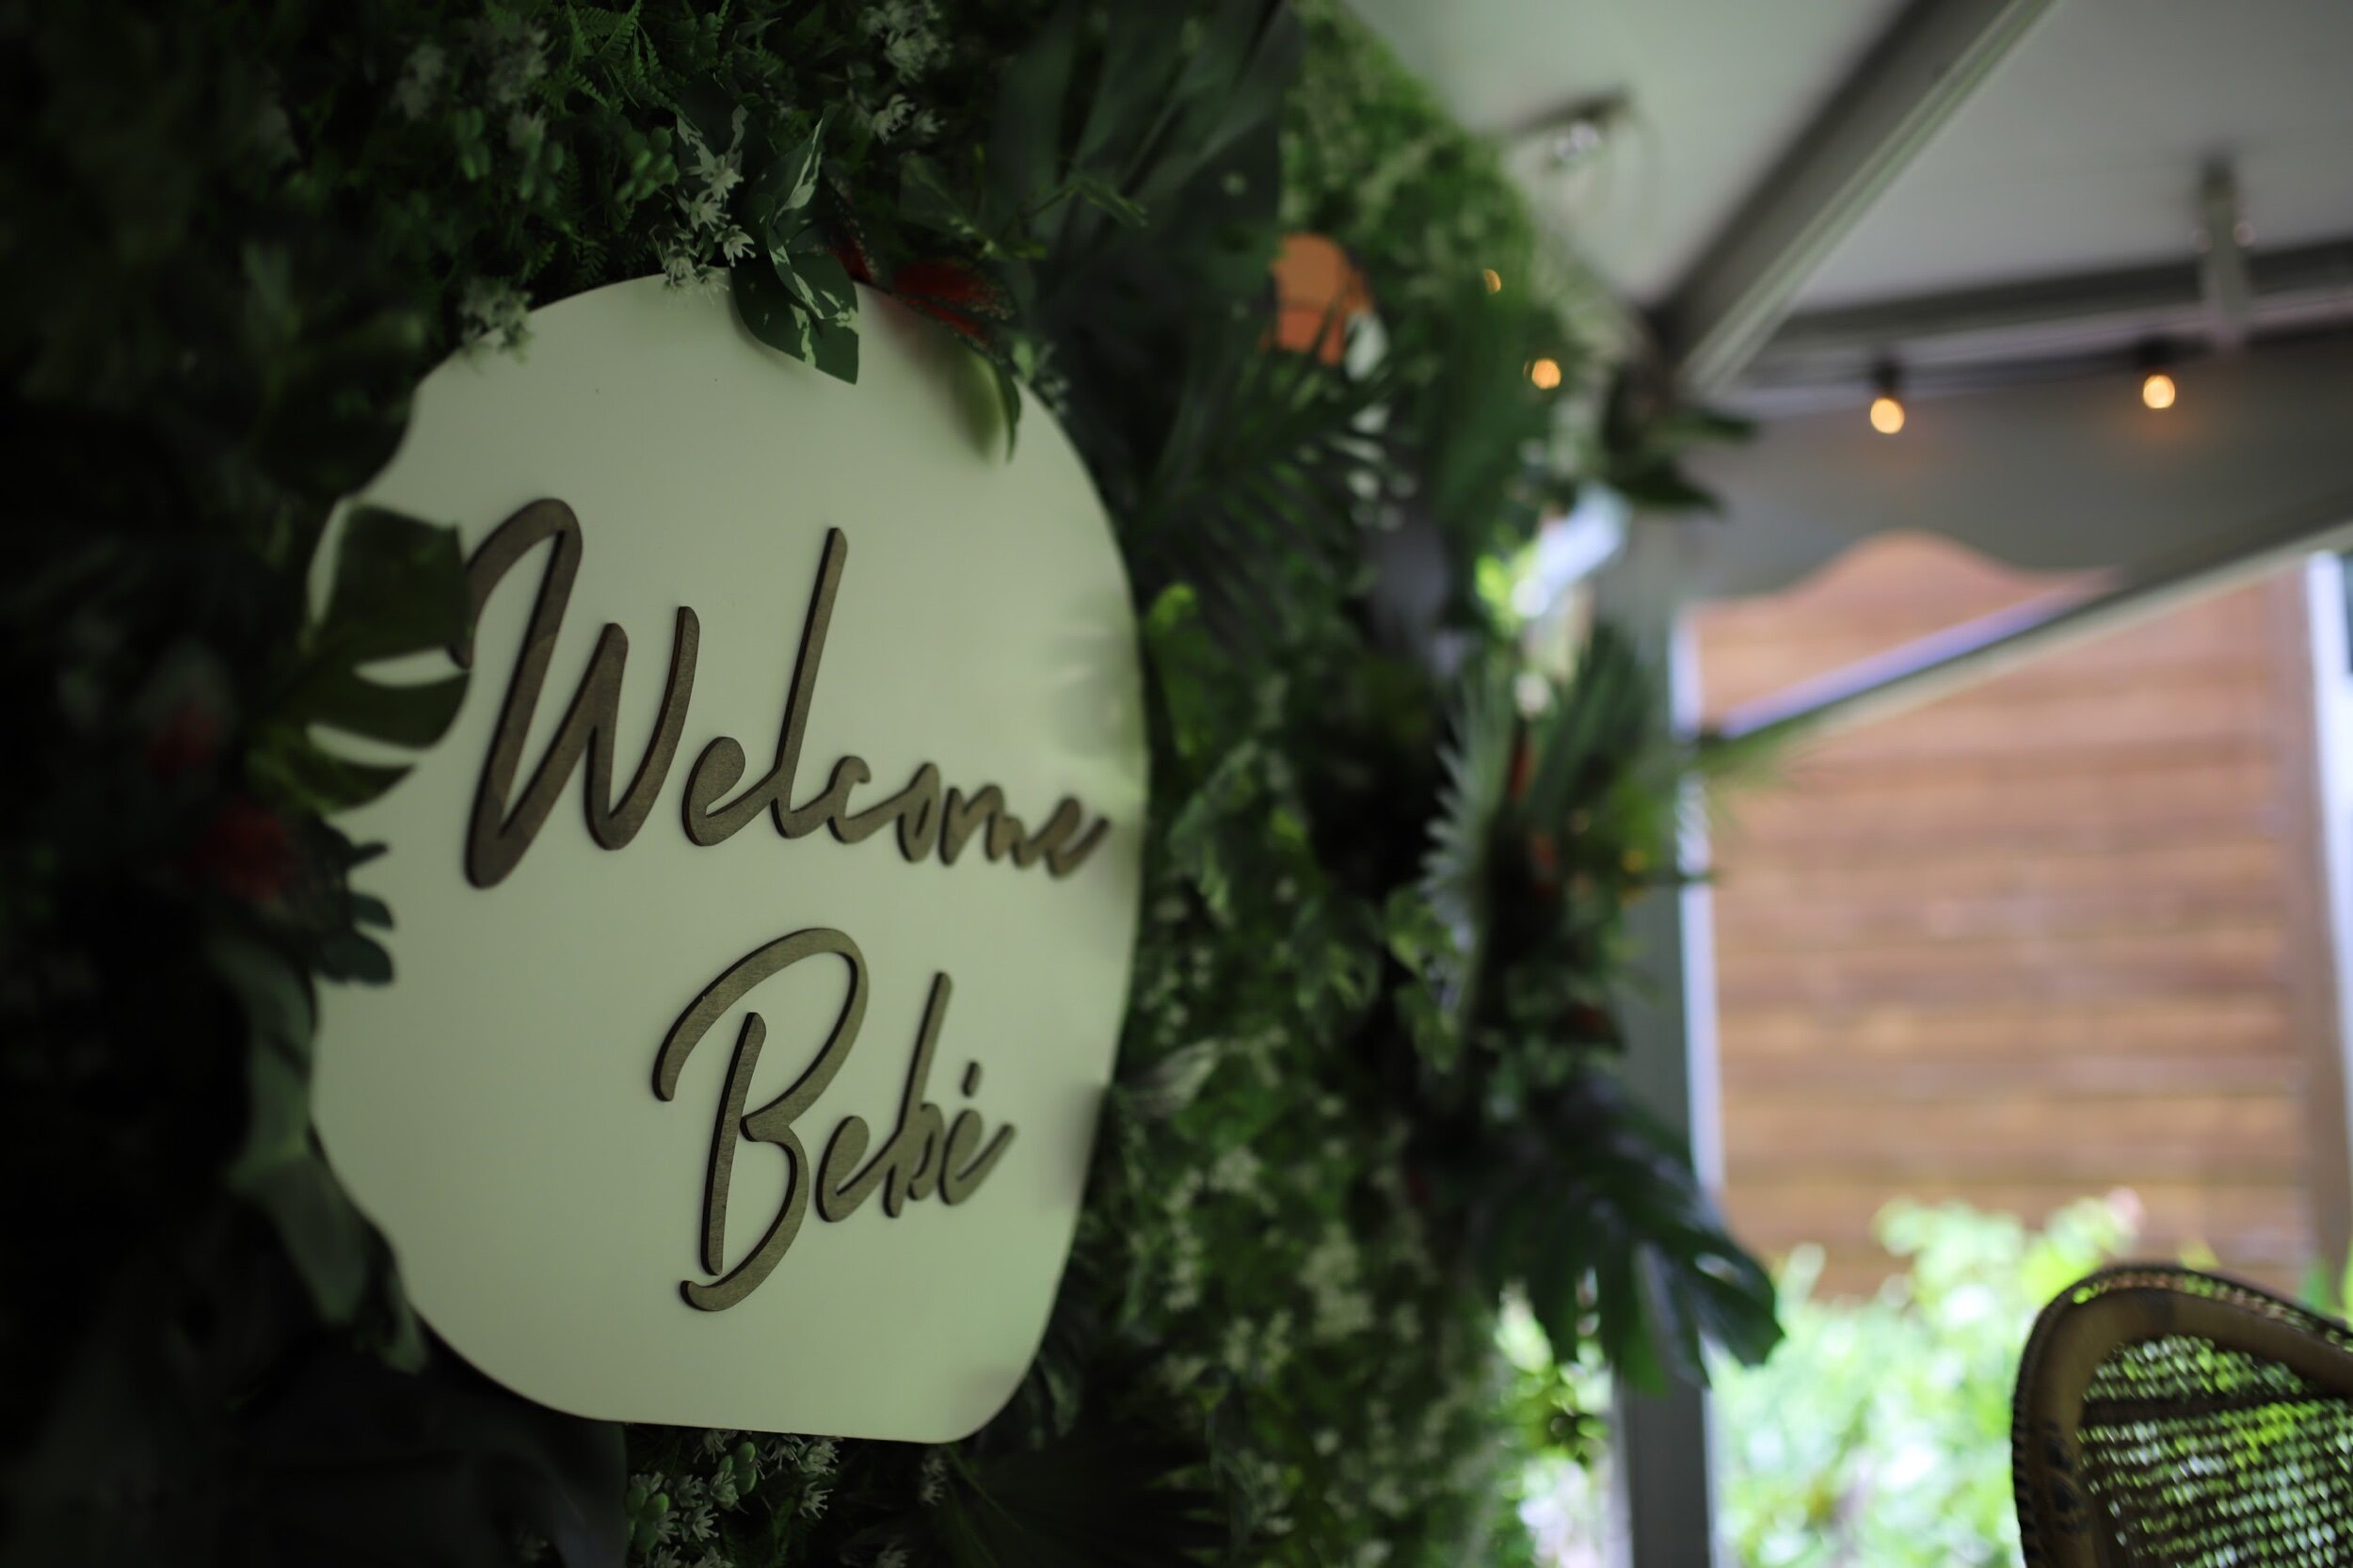
We also made a central sign – while the base layer was MDF, we used wood for the text, which we then stained and finished with clear spray poly. To attach the signs, we super glued Command loops to the back of each sign and then looped them through the mesh of the greenery. Super glue was needed because small particles of the MDF would come off on the Command strip and eventually completely separate. We were able to easily pry the loops from each sign after the party so they could have more life as nursery art.
The large greenery additions were attached by driving a sharpened dowel through the top of the floral foam. This served as a scaffold for thick floral wire to attach to and then wrap in the greenery. We used thinner floral wire to wrap across the piece and through the greenery mesh to hold the piece flat to the background. The wire was all easily hidden behind the leaves but did a great job of holding things in place.
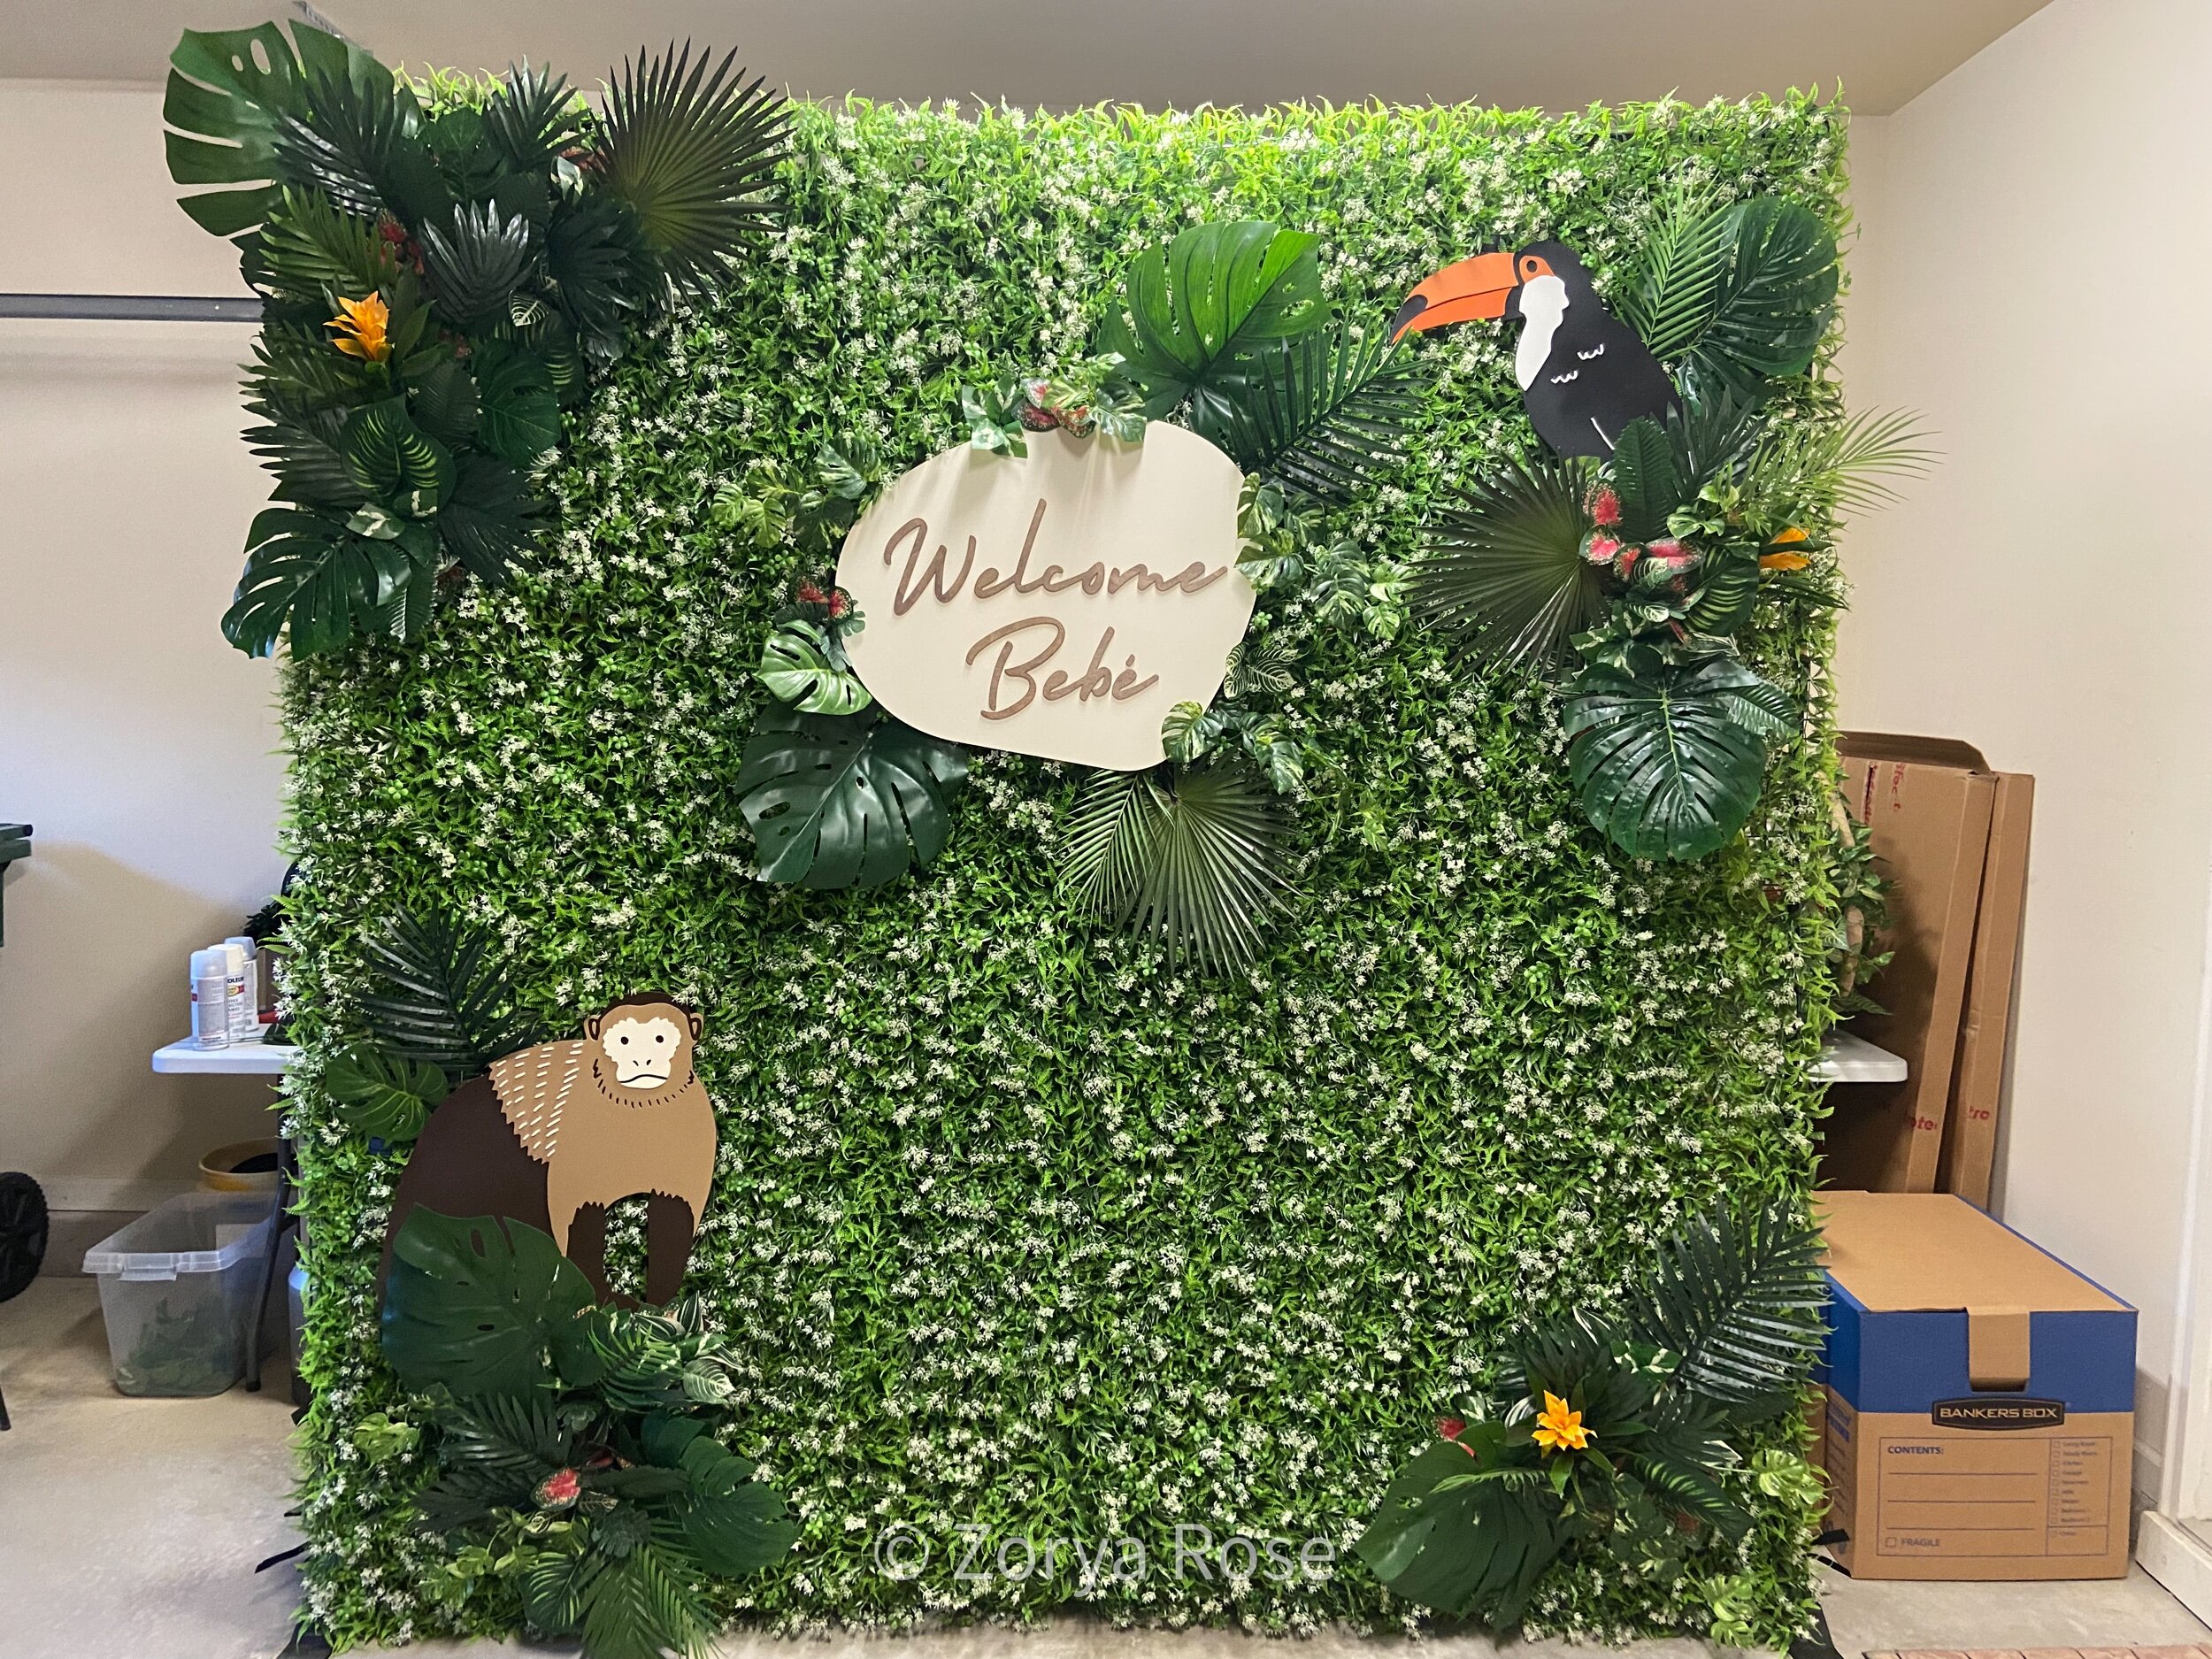
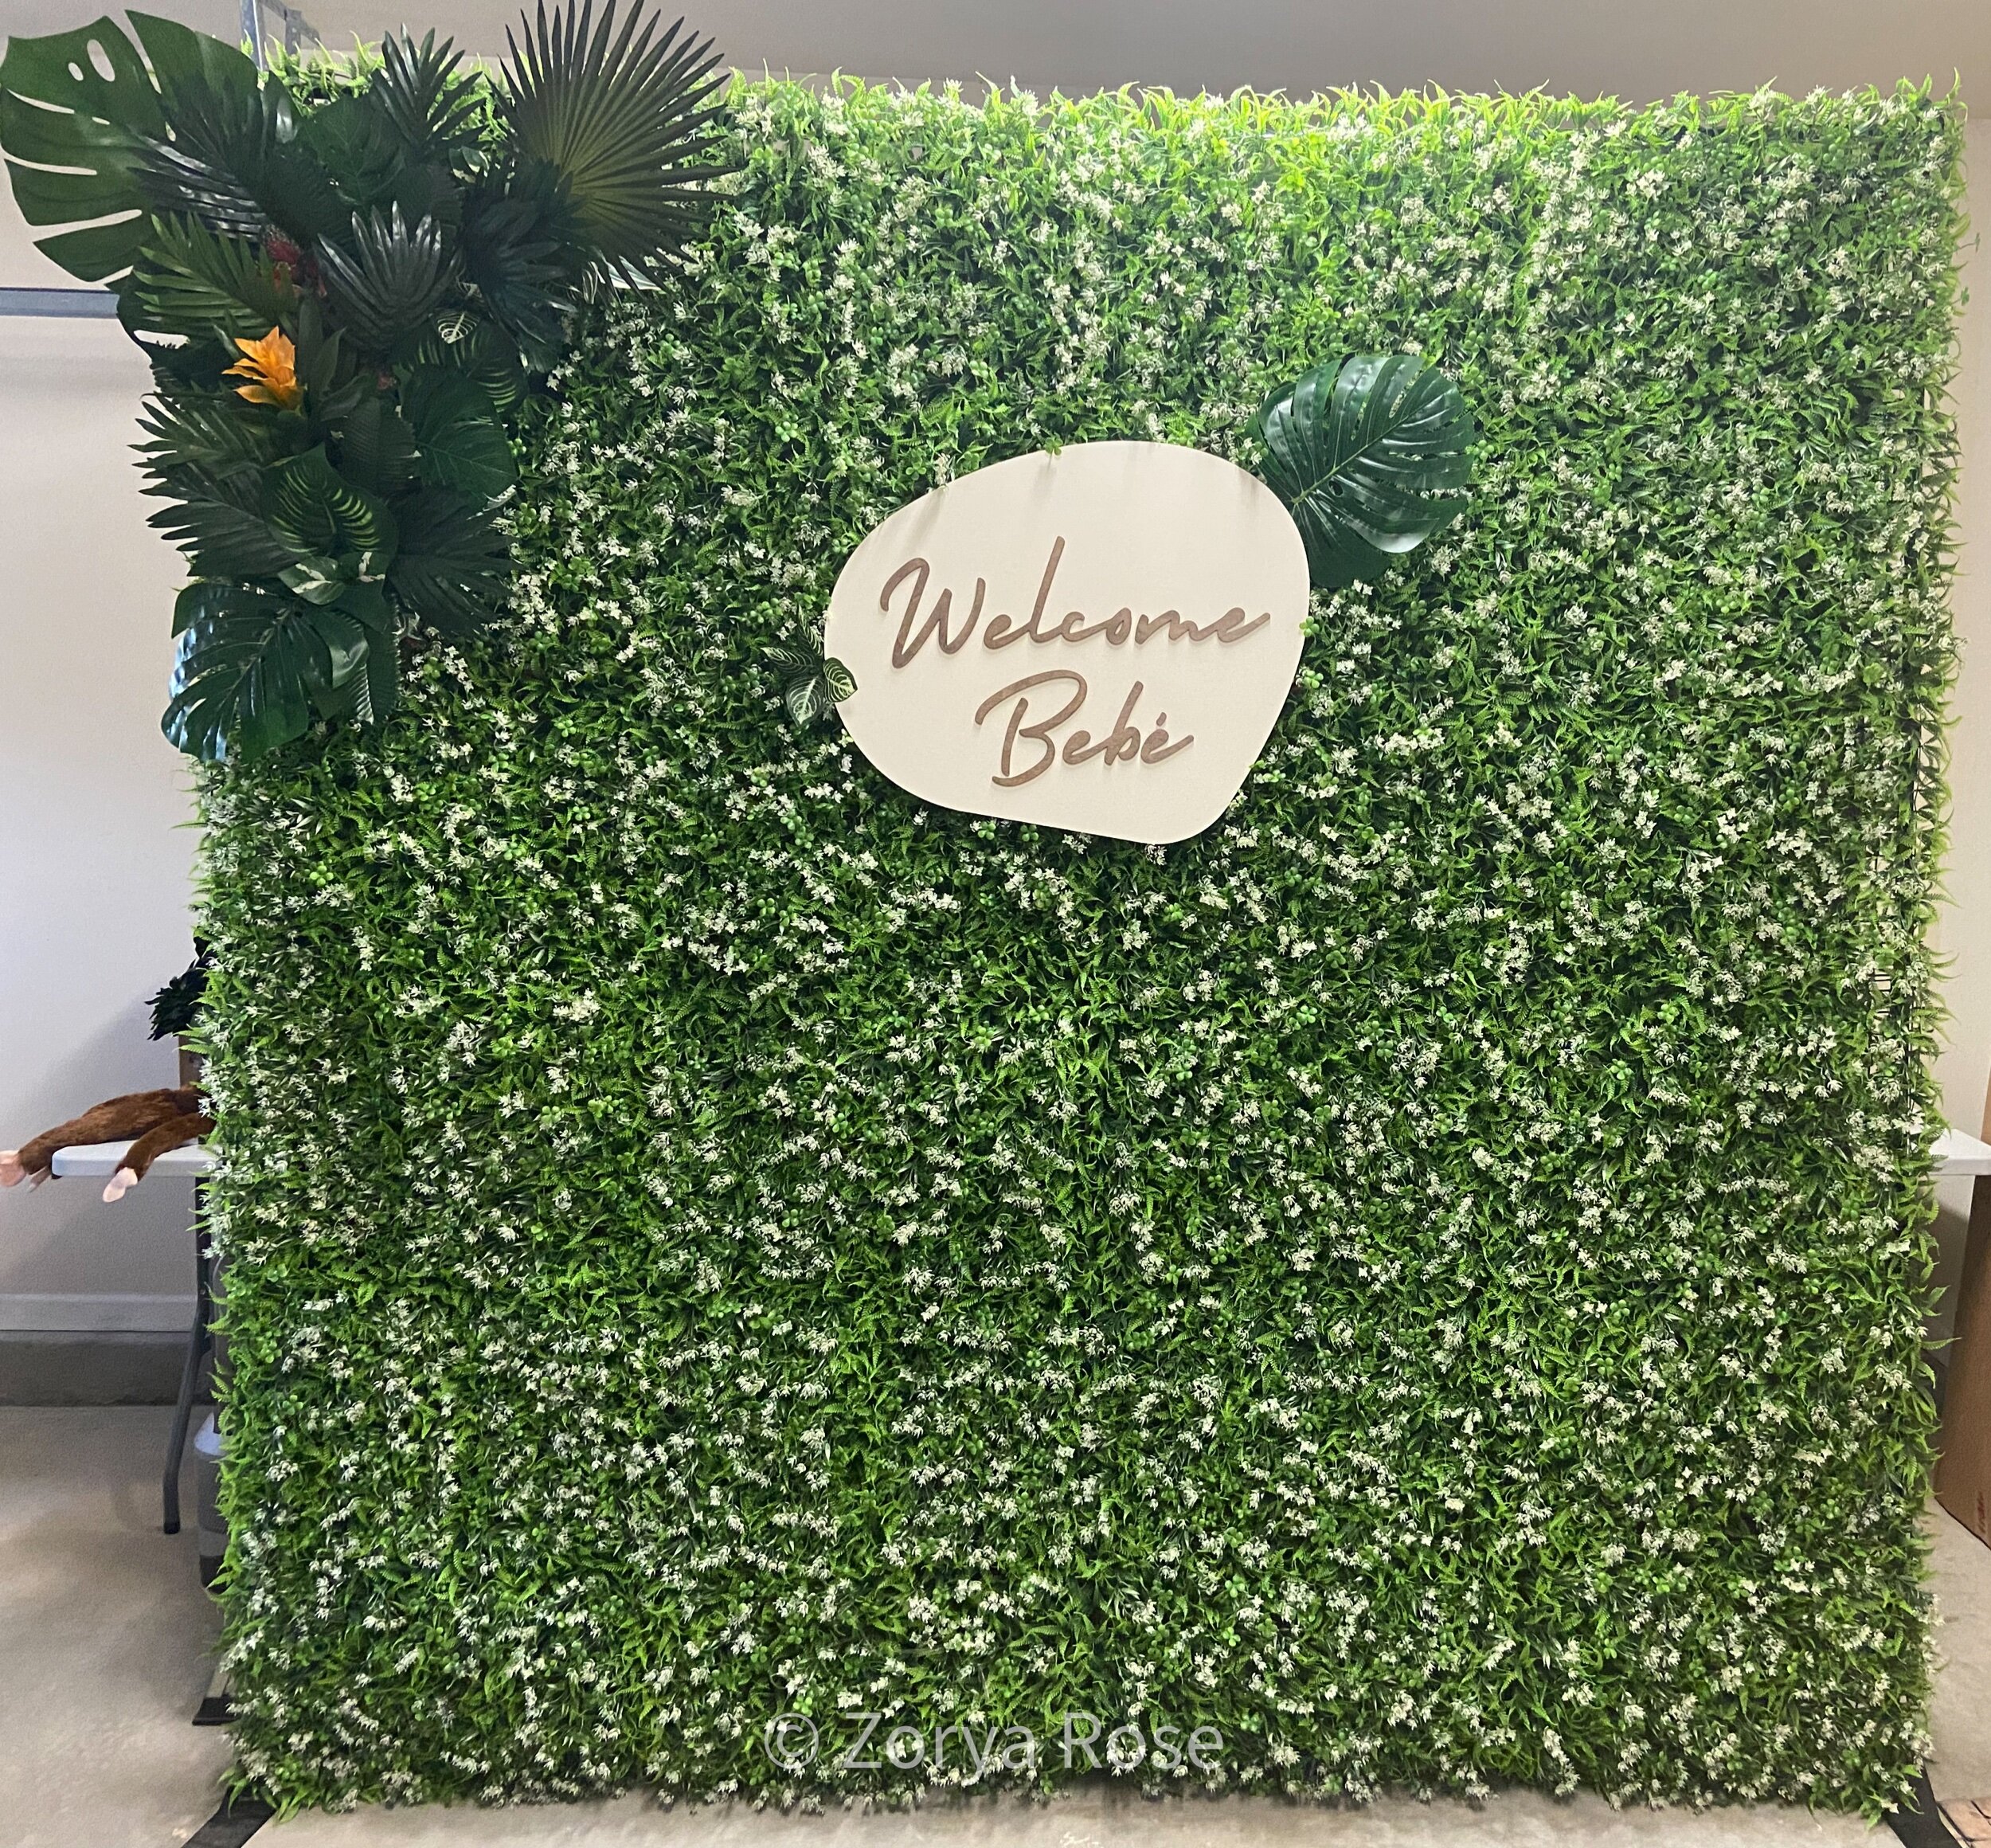
This is the final backdrop before we loaded it into the box truck for transit. All the greenery embellishments and signs have been added, and we tucked more greenery behind each sign for depth. This extra greenery was also secured to the boxwood mesh with floral wire.
What you can’t see in this picture is all the stabilizing elements we added. Twine was threaded from the top of the frame to the feet, and was tightly fastened to help hold the frame upright instead of leaning forward. We also added sandbags for the day of. There is a long copper pipe horizontally at the midpoint of the frame, to help brace the frame and give an additional structural point to attach signs and greenery to. Finally, there are light-blocking curtains attached to the frame, to prevent too much light from shining through from behind.
The backdrop was really the finishing touch for this area with the parents’ table, and for the baby shower overall. I love that parts of it will continue to be part of my nephew’s life as they decorate his nursery, and how I was able to surprise my sister and future brother-in-law with this major décor element.
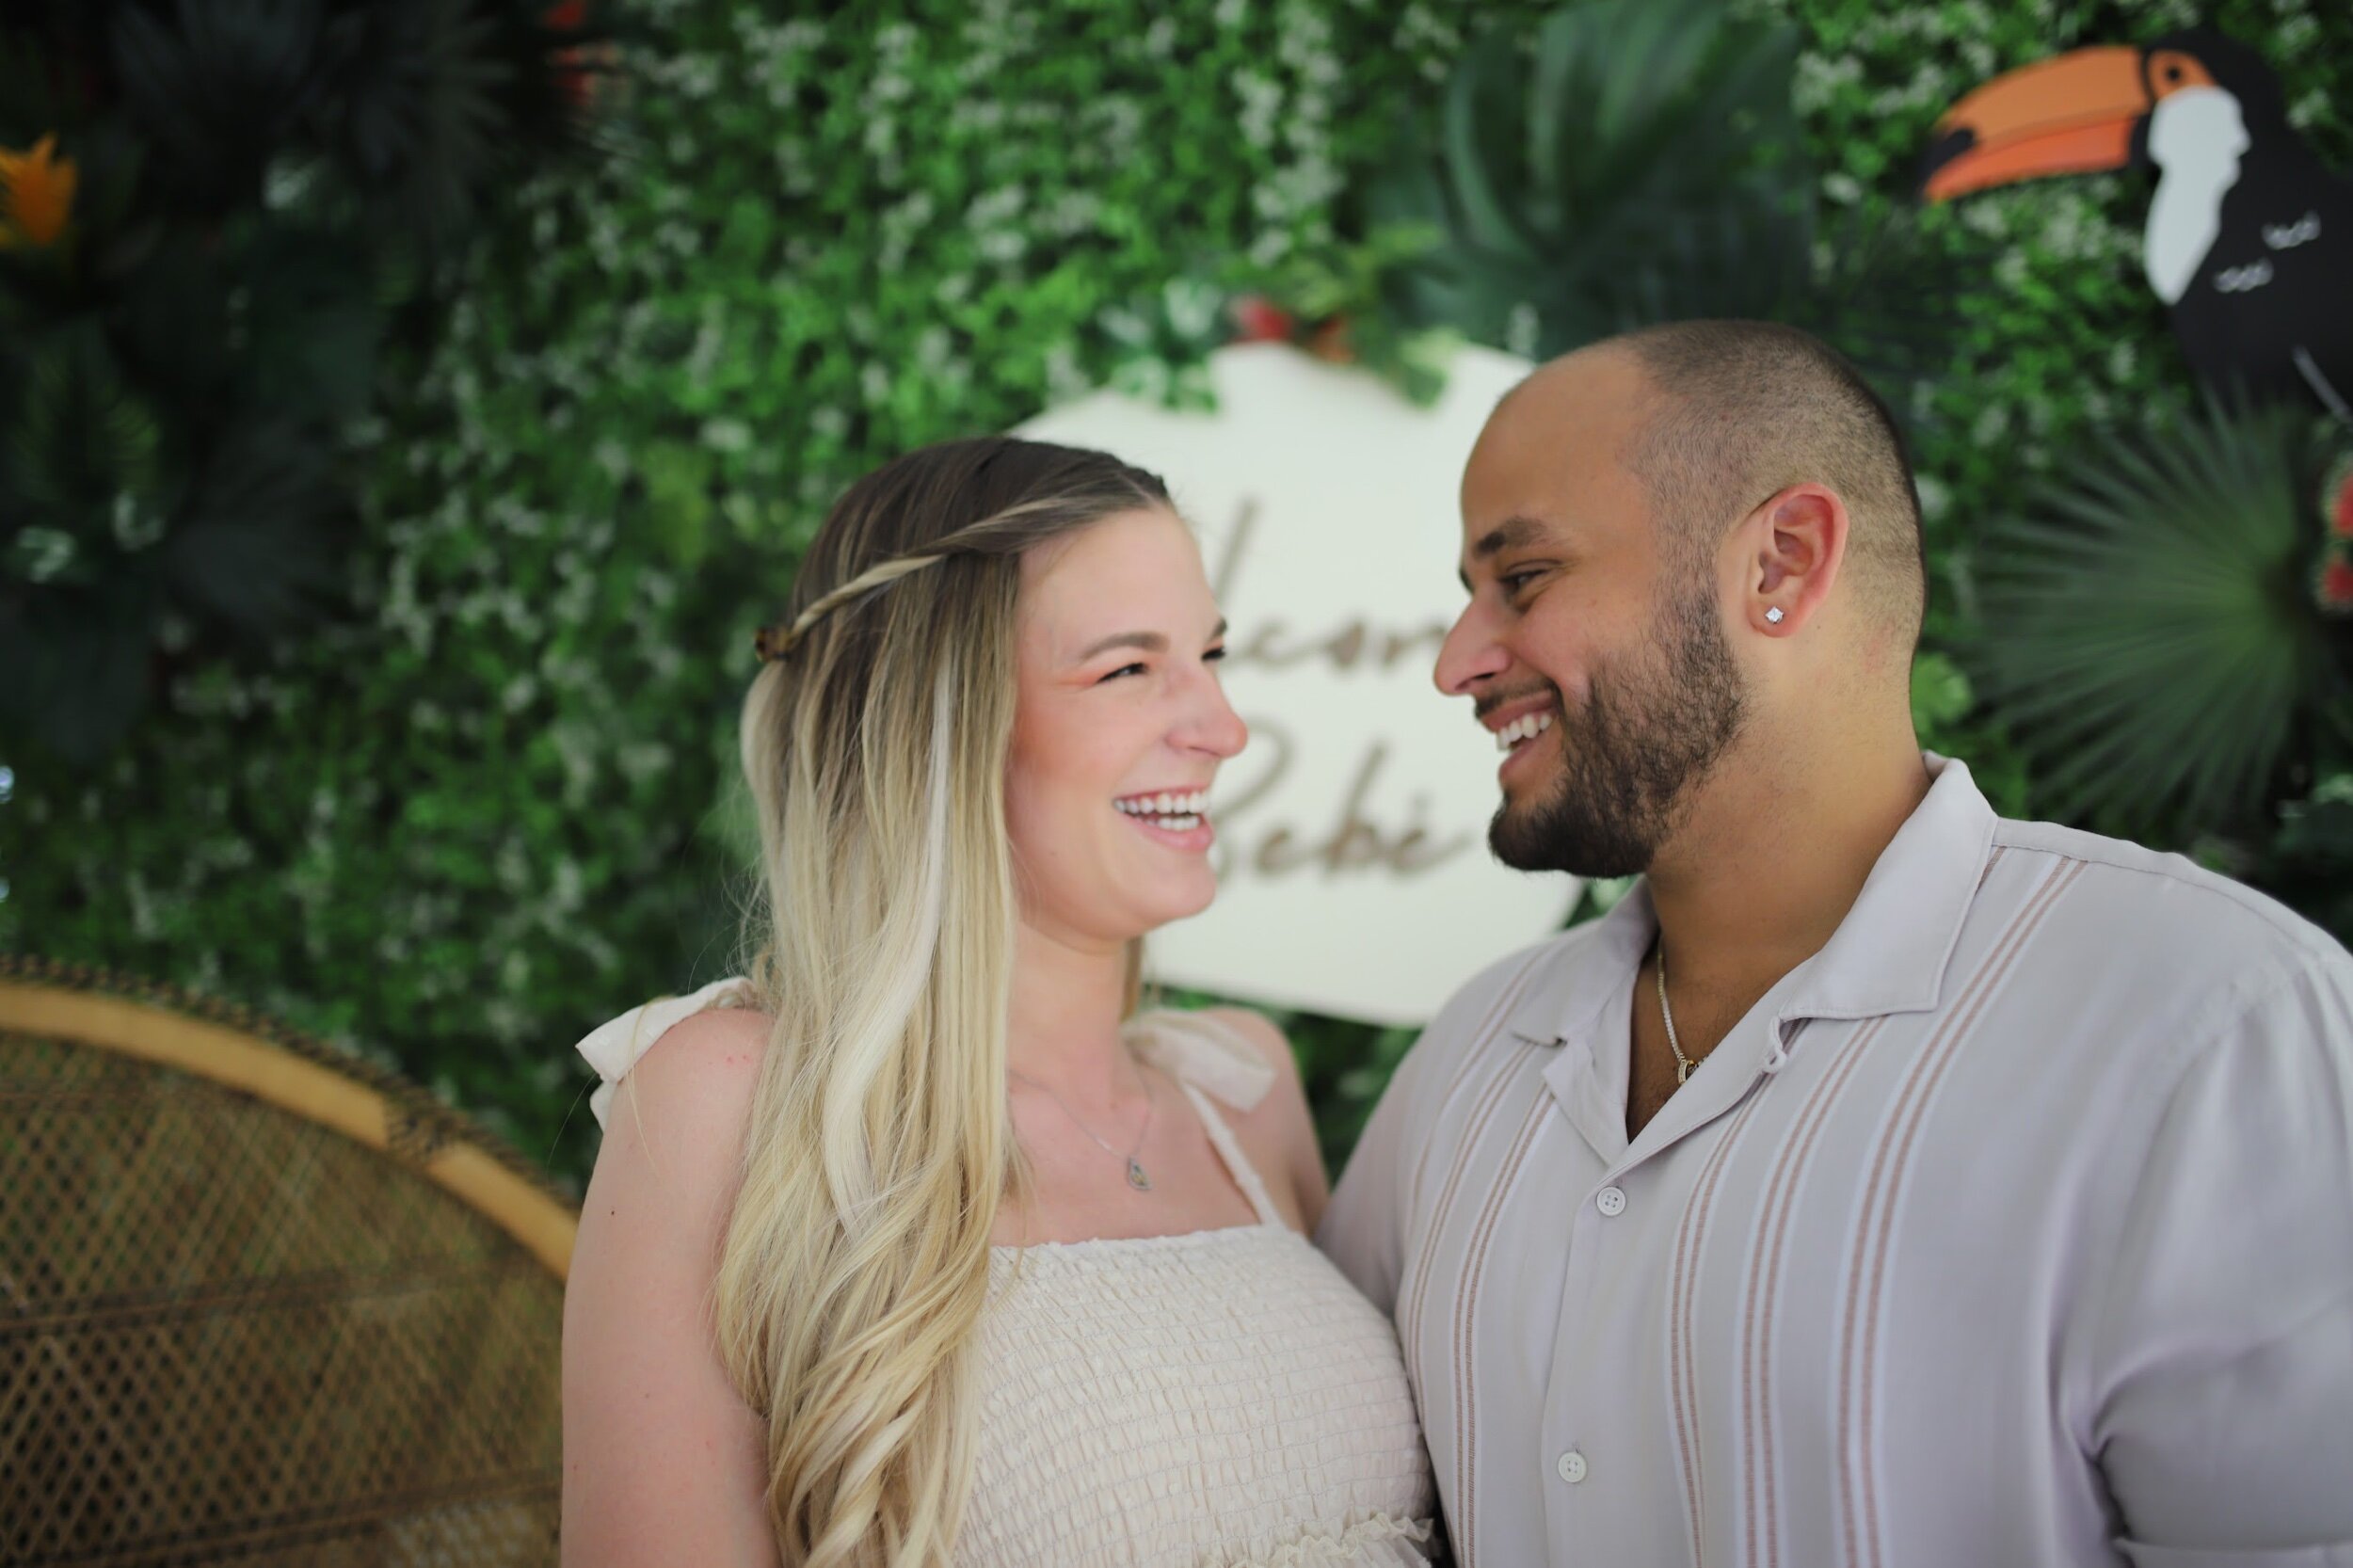
Most of all though, I love how many happy pictures there are from the shower, and how many memories were made as we celebrated our newest family member.
