

To follow along with more participants in the Fall 2021 Challenge, take a visit to the ORC Blog.
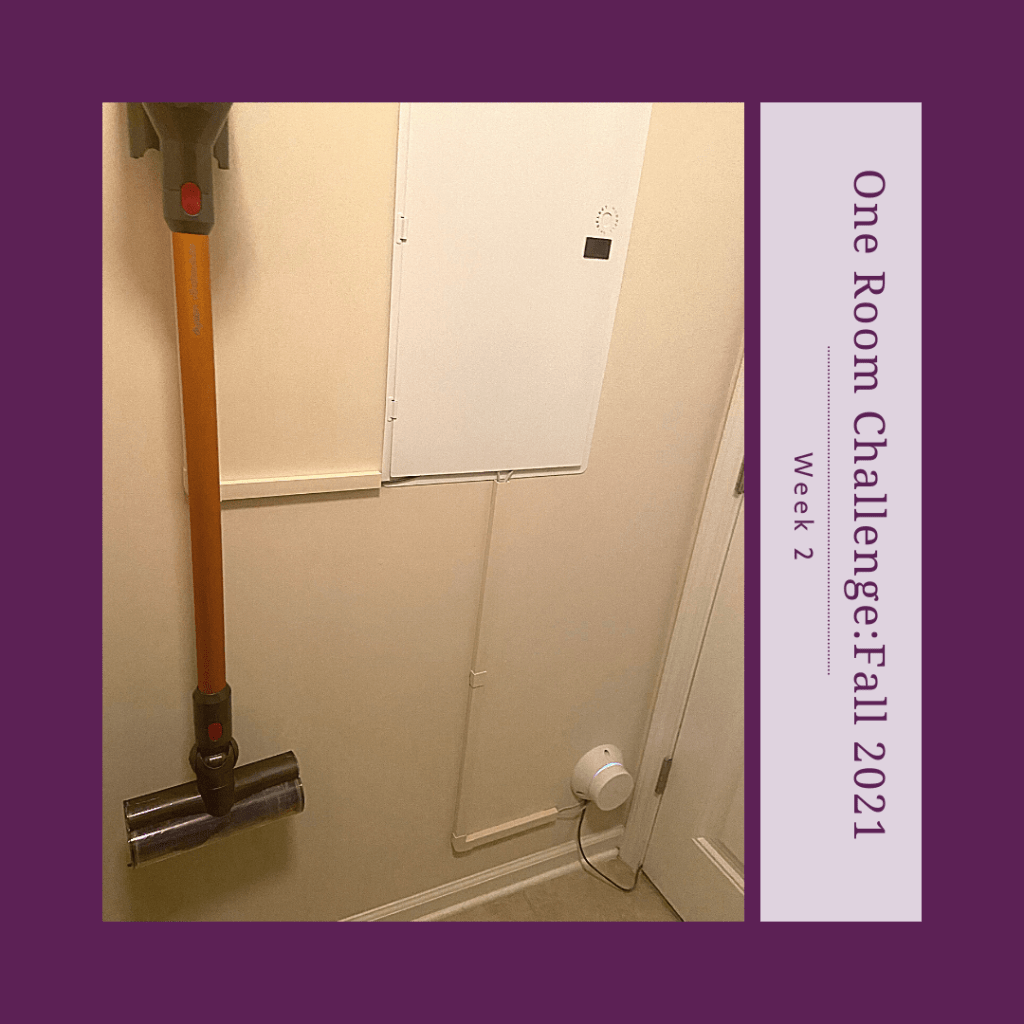
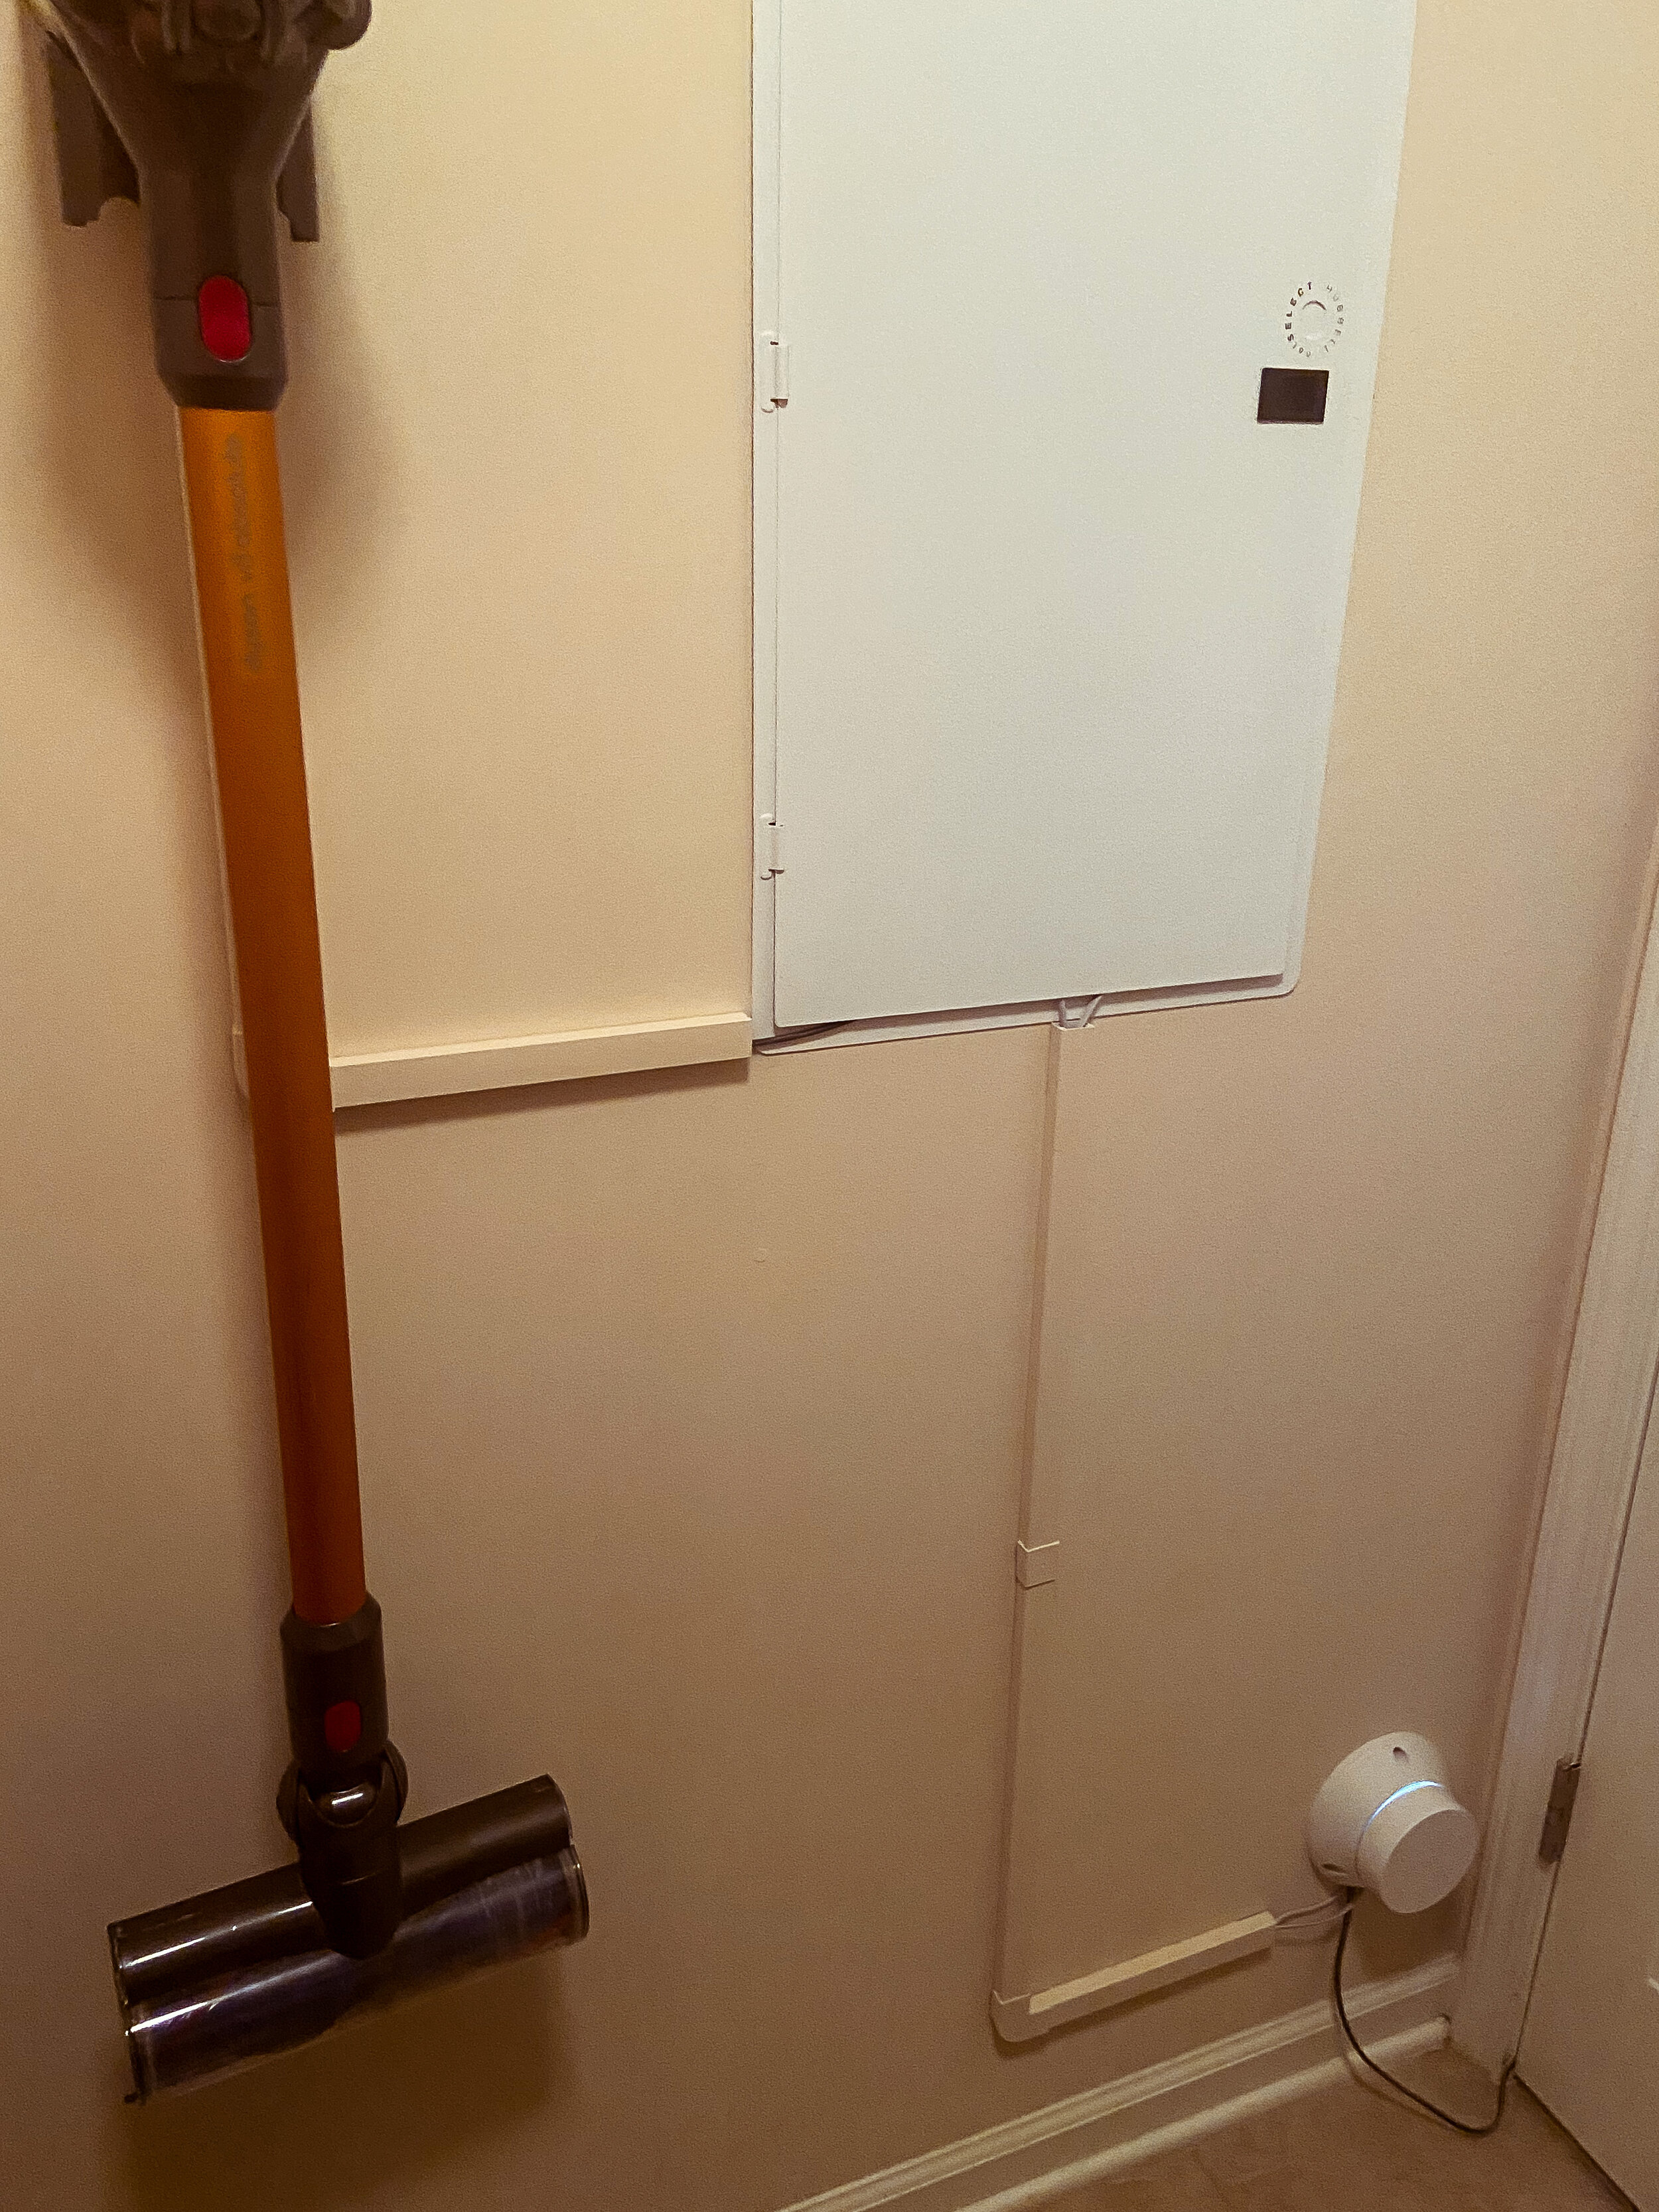
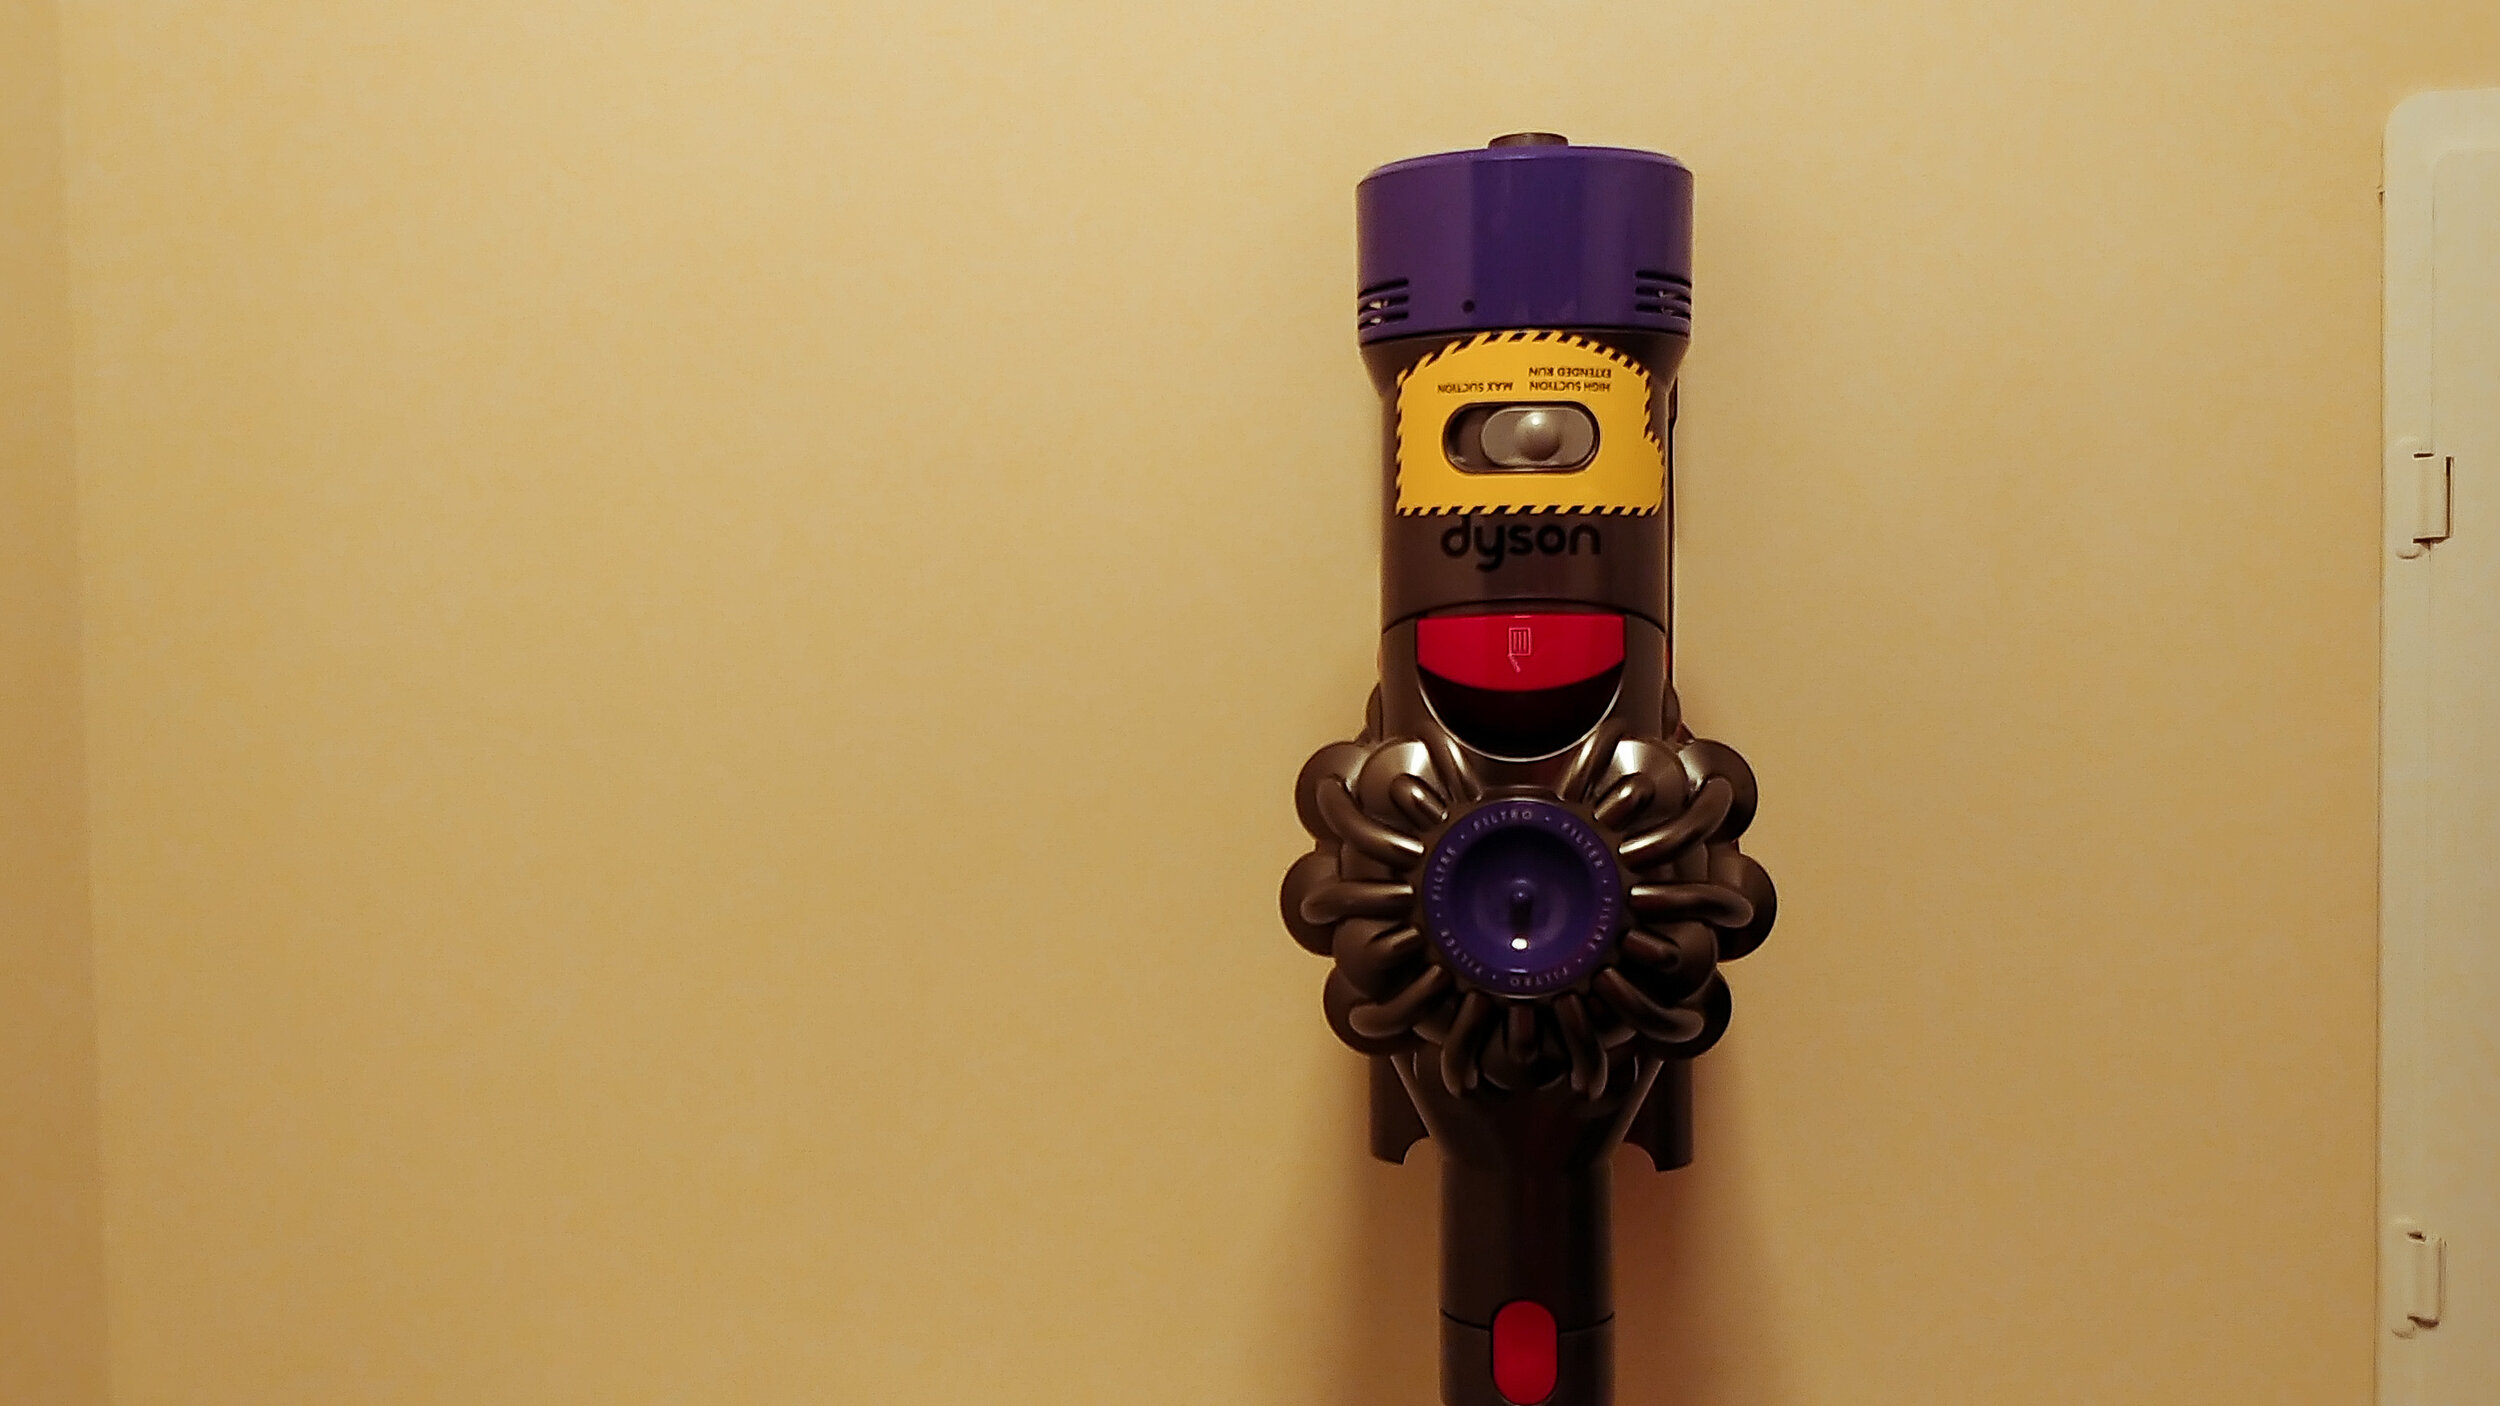
When I was redesigning the layout of the laundry room, I knew I wanted to move all the cleaning supplies to the right wall. That way they would still be accessible but the main view when you walk into the room wouldn’t be a brightly colored vacuum.
This post contains affiliate links, labeled after the link. If you use the links to buy something, I may earn a commission, but there is no extra cost to you. I do my best to only link things for house projects that I’ve used myself and liked well enough that I would use them again. Thanks!
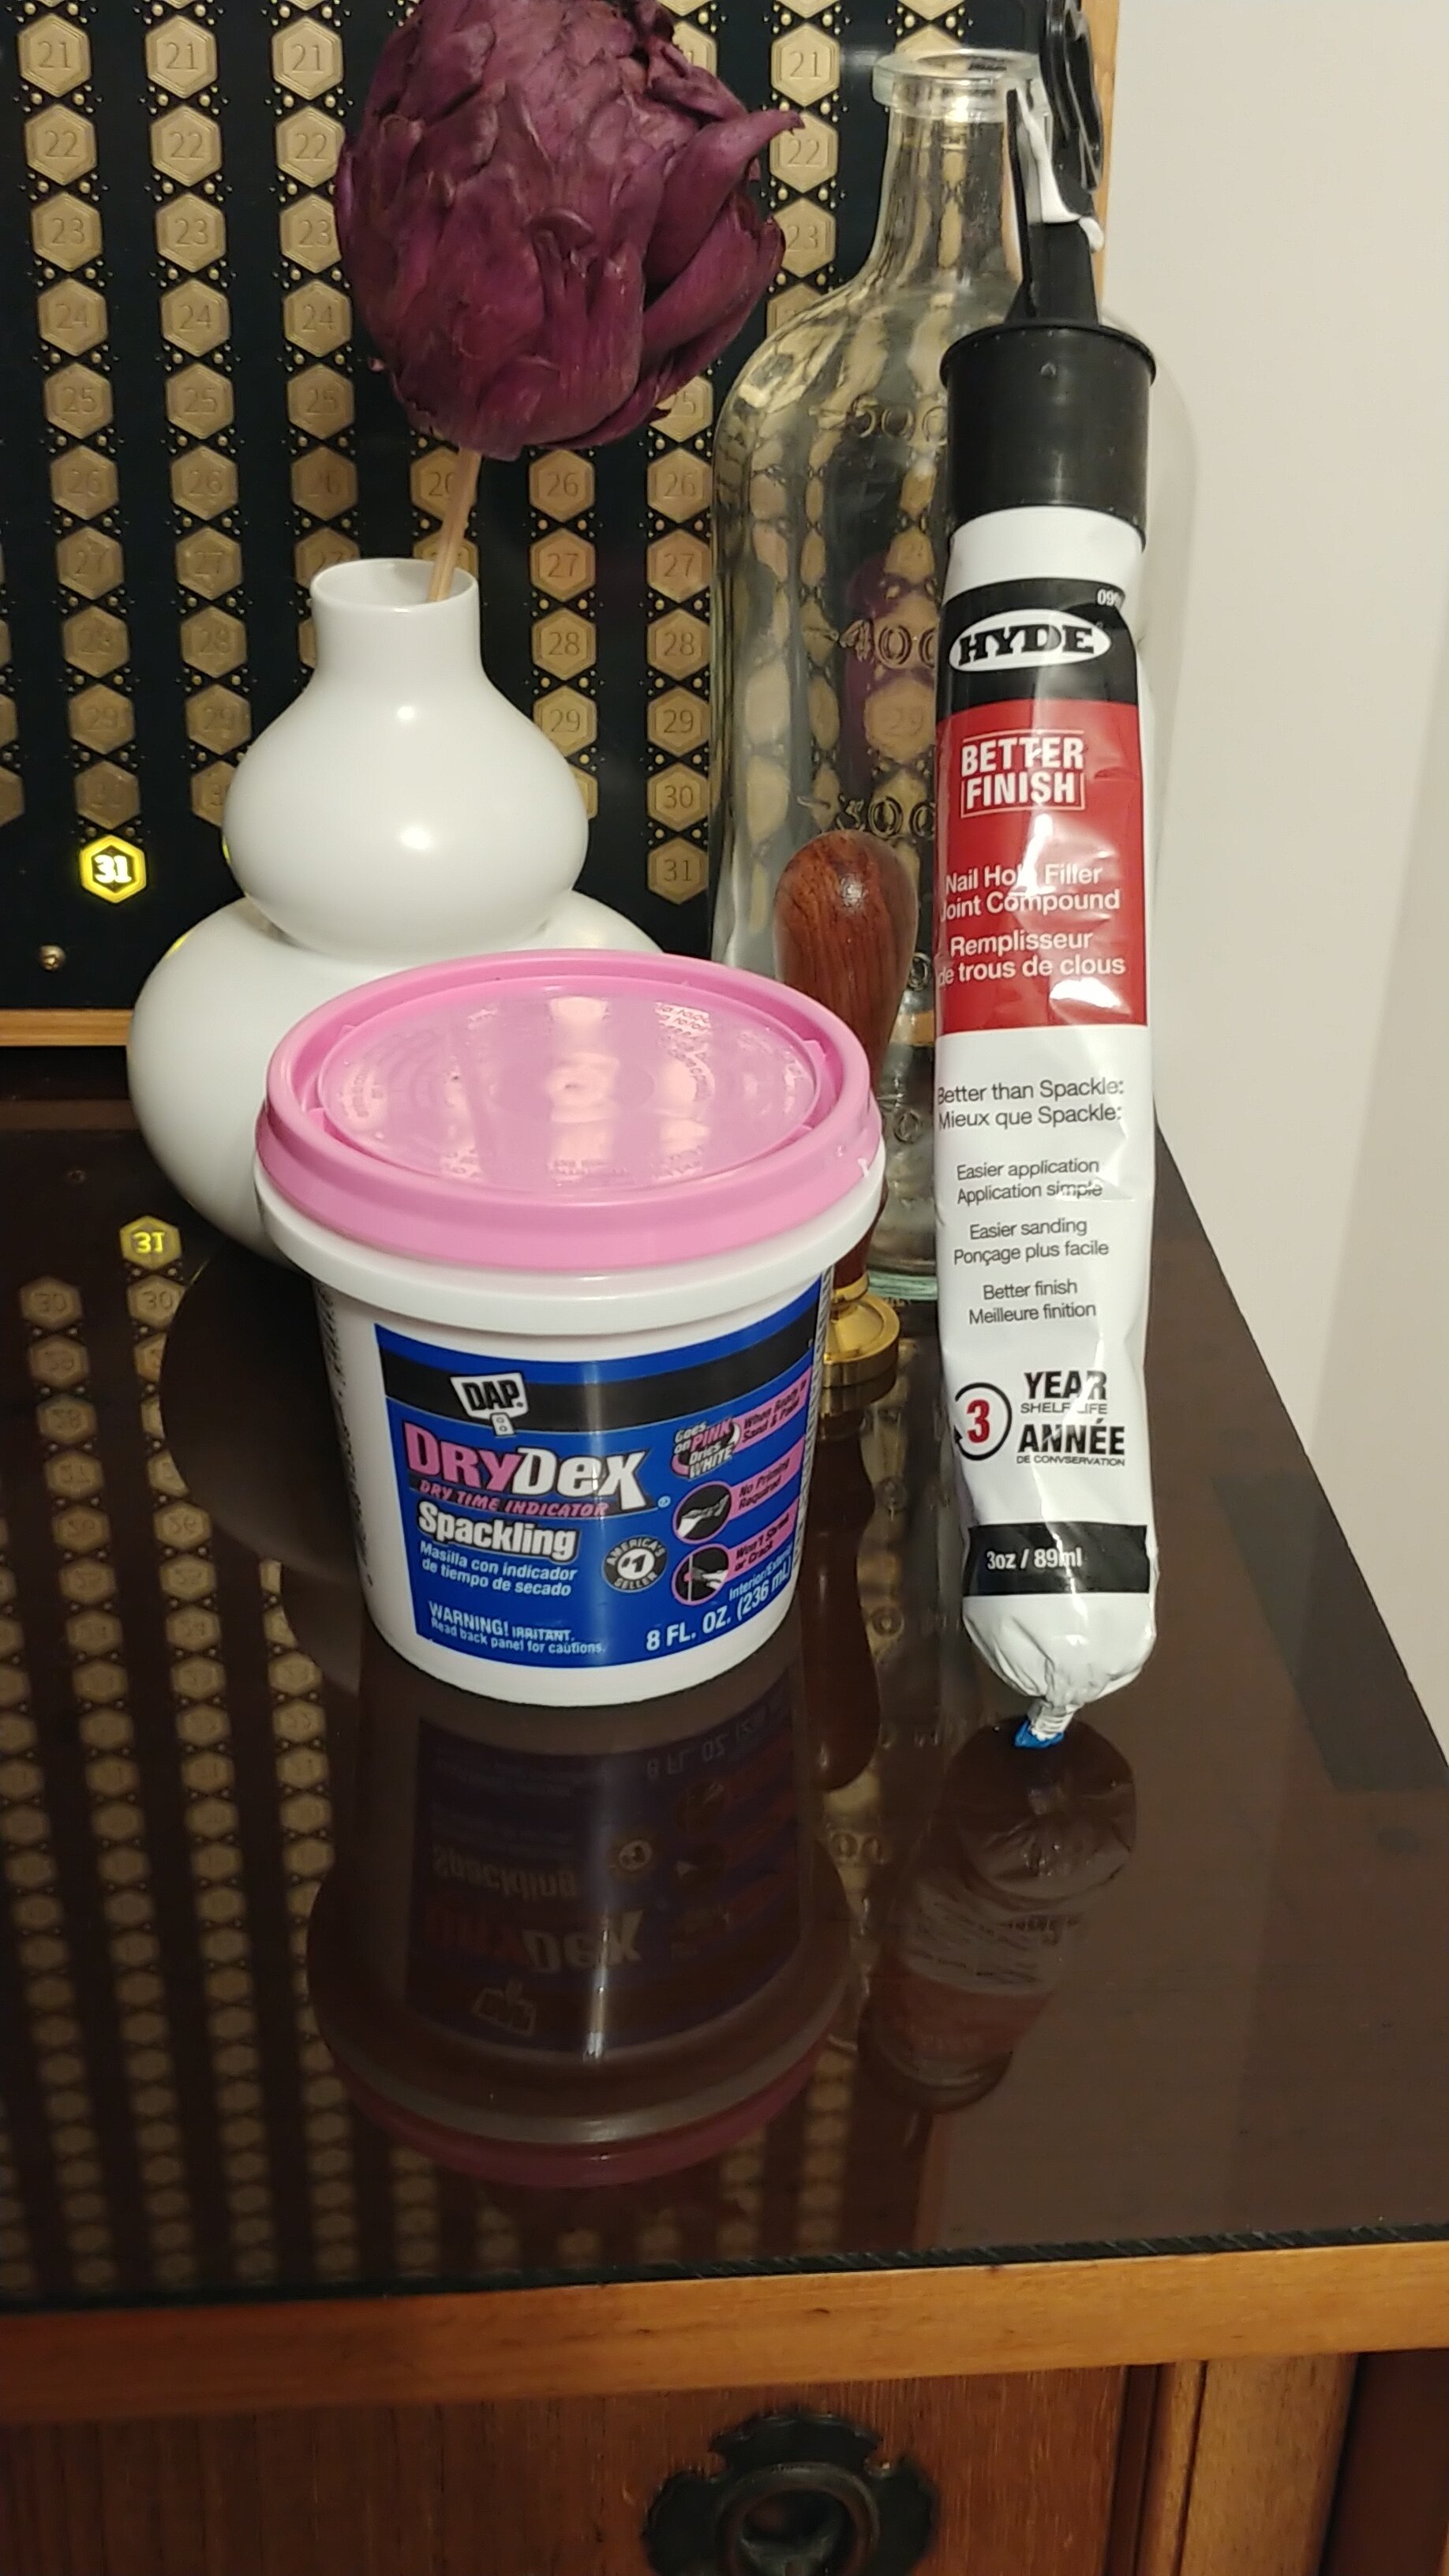
I tried two different products when patching the holes left from removing the drywall anchors. I definitely had a favorite by the time the patching and touch-up painting was done. The Hyde Better Finish Nail Hole Filler promised easier application and better finish, but it’s definitely not the best fit for larger holes from drywall anchors. Because the spreading applicator is integrated with the tube, it’s hard to work the product on the surface without adding more filler. Also, after everything was filled, sanded, and painted, I felt like the edges of the holes were still pretty visible. Since I still have a good amount of this left, I will probably try it on some smaller holes like nail holes.The DAP DryDex spackling (affiliate link) is definitely my favorite product for this patching process. You do need a separate putty knife, but it’s easier to work into the holes in the drywall with a separate tool. Overall the texture is a little firmer, so you don’t get separation between the product in the hole and the product on the wall, and the finished repair looks as good as new! Plus, this product goes on pink but dries white, so you can tell when it’s ready to sand. As a newbie to patching wall holes, this was very easy to learn to use.

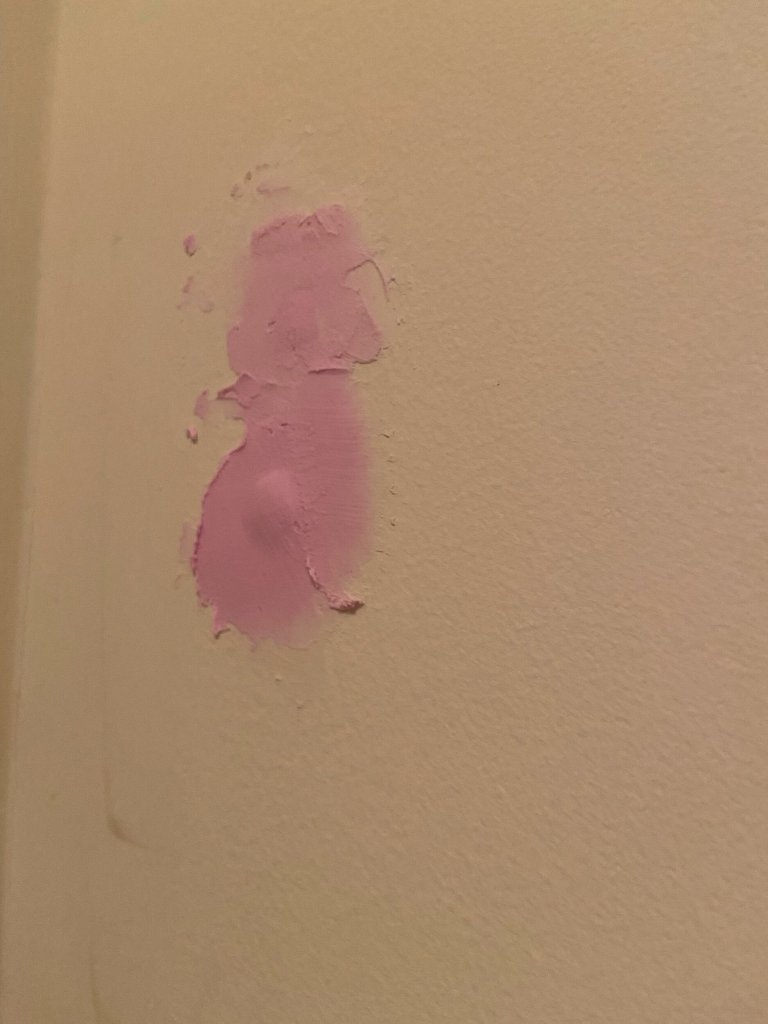
You can see the edge separation I was talking about here. No matter how much I smoothed with the tool attached to the bottle, you can see the edge of the hole poking out, despite the same sanding prep work as the spackle-filled holes on the right.
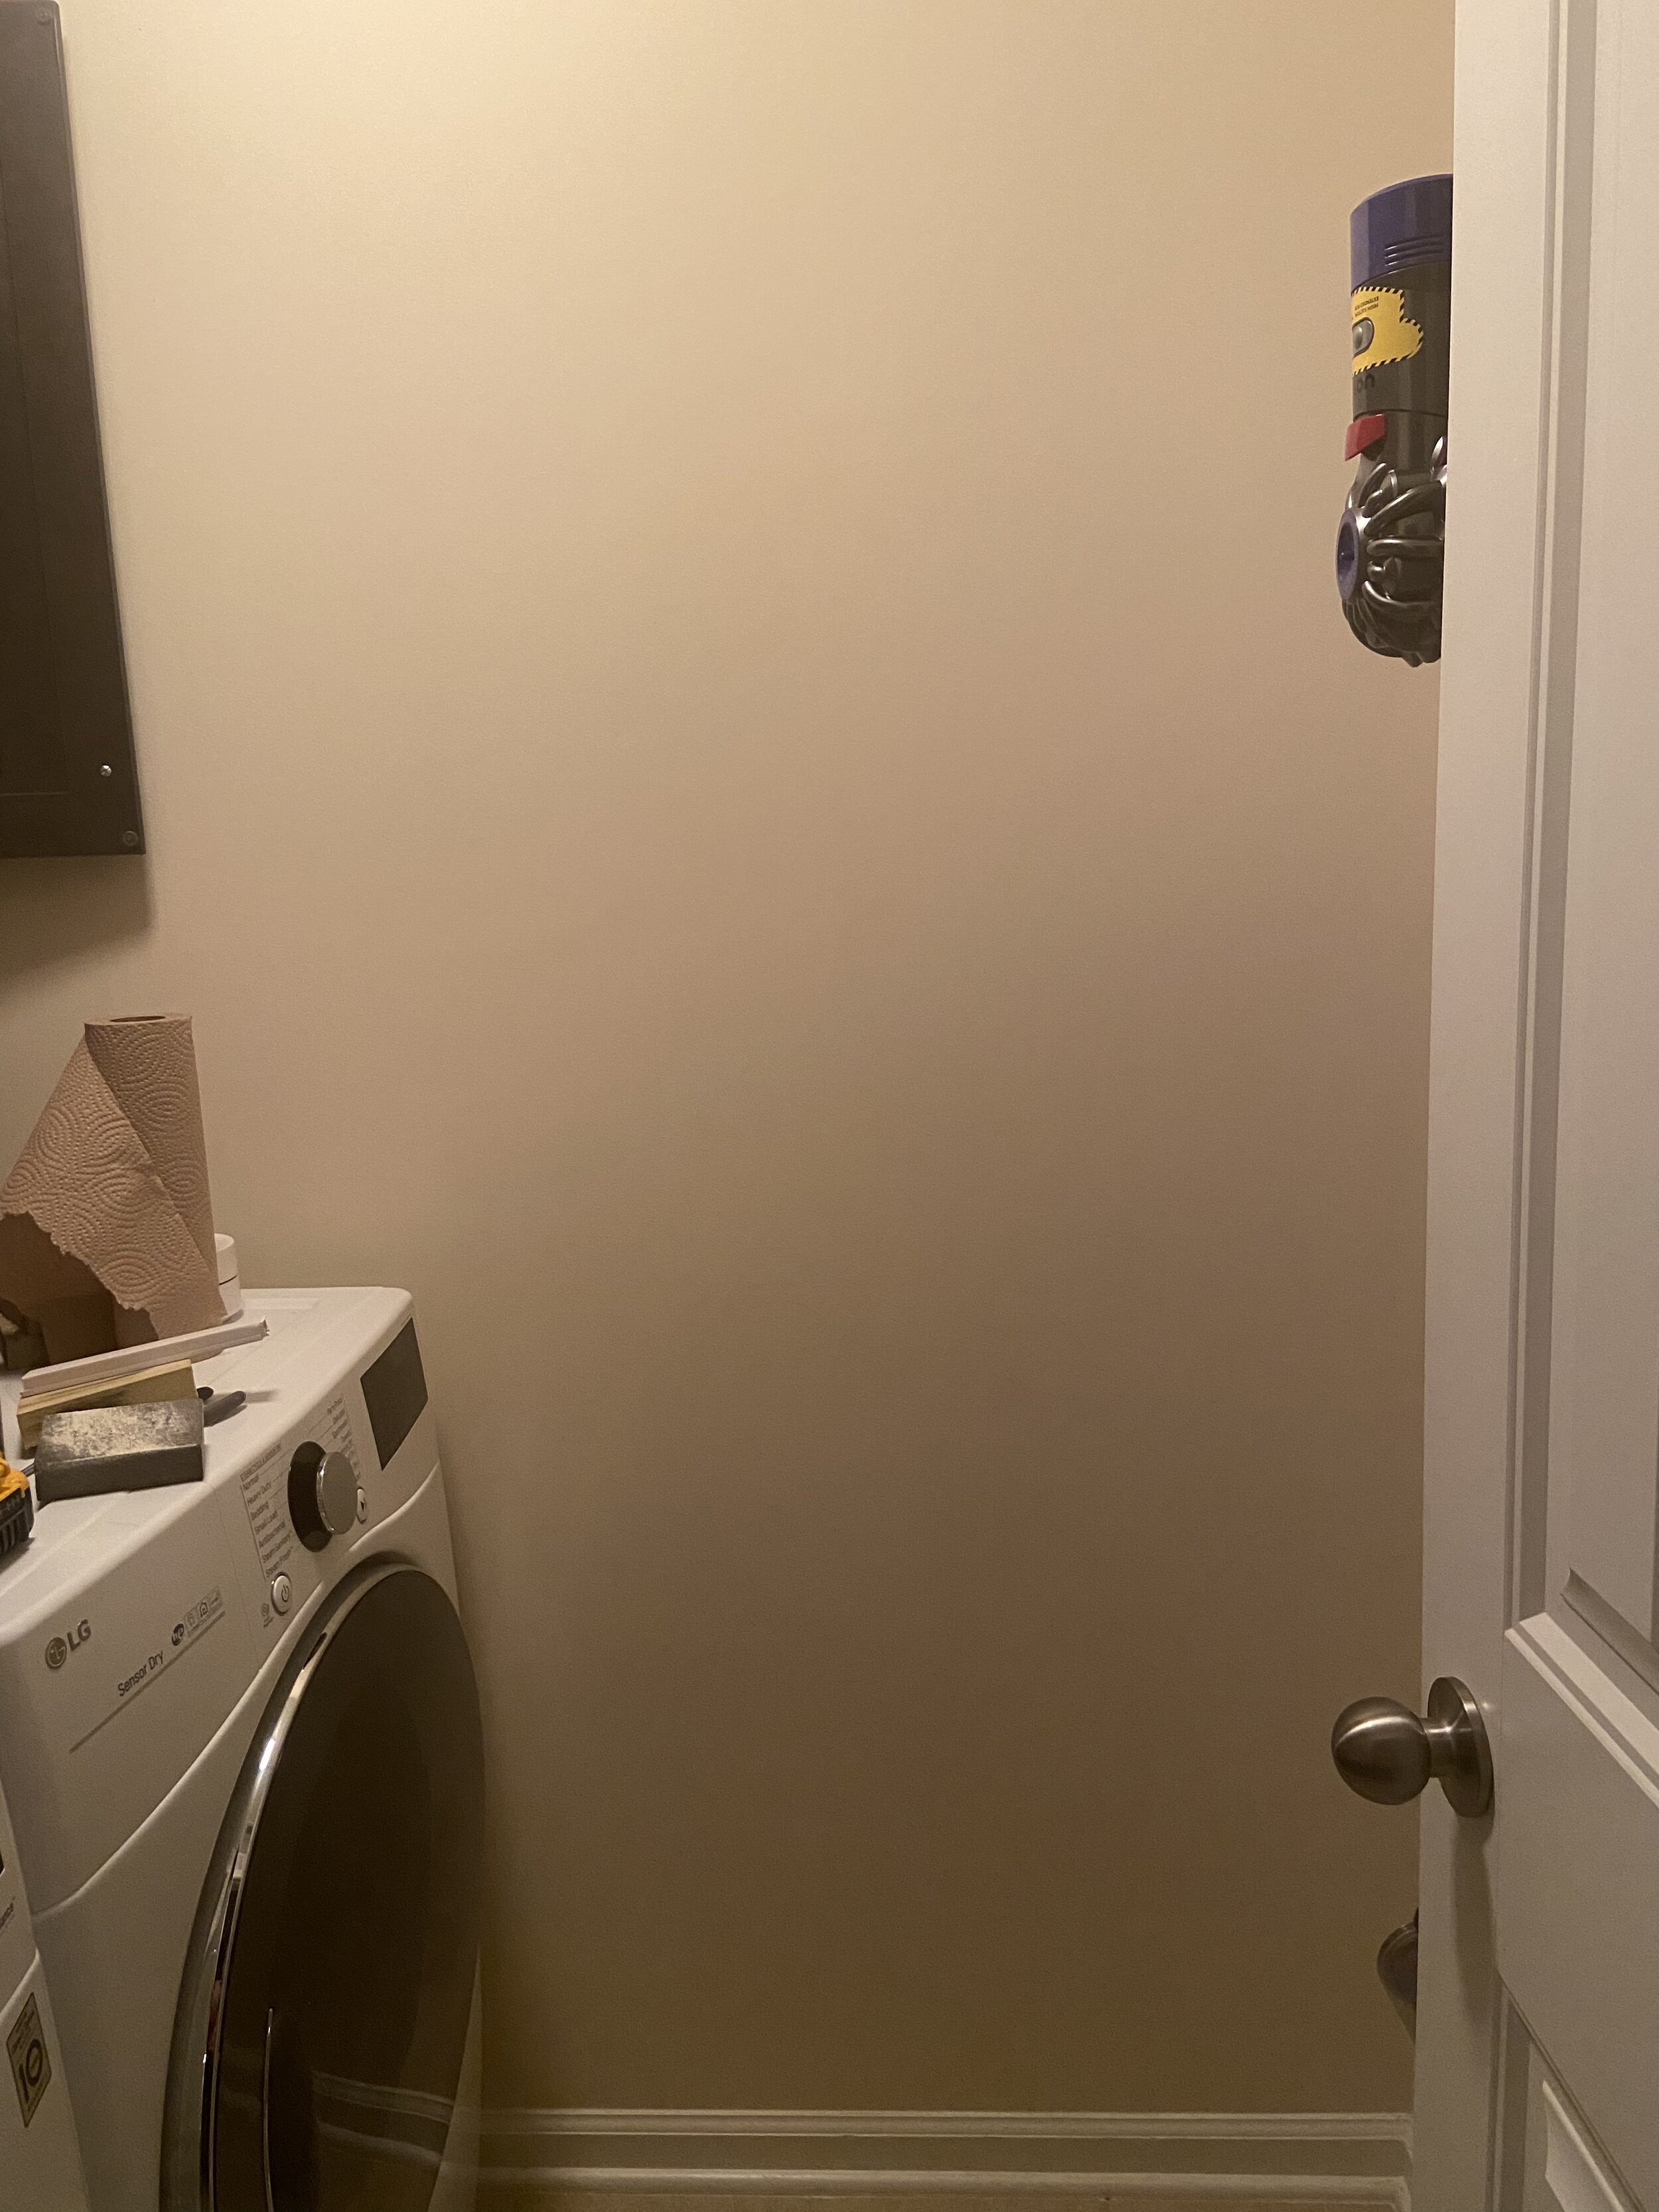
Now this wall is a nice clean slate for our upcoming updates. I’m so excited to show you the changes here in a future post!
Now that the vacuum was relocated, I could tackle the cord and electronics situation on that wall. The smart closet and the attached router meant that the cords were a tangle on the floor and attracted dryer lint and laundry fuzz. Also, we could never open the door to the laundry room all the way, making a small room feel even more cramped.
My plan was to use cord raceway to manage the cords against the wall, and find some solution to mount the router to the wall. For the raceway, I found this paintable cord concealer kit from Delamu (affiliate link). I got the medium kit and had a good amount of raceway and connectors left over after this project. I did want to make sure this was paintable, as the white wouldn’t be super noticeable against the beige walls, but I wanted it to really fade away once it was installed.


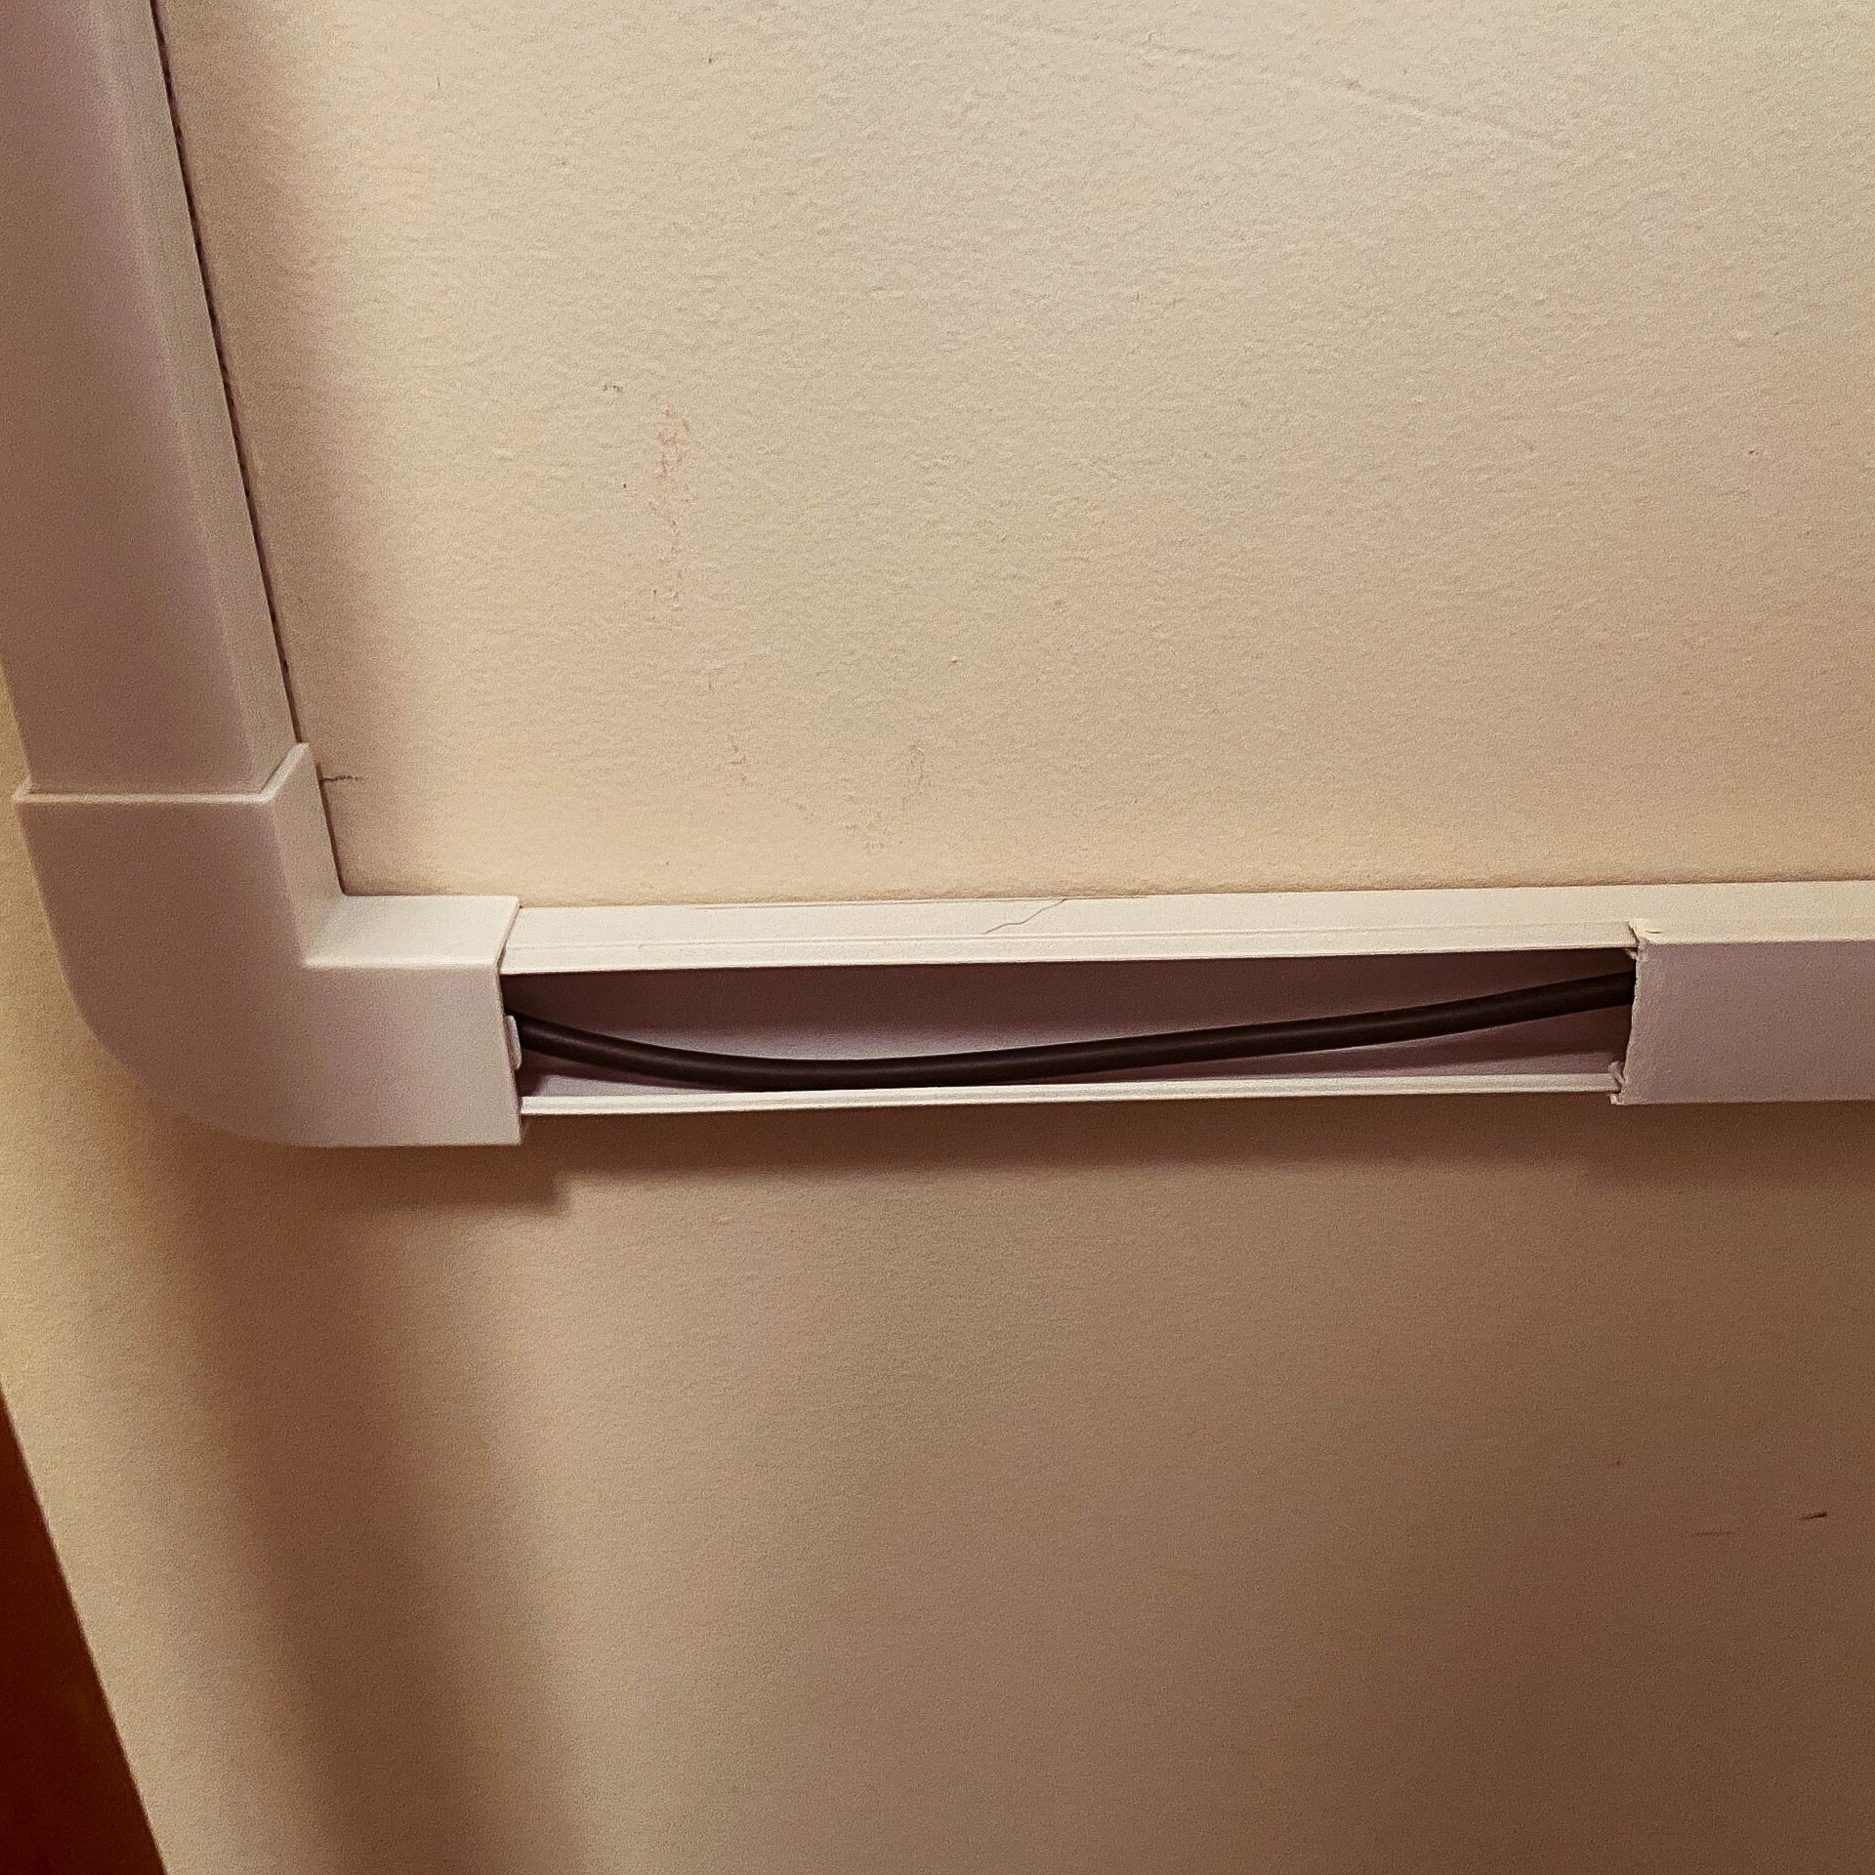
The installation of the raceway itself was pretty easy, with heavy-duty double-sided tape provided to attach the pieces to the wall. First I placed the track where I wanted it, used a level to make sure it was straight, and drew marks on the wall to help align the piece. Then, I removed the top of the track, and applied the double-sided tape to the back section of the track. After pressing the back section in place with my pencil marks to guide it, I put the wire into the track. The top piece of track could either slide on or be snapped on, and both were pretty easy to do based on spacing.
Where I had to use connectors between two pieces, it did get a little tricky in terms of finding the right placement.
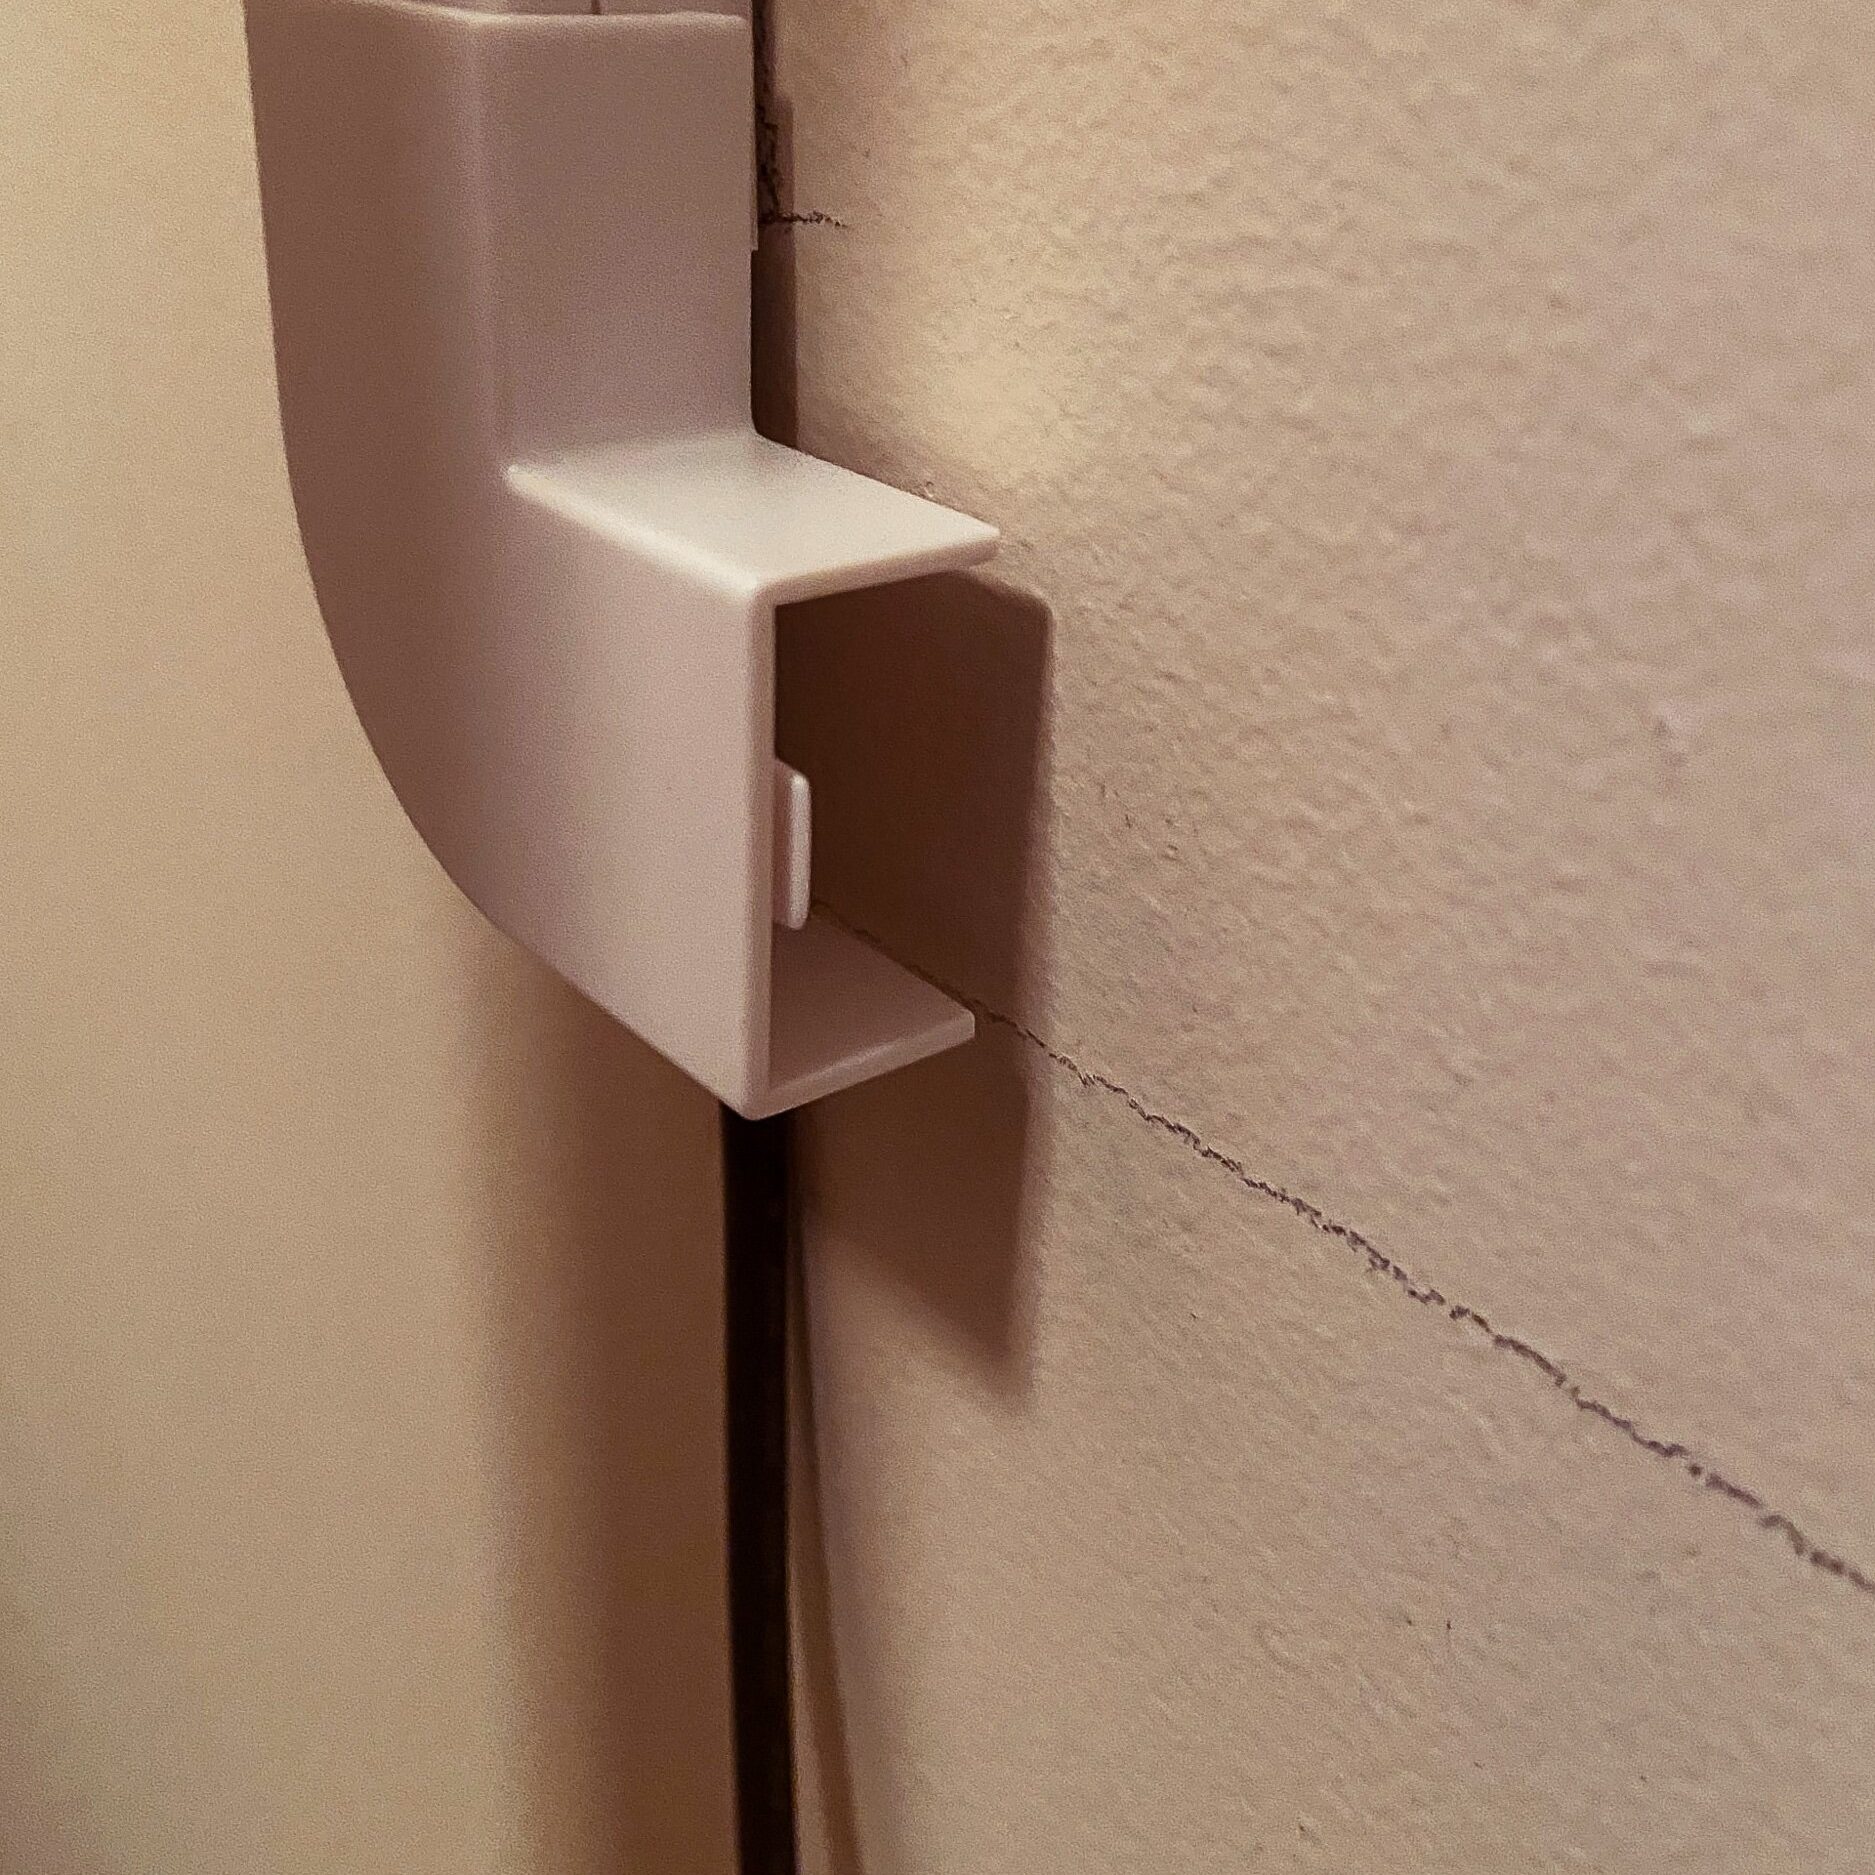
The main reason this is a more complex process is because the connector is only on the top of the raceway. The first step is to place the connector onto the track (top left) and then put the next piece of raceway into the connector without putting the cord inside (top right). With the new raceway in place, use a level and draw a line to help you place the raceway later. It’s important not just to draw the level line, but to mark the start and end of where the raceway will be. Otherwise, the connector won’t have space to sit between the two pieces.
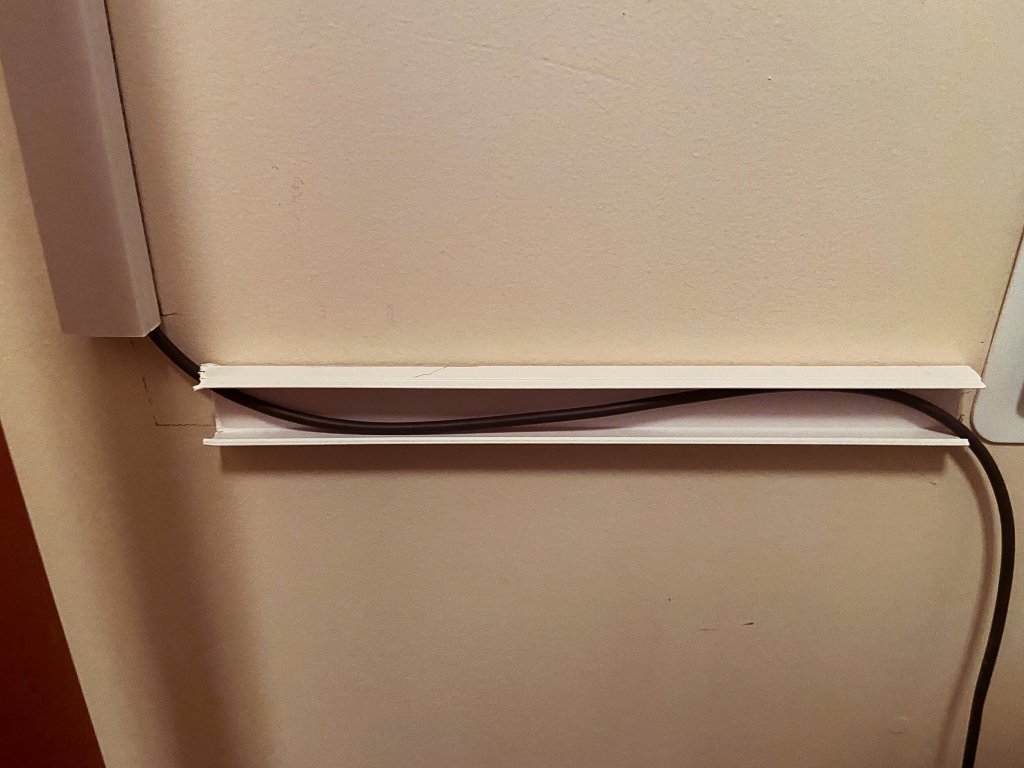
As you can see in the top right picture, the next piece of raceway was also too long for my space, so I marked it with a pencil where I would need to cut it. It cut fairly easily with a handsaw, although I did separate the top and bottom pieces before cutting them. If your cut edge is a little messy like mine was, it’s not a big deal since the connector will cover it. The next steps are pretty similar to laying a single piece of raceway. Attach the back section to the wall using the included double-sided tape, making sure to line up the start and end correctly (bottom left). Next, put the cord inside the track. Before sliding the top section of the newly attached raceway, put the connector back in place so the top piece can slide into it (bottom right).
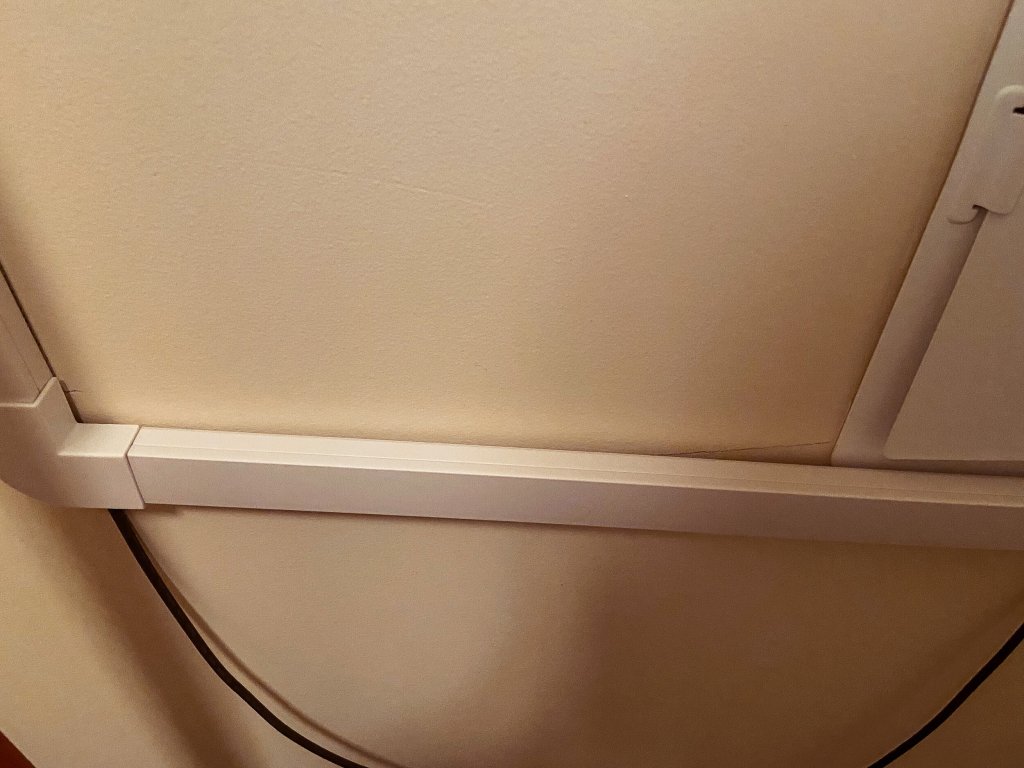
I gave the raceway two coats of paint, and the finished result makes me so happy.
To hold the router on its side so it would fit behind the door, I found this Google Home mount by HumanCentric (affiliate link). It attached to the wall with three screws and matched the Google Home perfectly. Now the door can fully open, which is a not-so-small victory!
As part of the ORC, I am going to build something to conceal the smart closet as well. I know this is behind the door, but with a small room like the laundry room, every little bit of polish is important to me.
Here’s the finished patched wall, and the vacuum mounted on the wall with the smart closet. There’s room to the left of it to hang our broom and dustpan, I just need to find the right hooks for the space.
