


To follow along with more participants in the Fall 2021 Challenge, take a visit to the ORC Blog.
This may be one of my shorter updates for the One Room Challenge this session. Work went a lot longer than usual and left me pretty wiped out at the end of each day, and we ran into some issues while tackling the updates we planned. That said, we did put in the work to get set for this upcoming week, and I’m excited to leap these hurdles and make more progress!
This post contains affiliate links, labeled after the link. If you use the links to buy something, I may earn a commission, but there is no extra cost to you. I do my best to only link things for house projects that I’ve used myself and liked well enough that I would use them again. Thanks!
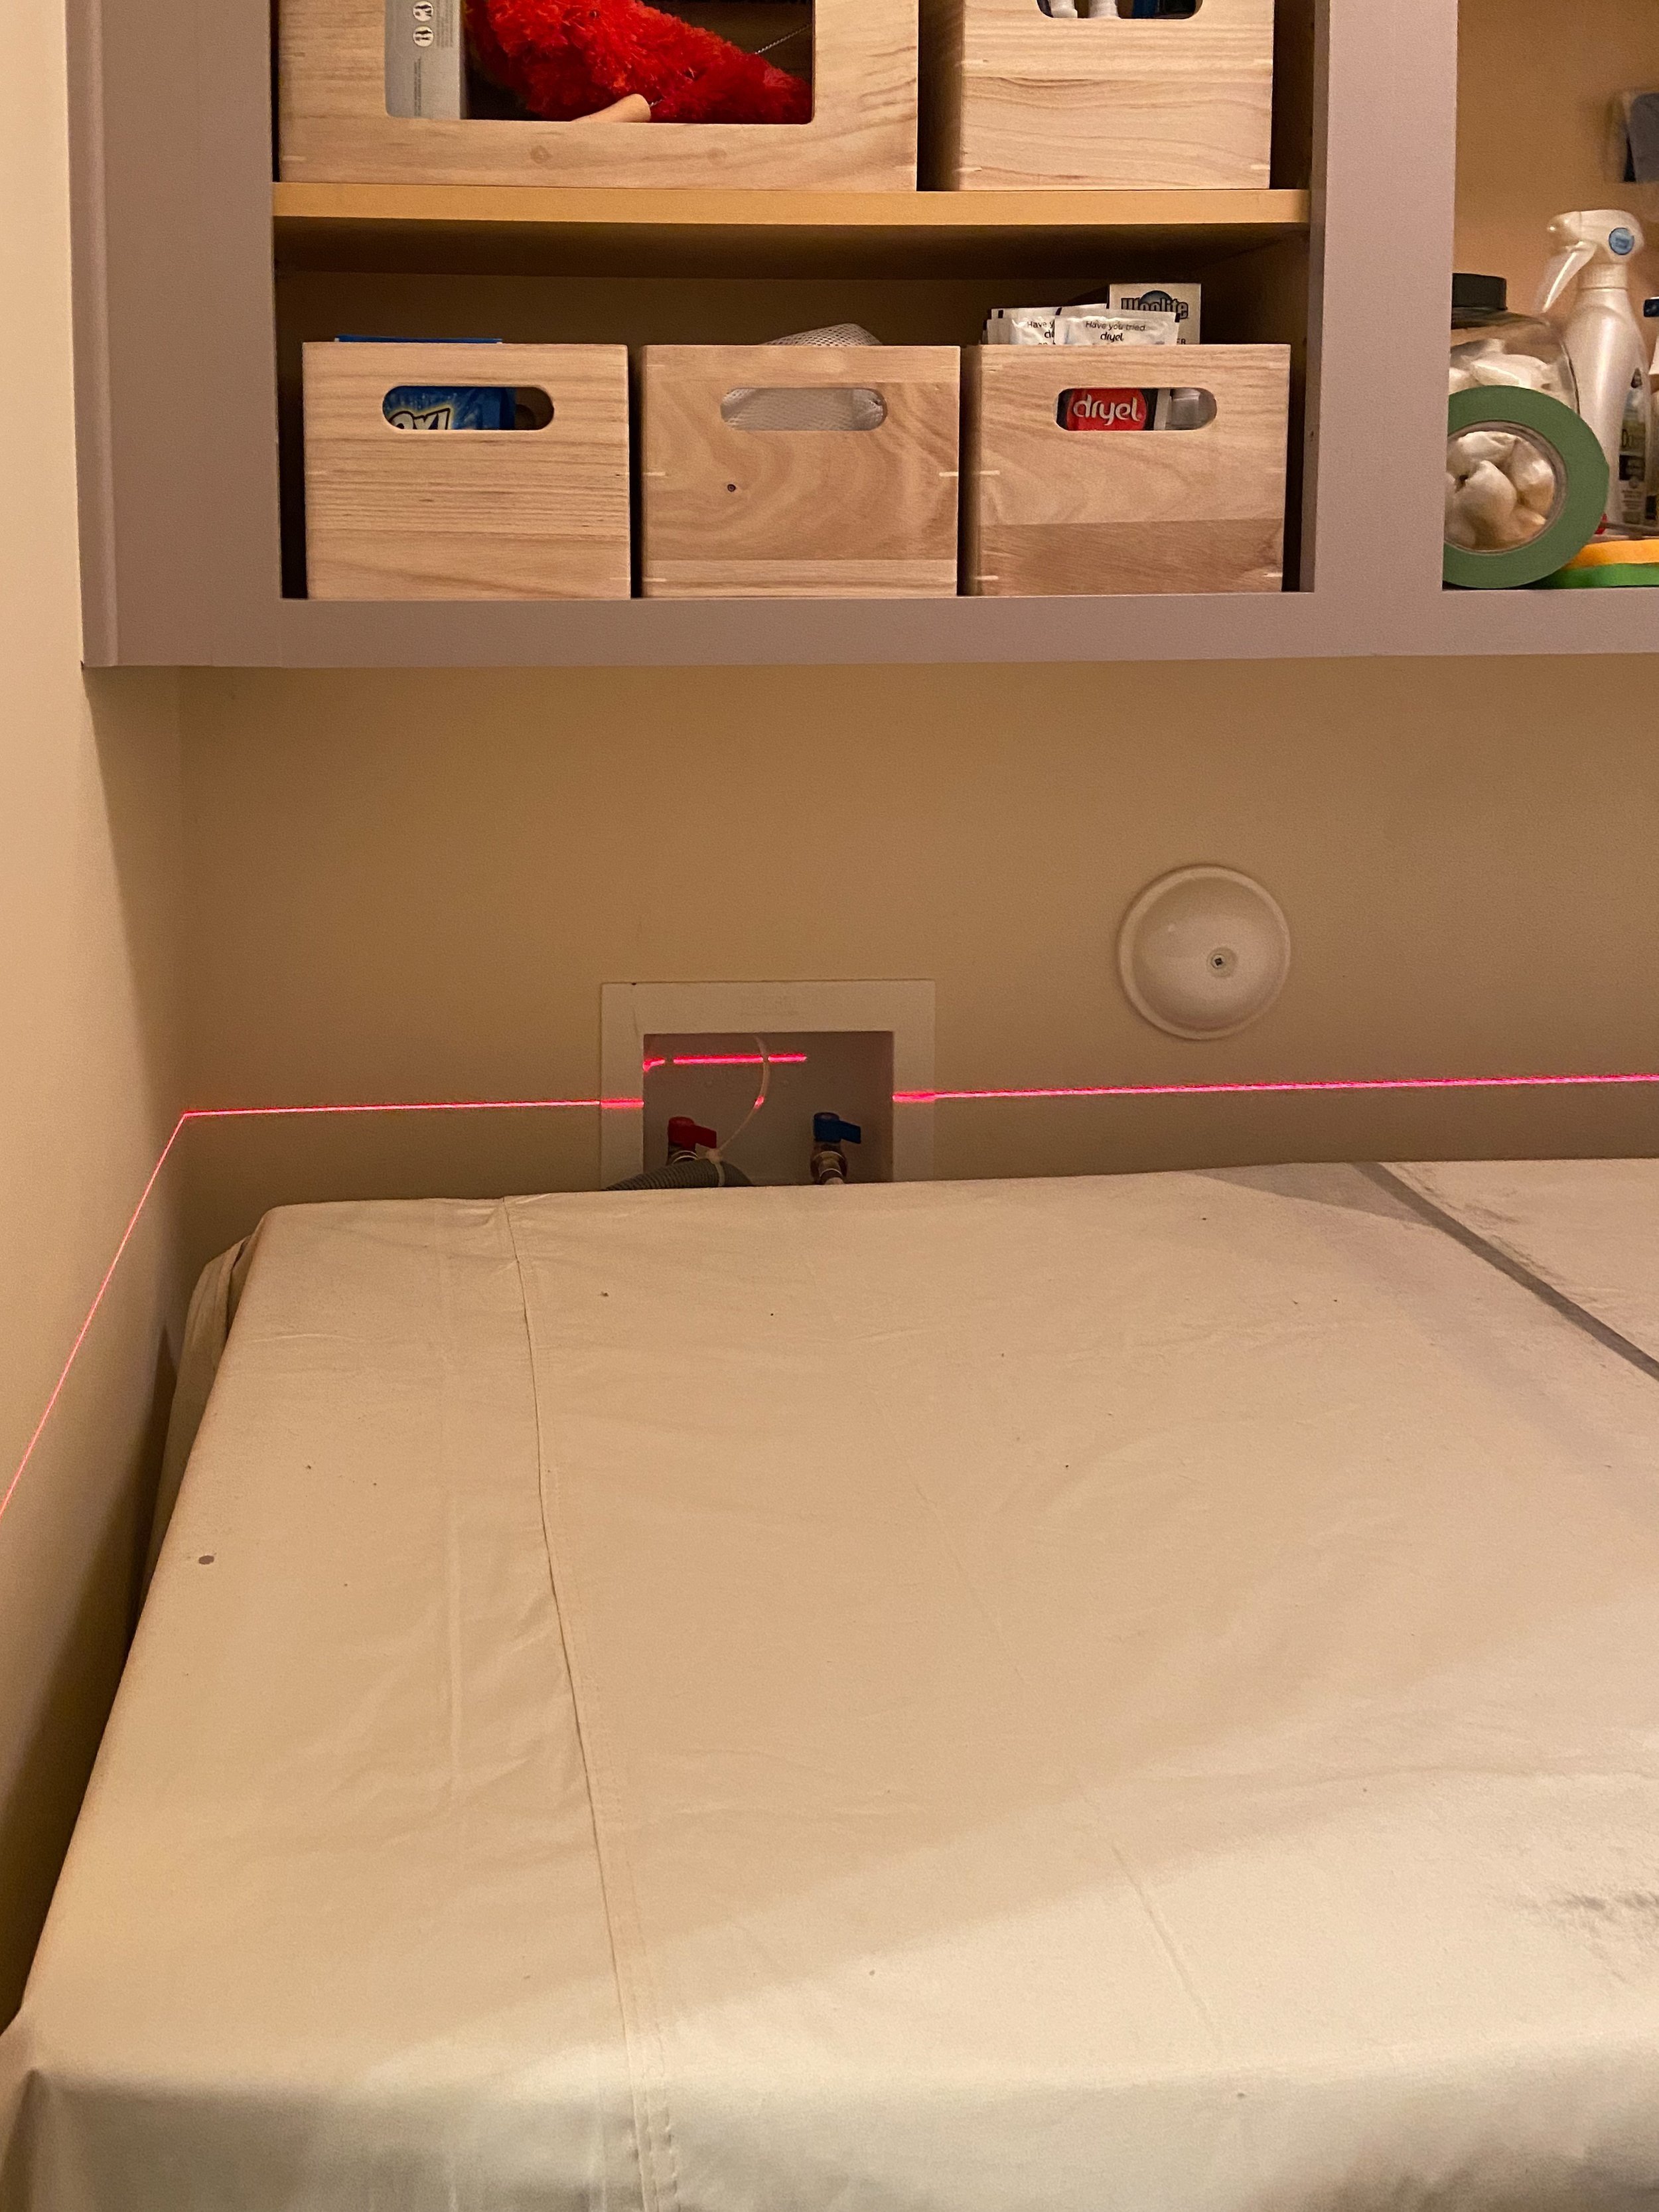
Our first plan for the week was to install the countertop. We brought out the laser level and started finding where our supports should be mounted to the wall. Then, we brought in cardboard to begin making a template for the counter.
Templating is important to be detailed with, especially when the counter will touch three walls like this. Walls are rarely straight and corners are rarely perfectly 90 degrees. While we were beginning to template, Matt realized he didn’t have the screws on hand to get a really stable hold for the supports. We also decided to pause to try to get our template just right, which led to some DIY tool creation! I’ll show that in a future post when we actually get the final template made.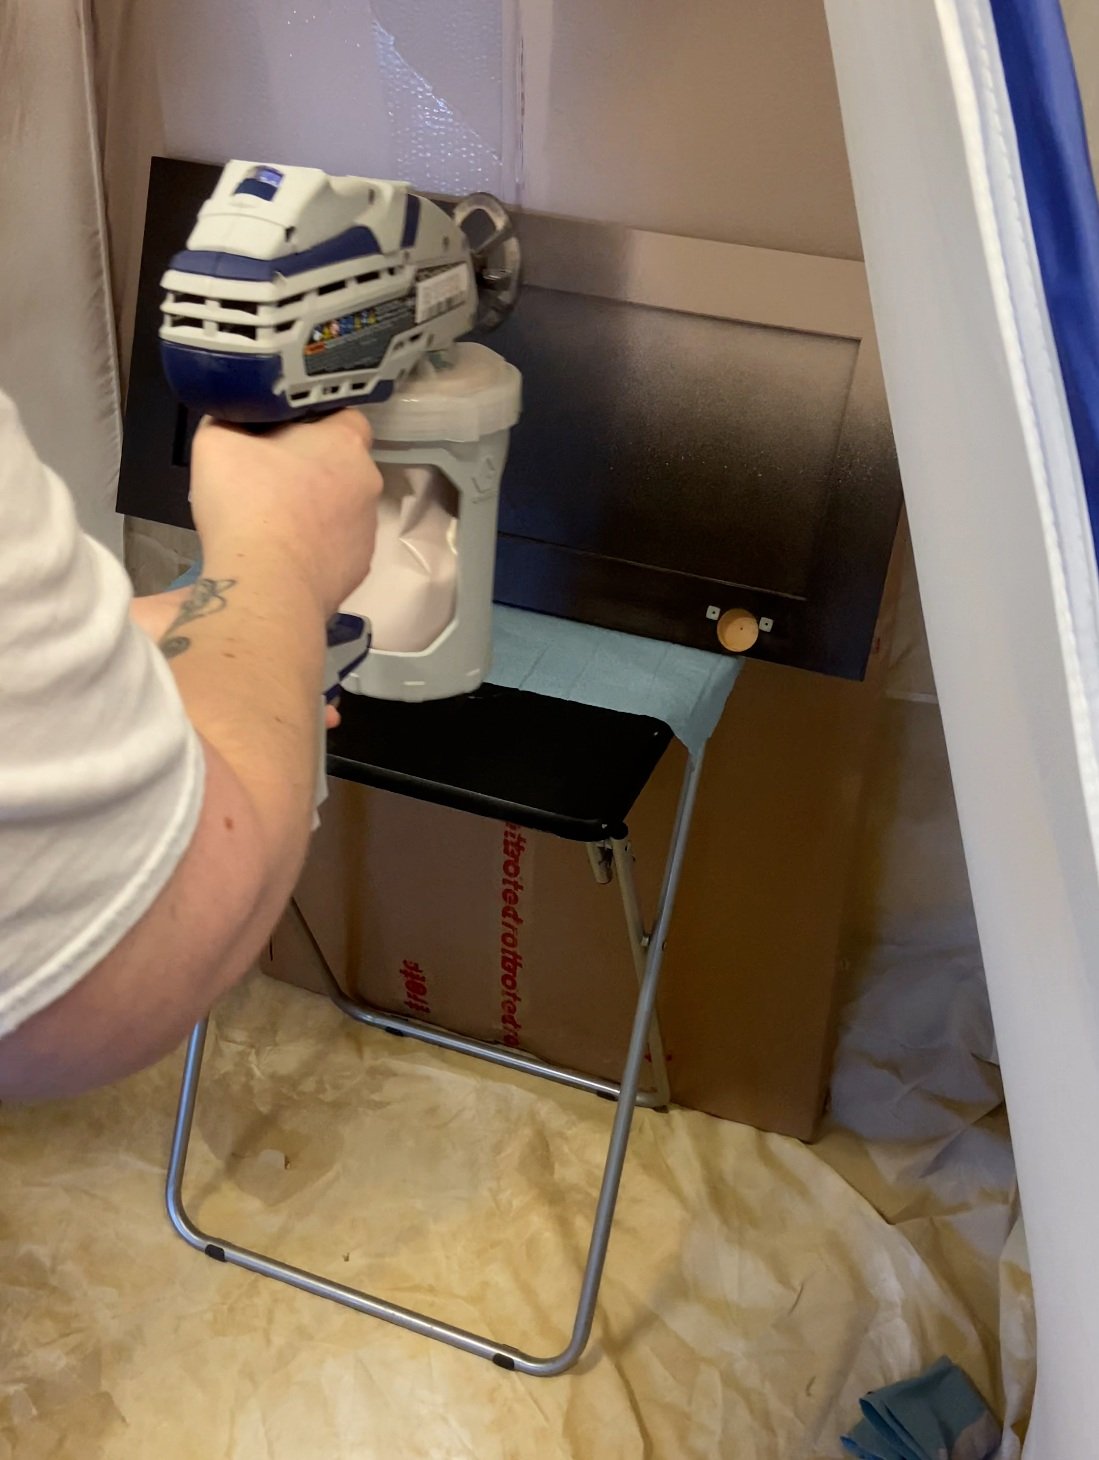
So, while we waited on the parts we needed to continue work on the countertop, we switched to painting the cabinet doors.
- Removed the handles
- Removed the hinges, labeling them with the door and hinge location for easier reinstallation
- Removed the little rubber cabinet nubs meant to keep the door from banging into the frame
- Sanded each side of the door and wiped it down thoroughly
- ___________________________
There is a missing last step here I will talk more about later, and it is why this is a week of hurdles instead of the week we finished painting and installing the cabinet doors.
The paint sprayer we are using is the Graco TrueCoat 360 VSP (affiliate link). It is an airless paint sprayer, meaning that it doesn’t need a compressor hooked up to it, and this plus the handheld form made it really easy to manage. There are paint cups you fill up with your paint, and with a short priming step, we were able to get right to painting fairly quickly. We were able to use paint straight from the can without needing to dilute it or add anything to thin it. Long story short, This is my favorite new tool I’ve picked up as part of this project. The cleanup was also really smooth – but this is in large part to us using an alkyd paint and not an oil-based one. So, definitely keep that in mind as you’re selecting paint.We did a few practice sprays on a box in our paint tent, mostly to get the hang of the speed we needed to move the sprayer at, and the kind of coverage we got. Then, we started spraying the doors, moving from right to left and trying to keep the sprayer parallel to the door the whole time. When doing the next pass down, we’d overlap the area the previous pass hit, which made sure we had smooth even coverage. Each door needed about two sets of passes per side, just to fill in the small details.
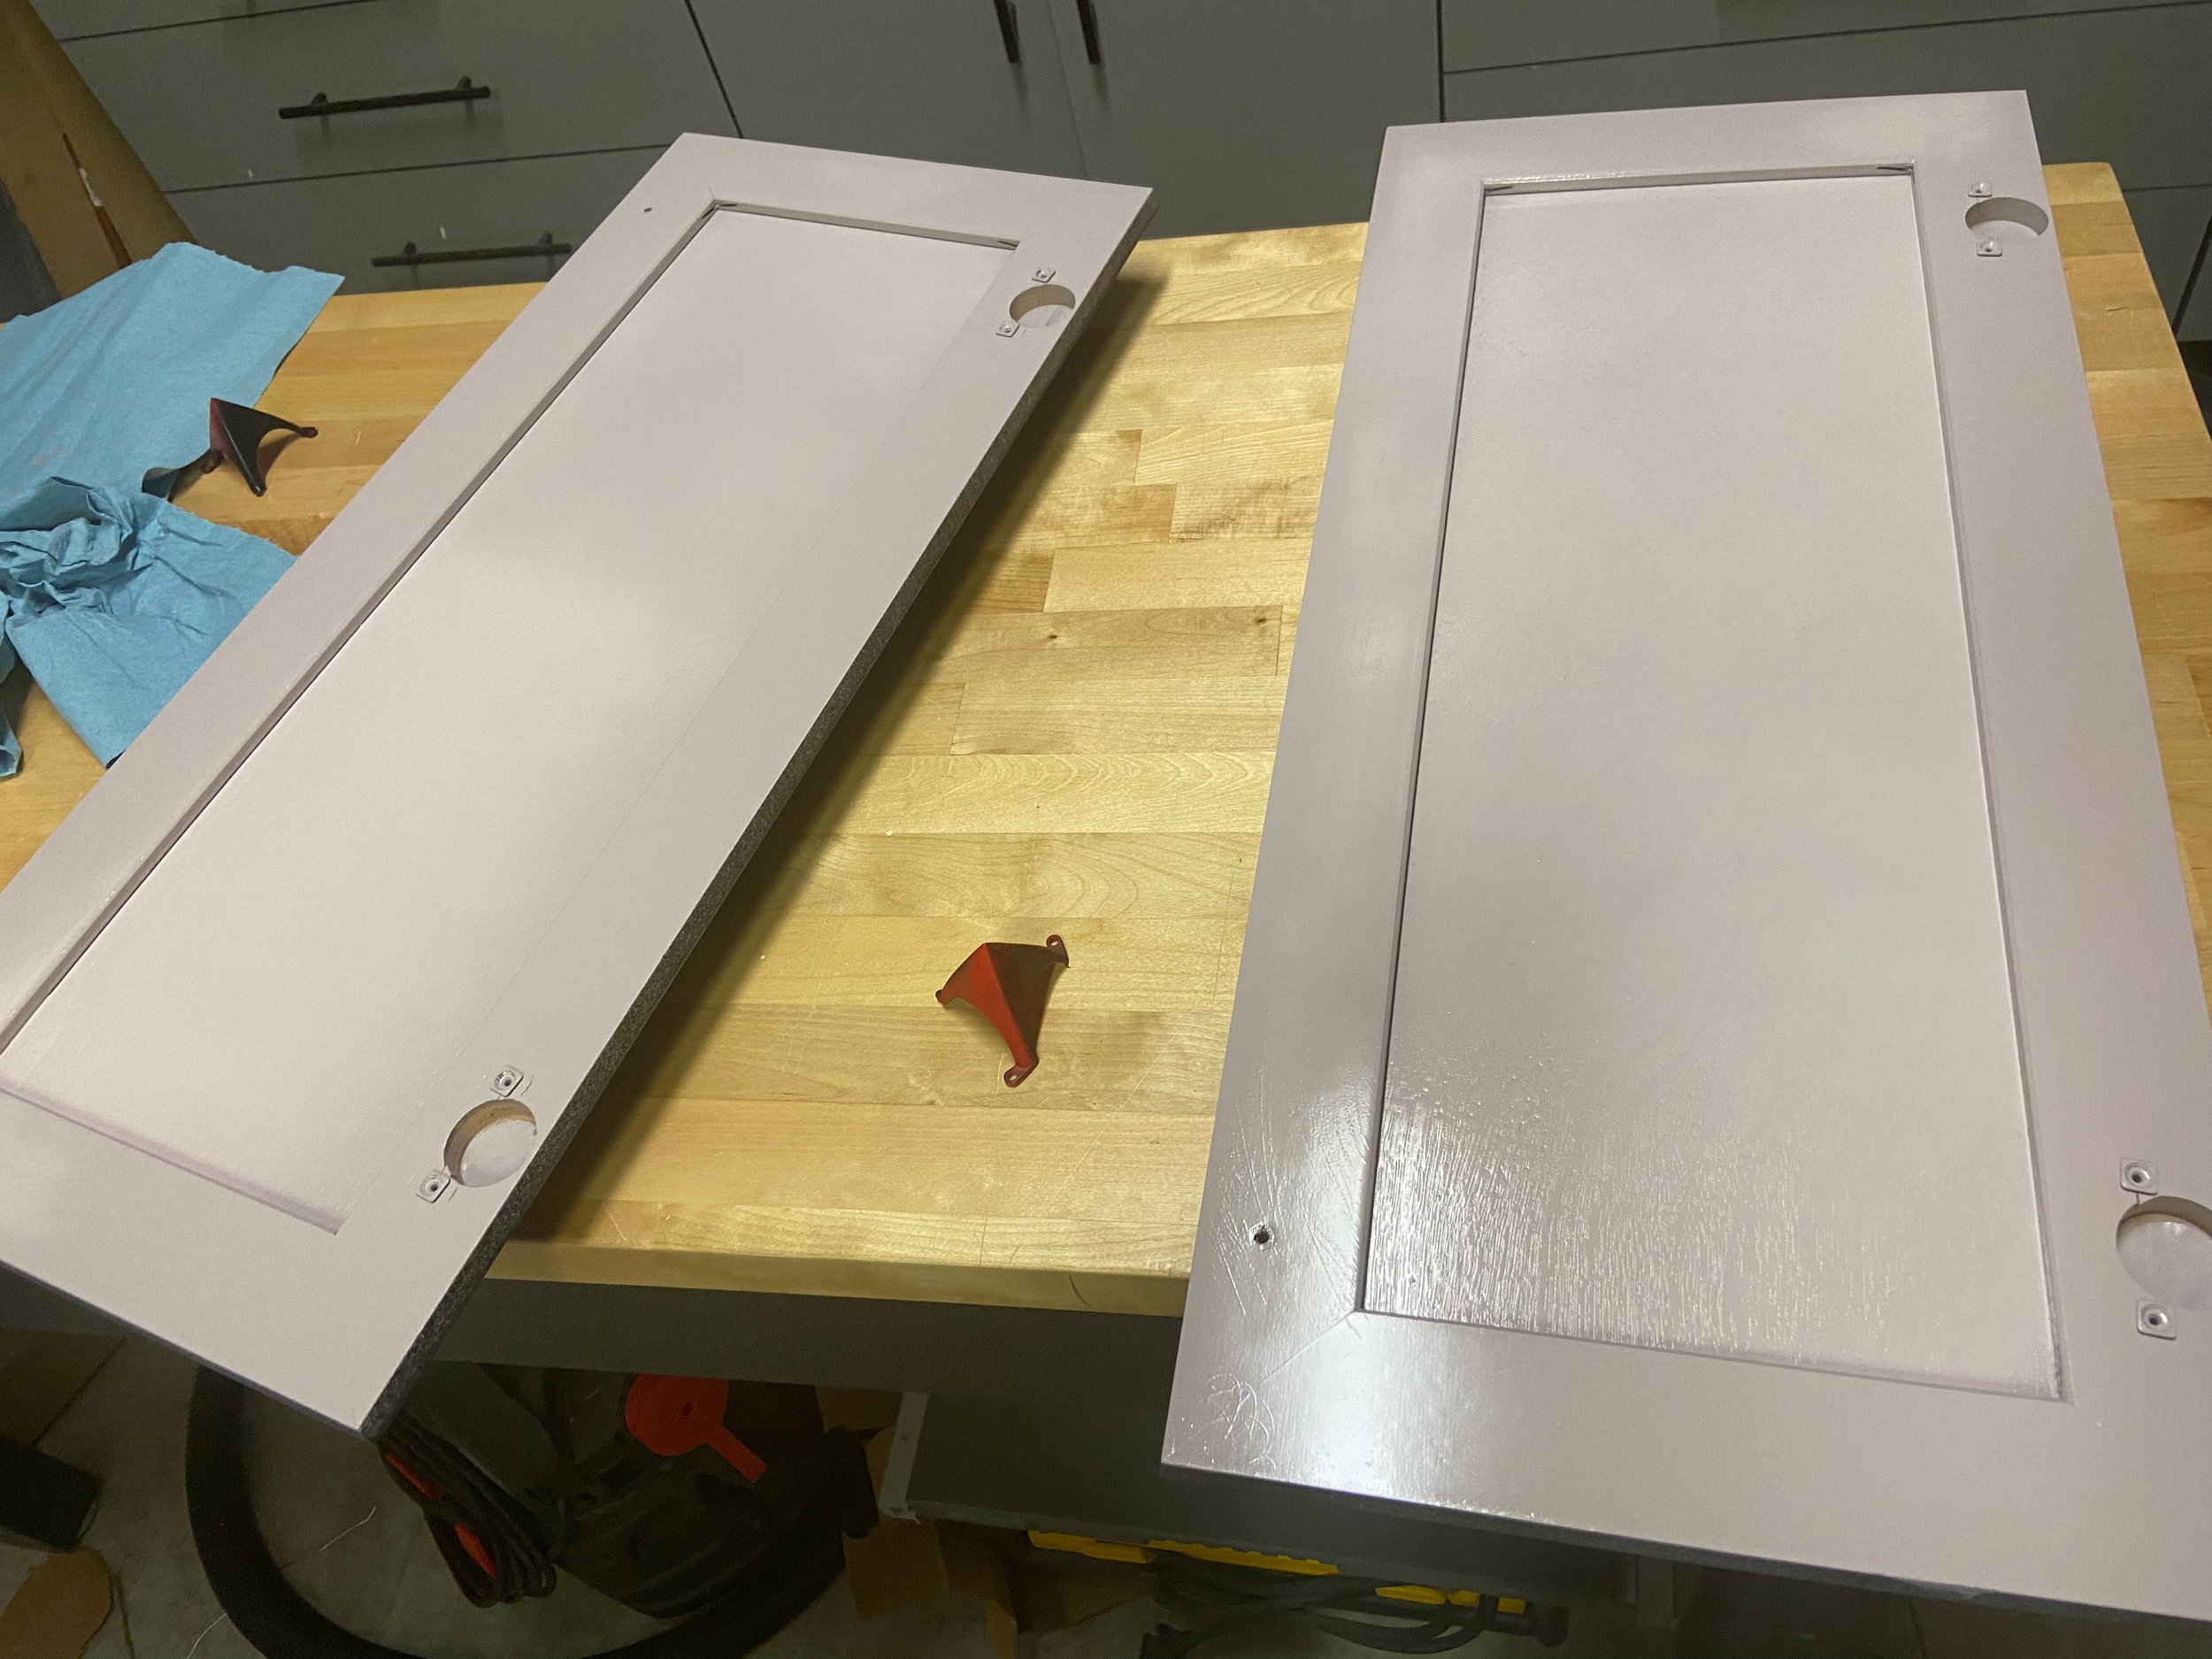
The finish on the doors is absolutely stunning in some areas. But, here is where I wish I had added another step to the door prep. With paint on top rather than a dark stain, the wood grain is way more apparent on the door panels, and small imperfections like the indents from stapling the trim together stand out. The sandpaper I used was also a little too coarse, and you can see some of the sanding scratches showing through. I have a plan to get that super-smooth finish though. I bought some wood filler and am going to look up how to fill that wood grain (in addition to the scratches and staple holes) and then I think this will be the preparation step I need!
