
To follow along with more participants in the Fall 2021 Challenge, take a visit to the ORC Blog.
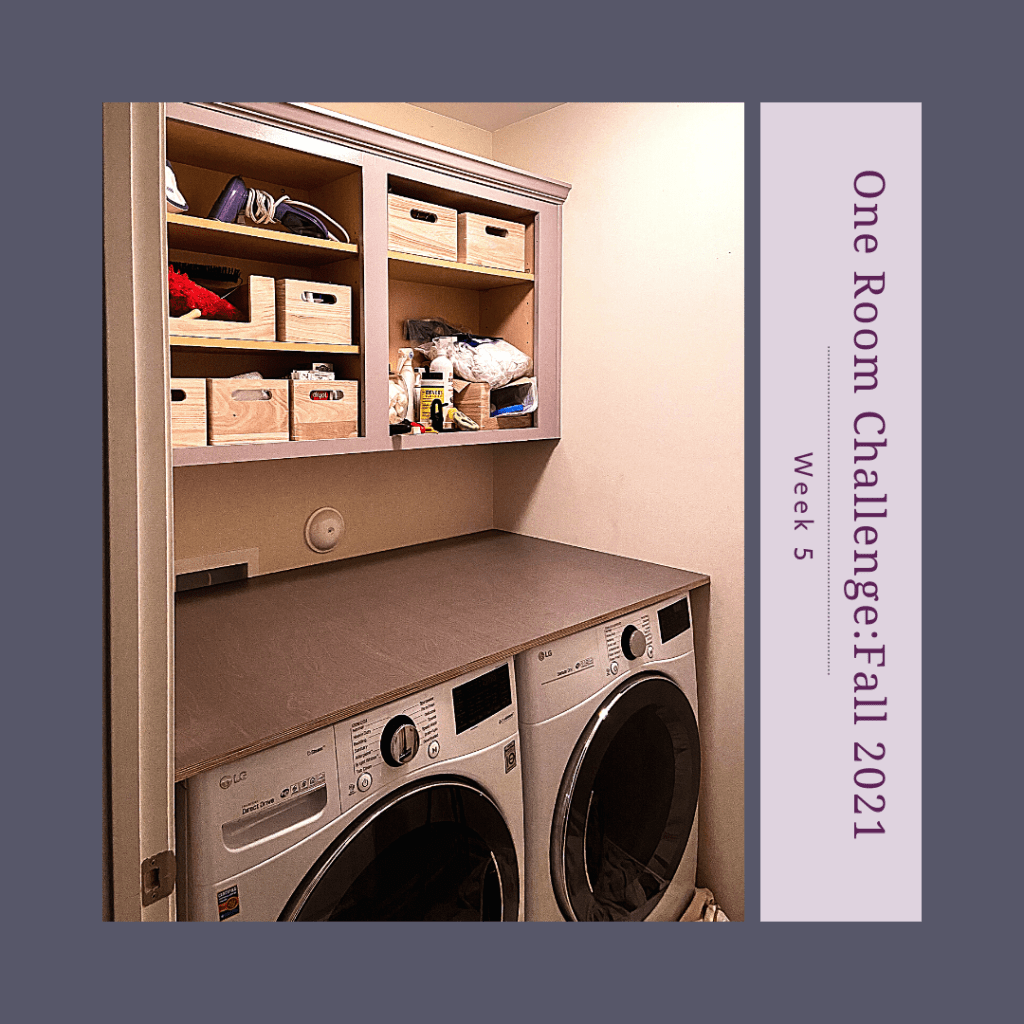
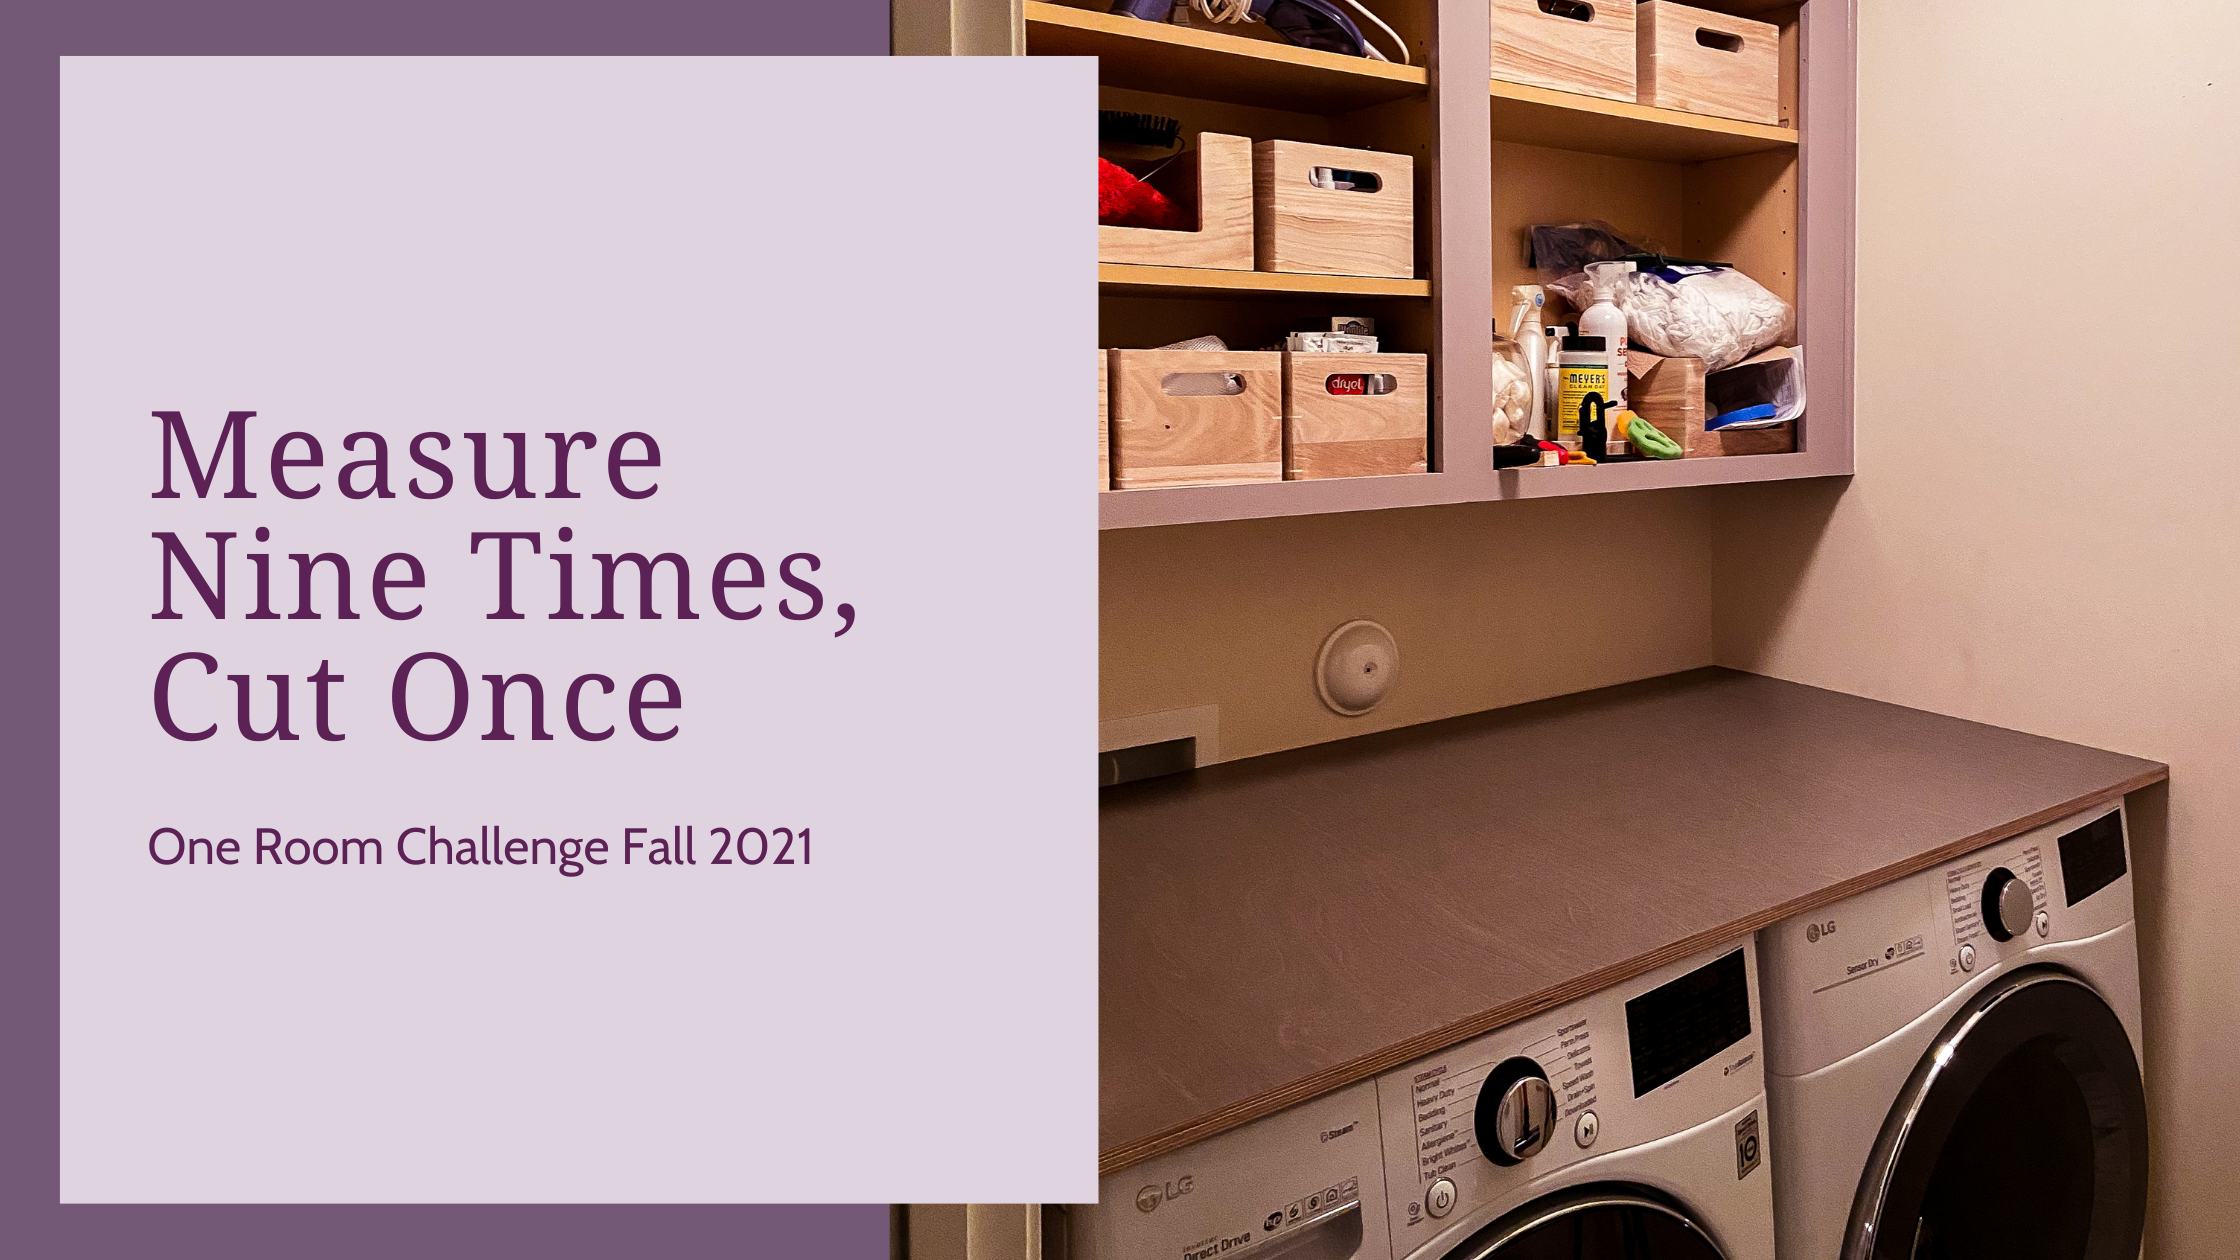
After a tough week of challenges last week, I am so glad that this week we were able to get the counter in place! We also made a lot of progress on filling in the grain on the cabinet doors, so I’m pretty hopeful we’ll be able to show a big update on that next week.
This post contains affiliate links, labeled after the link. If you use the links to buy something, I may earn a commission, but there is no extra cost to you. I do my best to only link things for house projects that we’ve used ourselves and liked well enough that we would use them again. Thanks!
While I worked on prepping the cabinet doors in the garage, Matt took on a ton of work to get this countertop installed this week. I was really glad to have his help with this, and the result is a huge upgrade for this little laundry room.
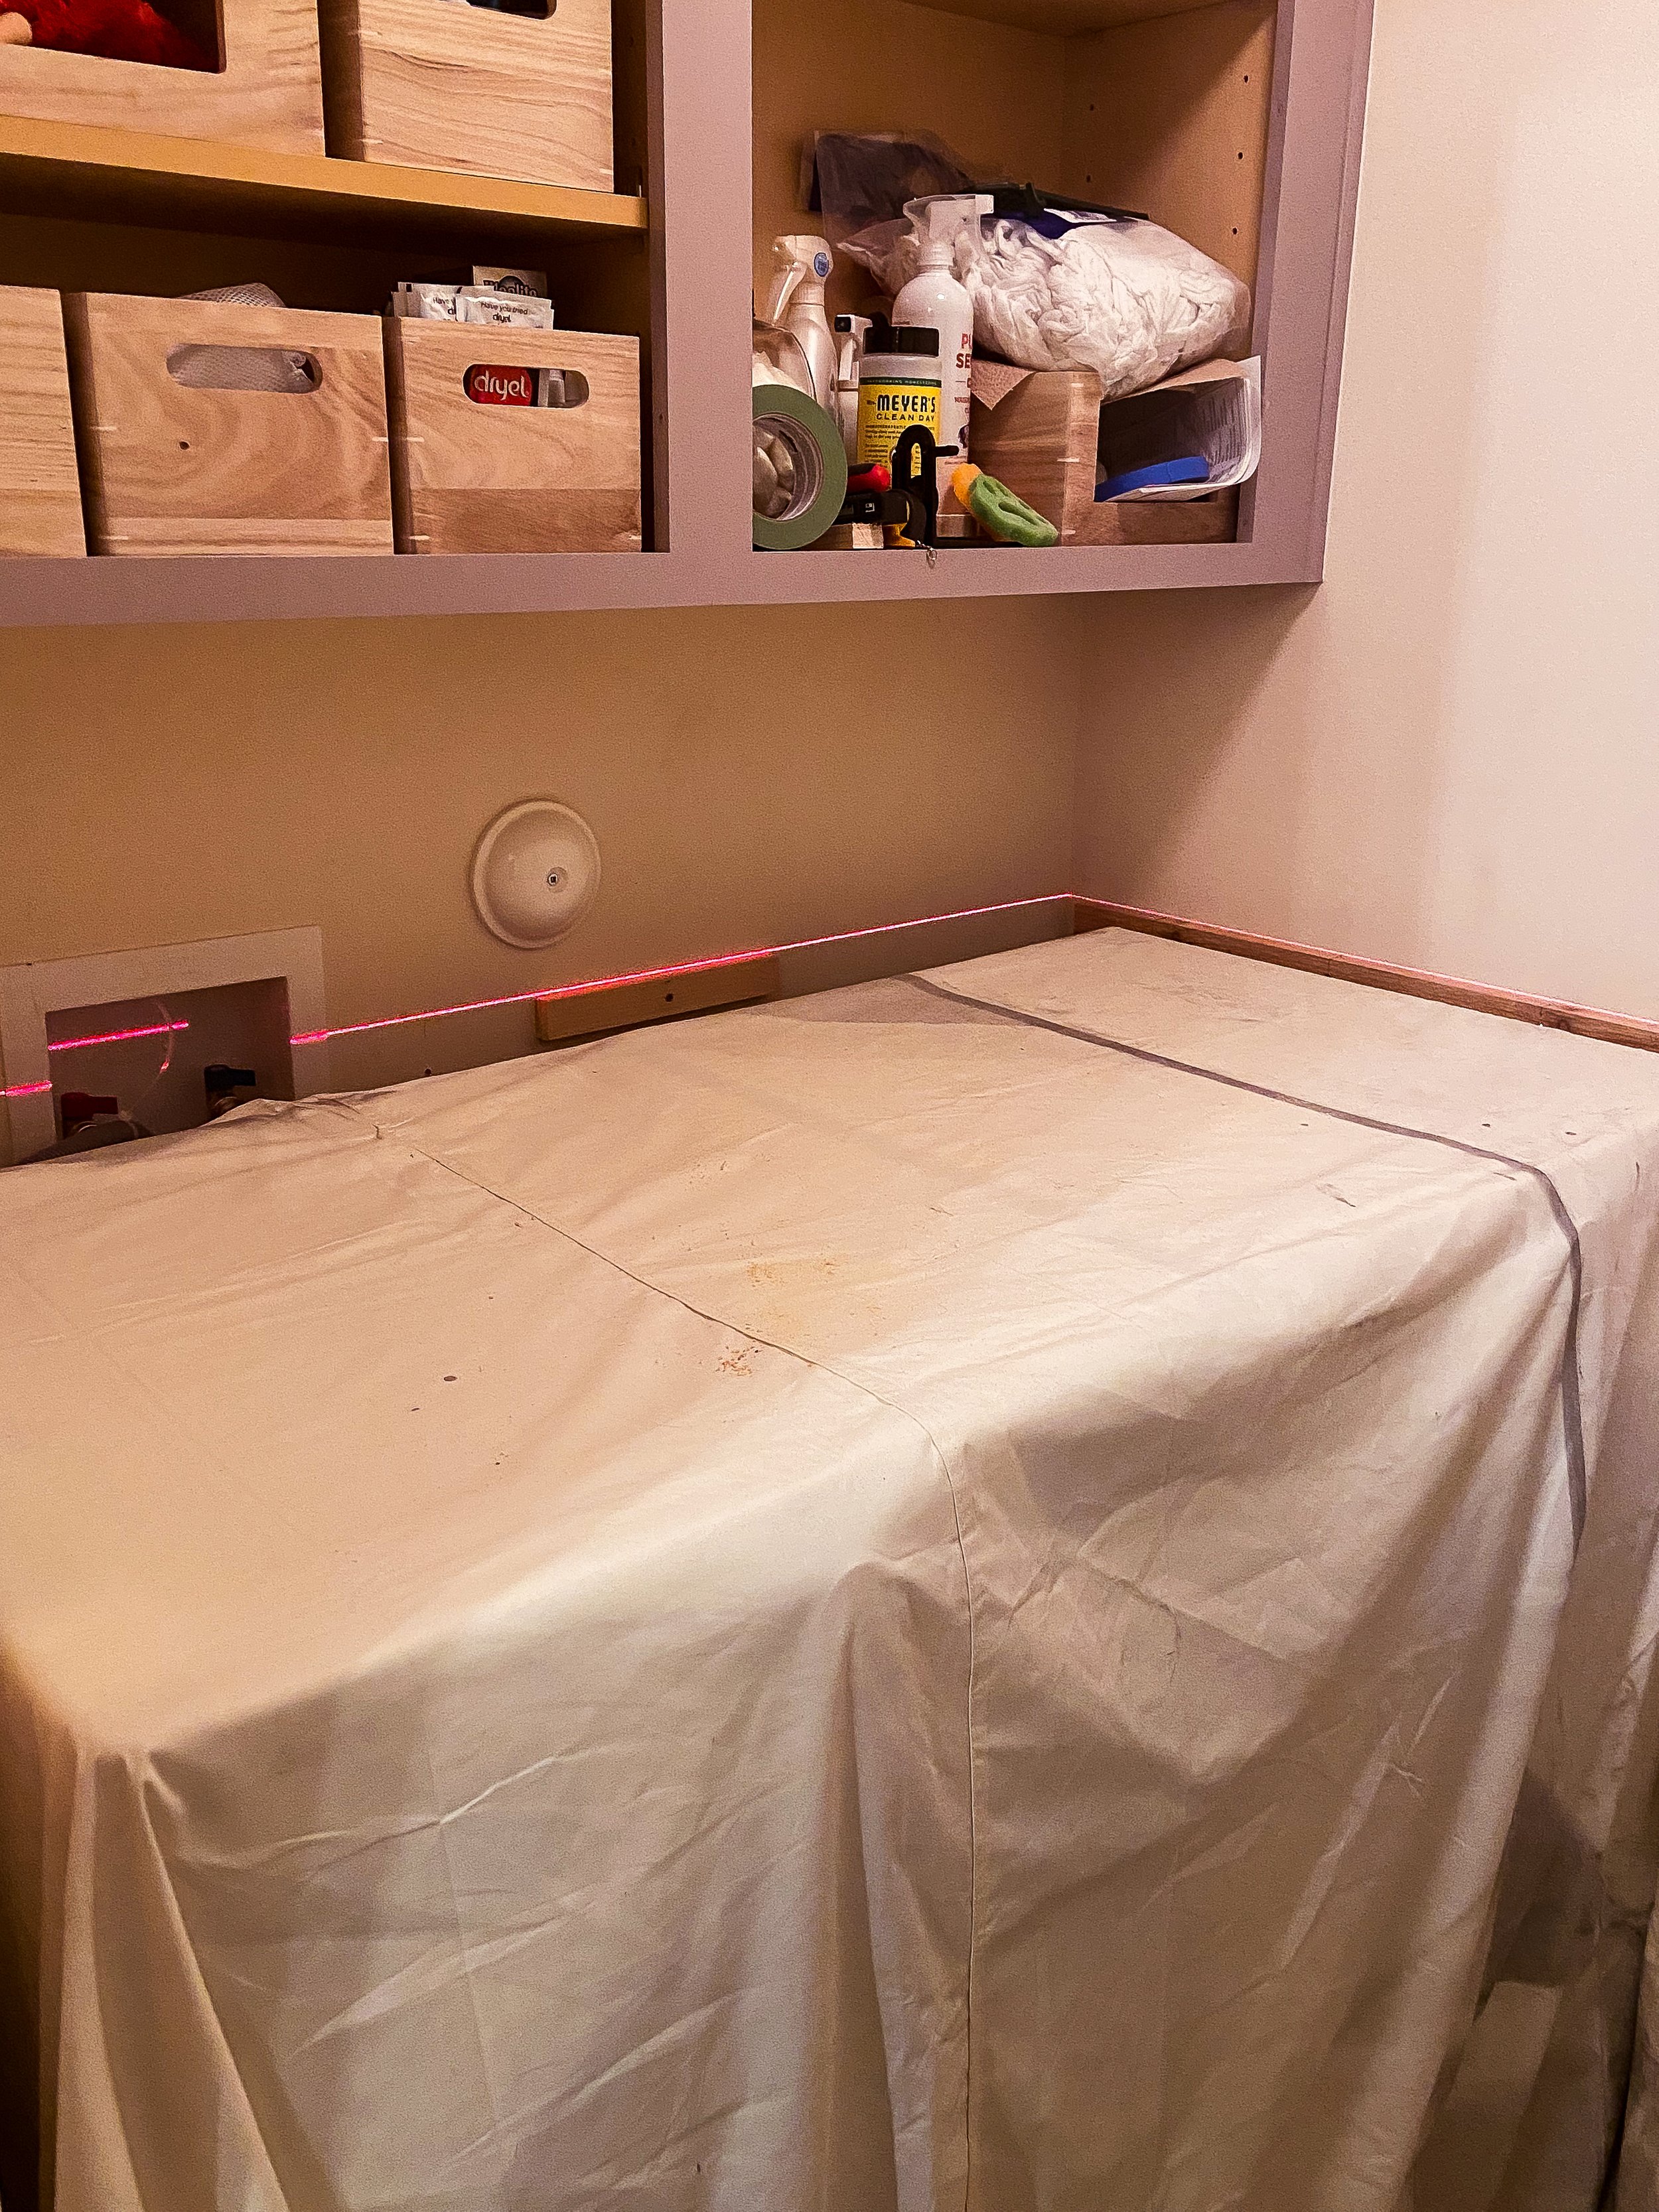
As you can see from this picture, we have very little wiggle room when it comes to these supports. We used 1” by 1/2” wood strips, making sure each one was screwed into at least one stud with a 3” wood screw. The side supports are also using drywall anchors for additional mounting points, and the whole thing is very secure. The back support is shorter than we originally planned, but we think it’s still plenty to hold up the countertop because we’re using plywood rather than stone or a thick butcher block. There’s a lot of piping and wiring going on in that wall, so we ended up erring on the safe side and only using one screw in a space we checked with the inspection camera.
Because walls and floors are rarely square, we used the Bosch Laser Level (affiliate link) to help us level the supports. We were able to set it up on a tripod and get level lines on all three walls we needed at once. This is one of the tools we pull out most often when hanging art or mounting shelves or other things on walls, since it makes getting something truly level pretty simple.Then, we did a lot of measuring, hence the title of this post. Basically, Matt marked points every three inches along the two side walls, and then measured the distance between them with the Bosch Laser Distance Measure (affiliate link). He took the minimum distance that he found and used that as the width of the countertop. Thankfully, there was only around 1/4” in variation, so he was able to keep the entire counter one width rather than plotting out a diagonal line.
Then, he took those measurements and cut the plywood with the Dewalt jigsaw (affiliate link), which I think is officially the new tool we needed for this project. There always seems to be one, doesn’t there? Because the plywood we used is pre-finished, we really had to be careful that we got a clean edge with the cut. Matt taped the surface he was cutting with painter’s tape, used the “clean cut” blade from this set (affiliate link), and set the jigsaw speed to max. The cut edges are really smooth with no splintering on the surface, although I will still seal the front cut edge to protect against water damage and spills.
For this countertop, we used Koskisen – Eco-transparent Grey (18 mm) which we ordered through Caragreen, a local company that focuses on eco-friendly building materials. It’s Baltic Birch plywood that comes pre-finished with this translucent color and a transparent durable film, making it easy to clean. I love how the wood grain shows through, and with the mauve cabinetry the grey color picks up some purple tones.
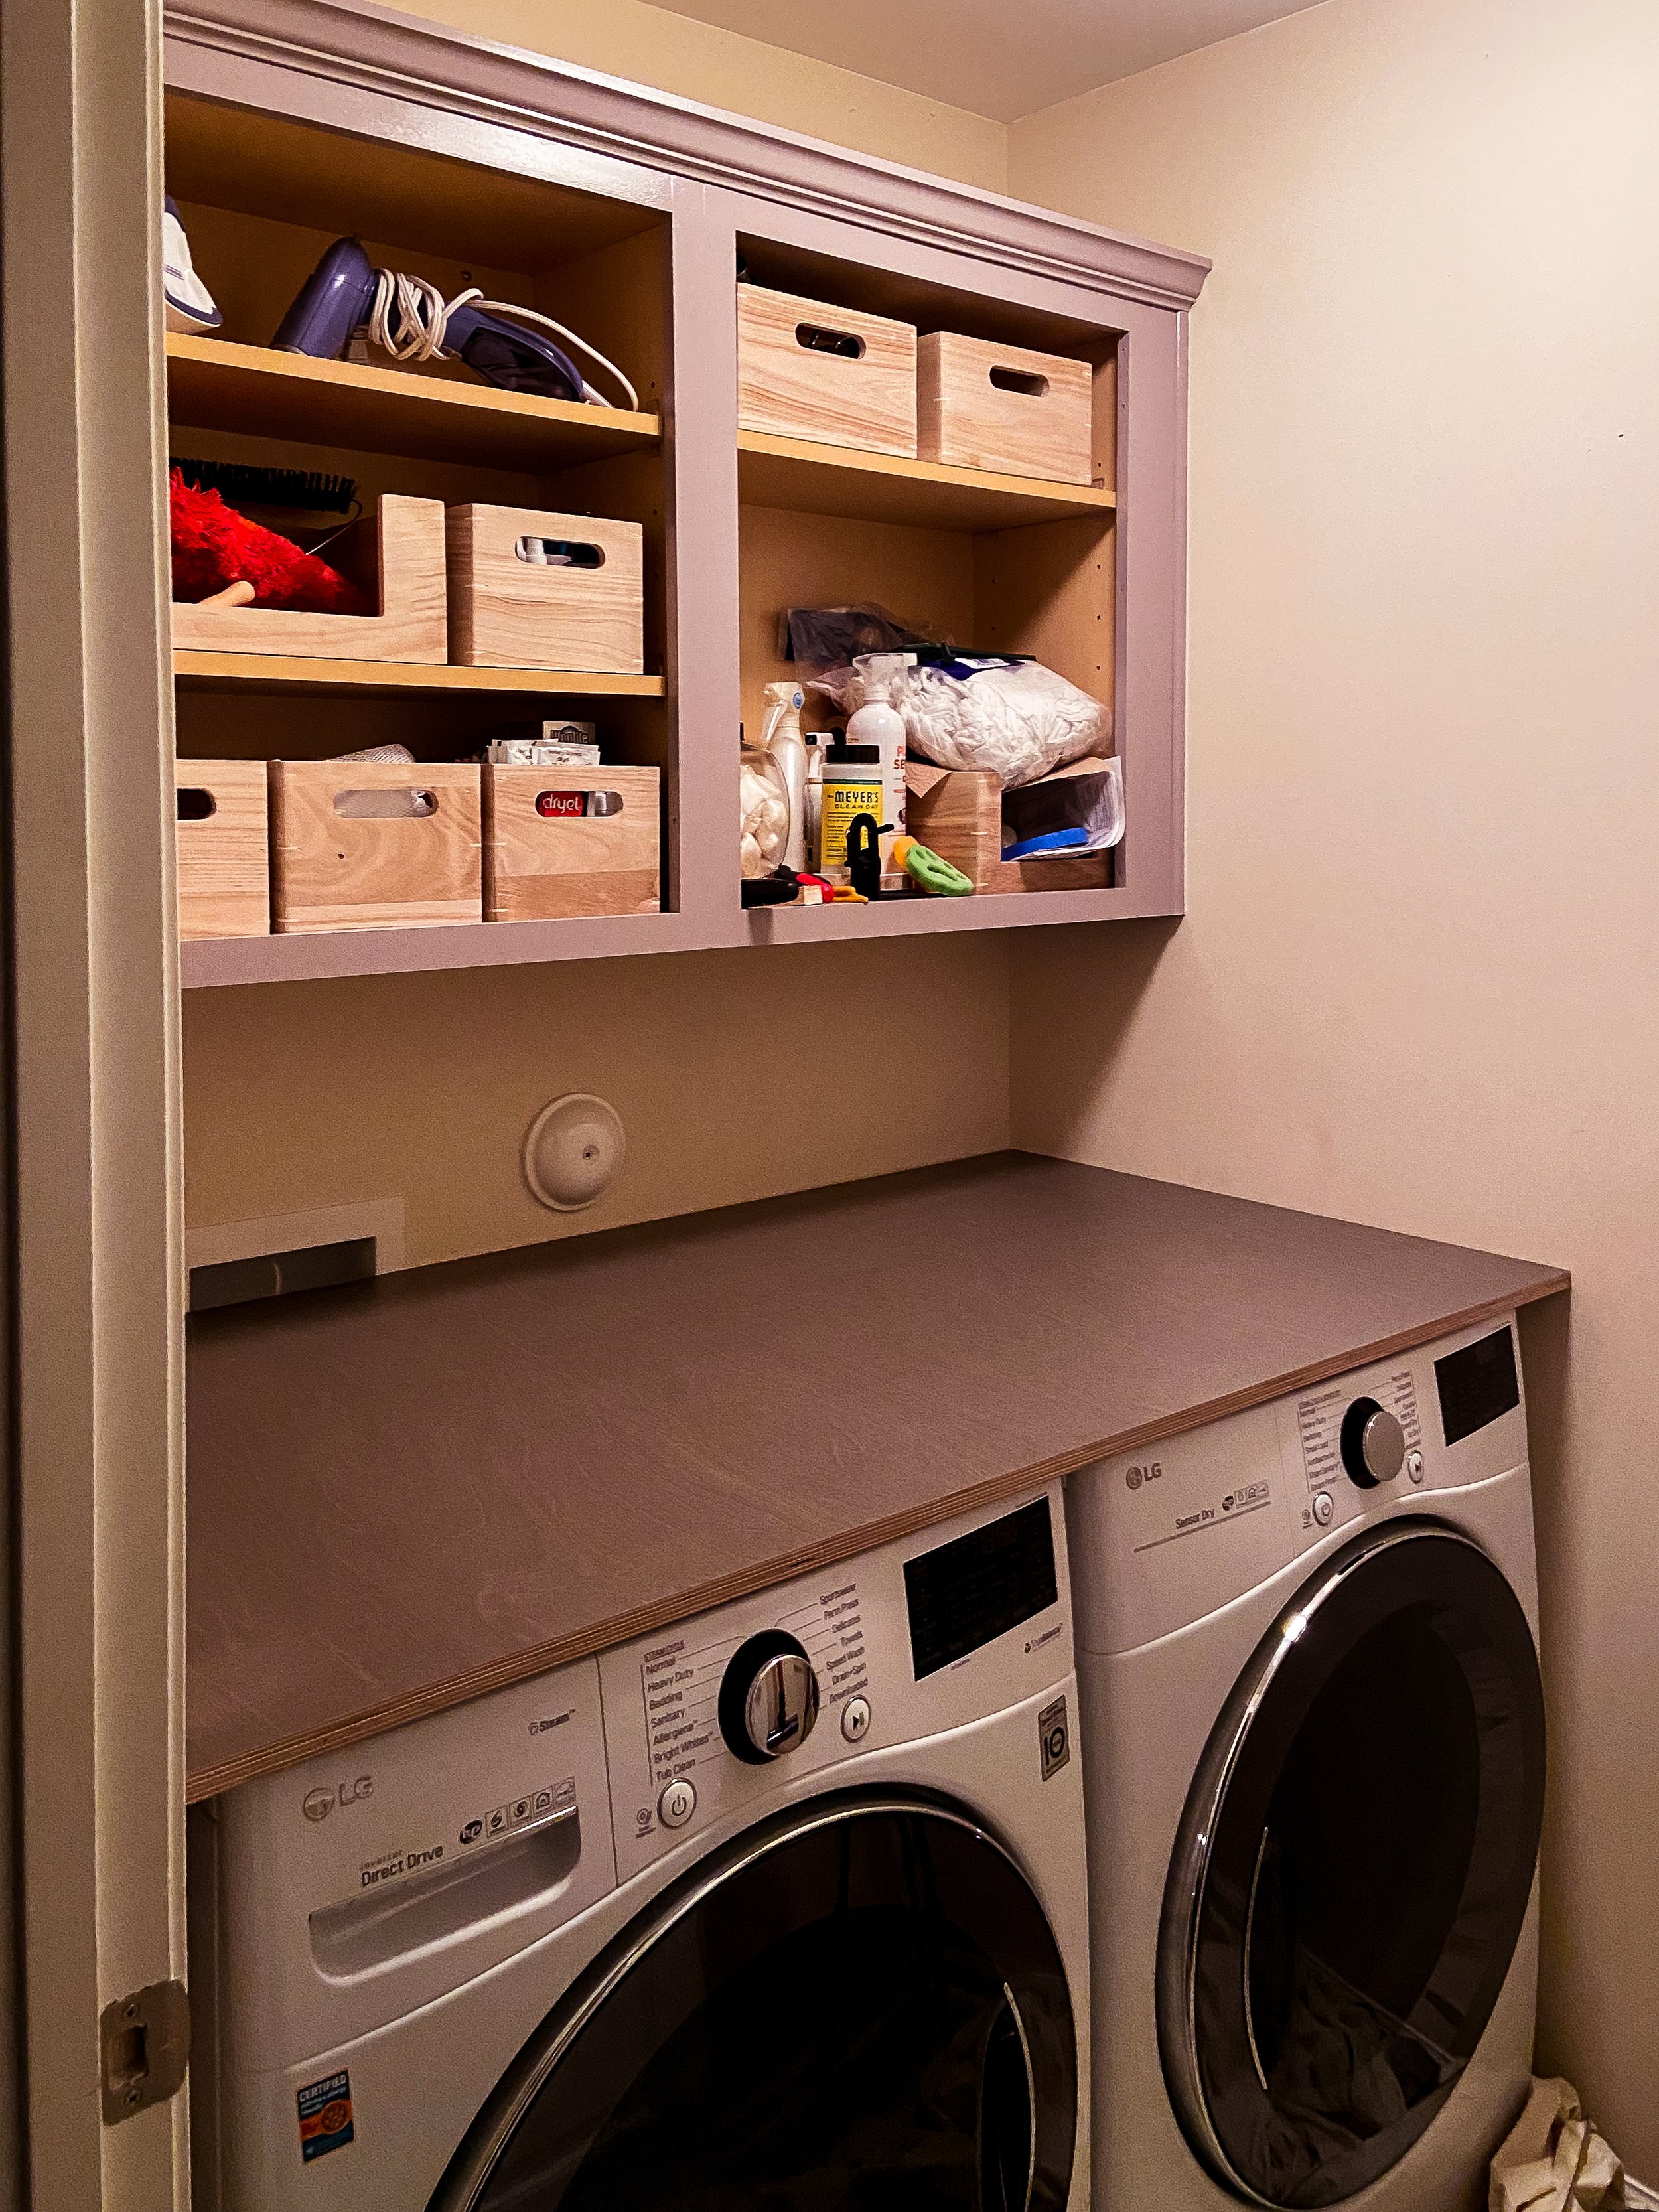
We were able to get a really close fit to the top of the washer and dryer, and the whole thing feels really sturdy. I’m still debating doing more of a decorative treatment to the front edge versus a plain clear coat. Overall though, I’m really happy with the function this adds and the sleek profile in the small space.
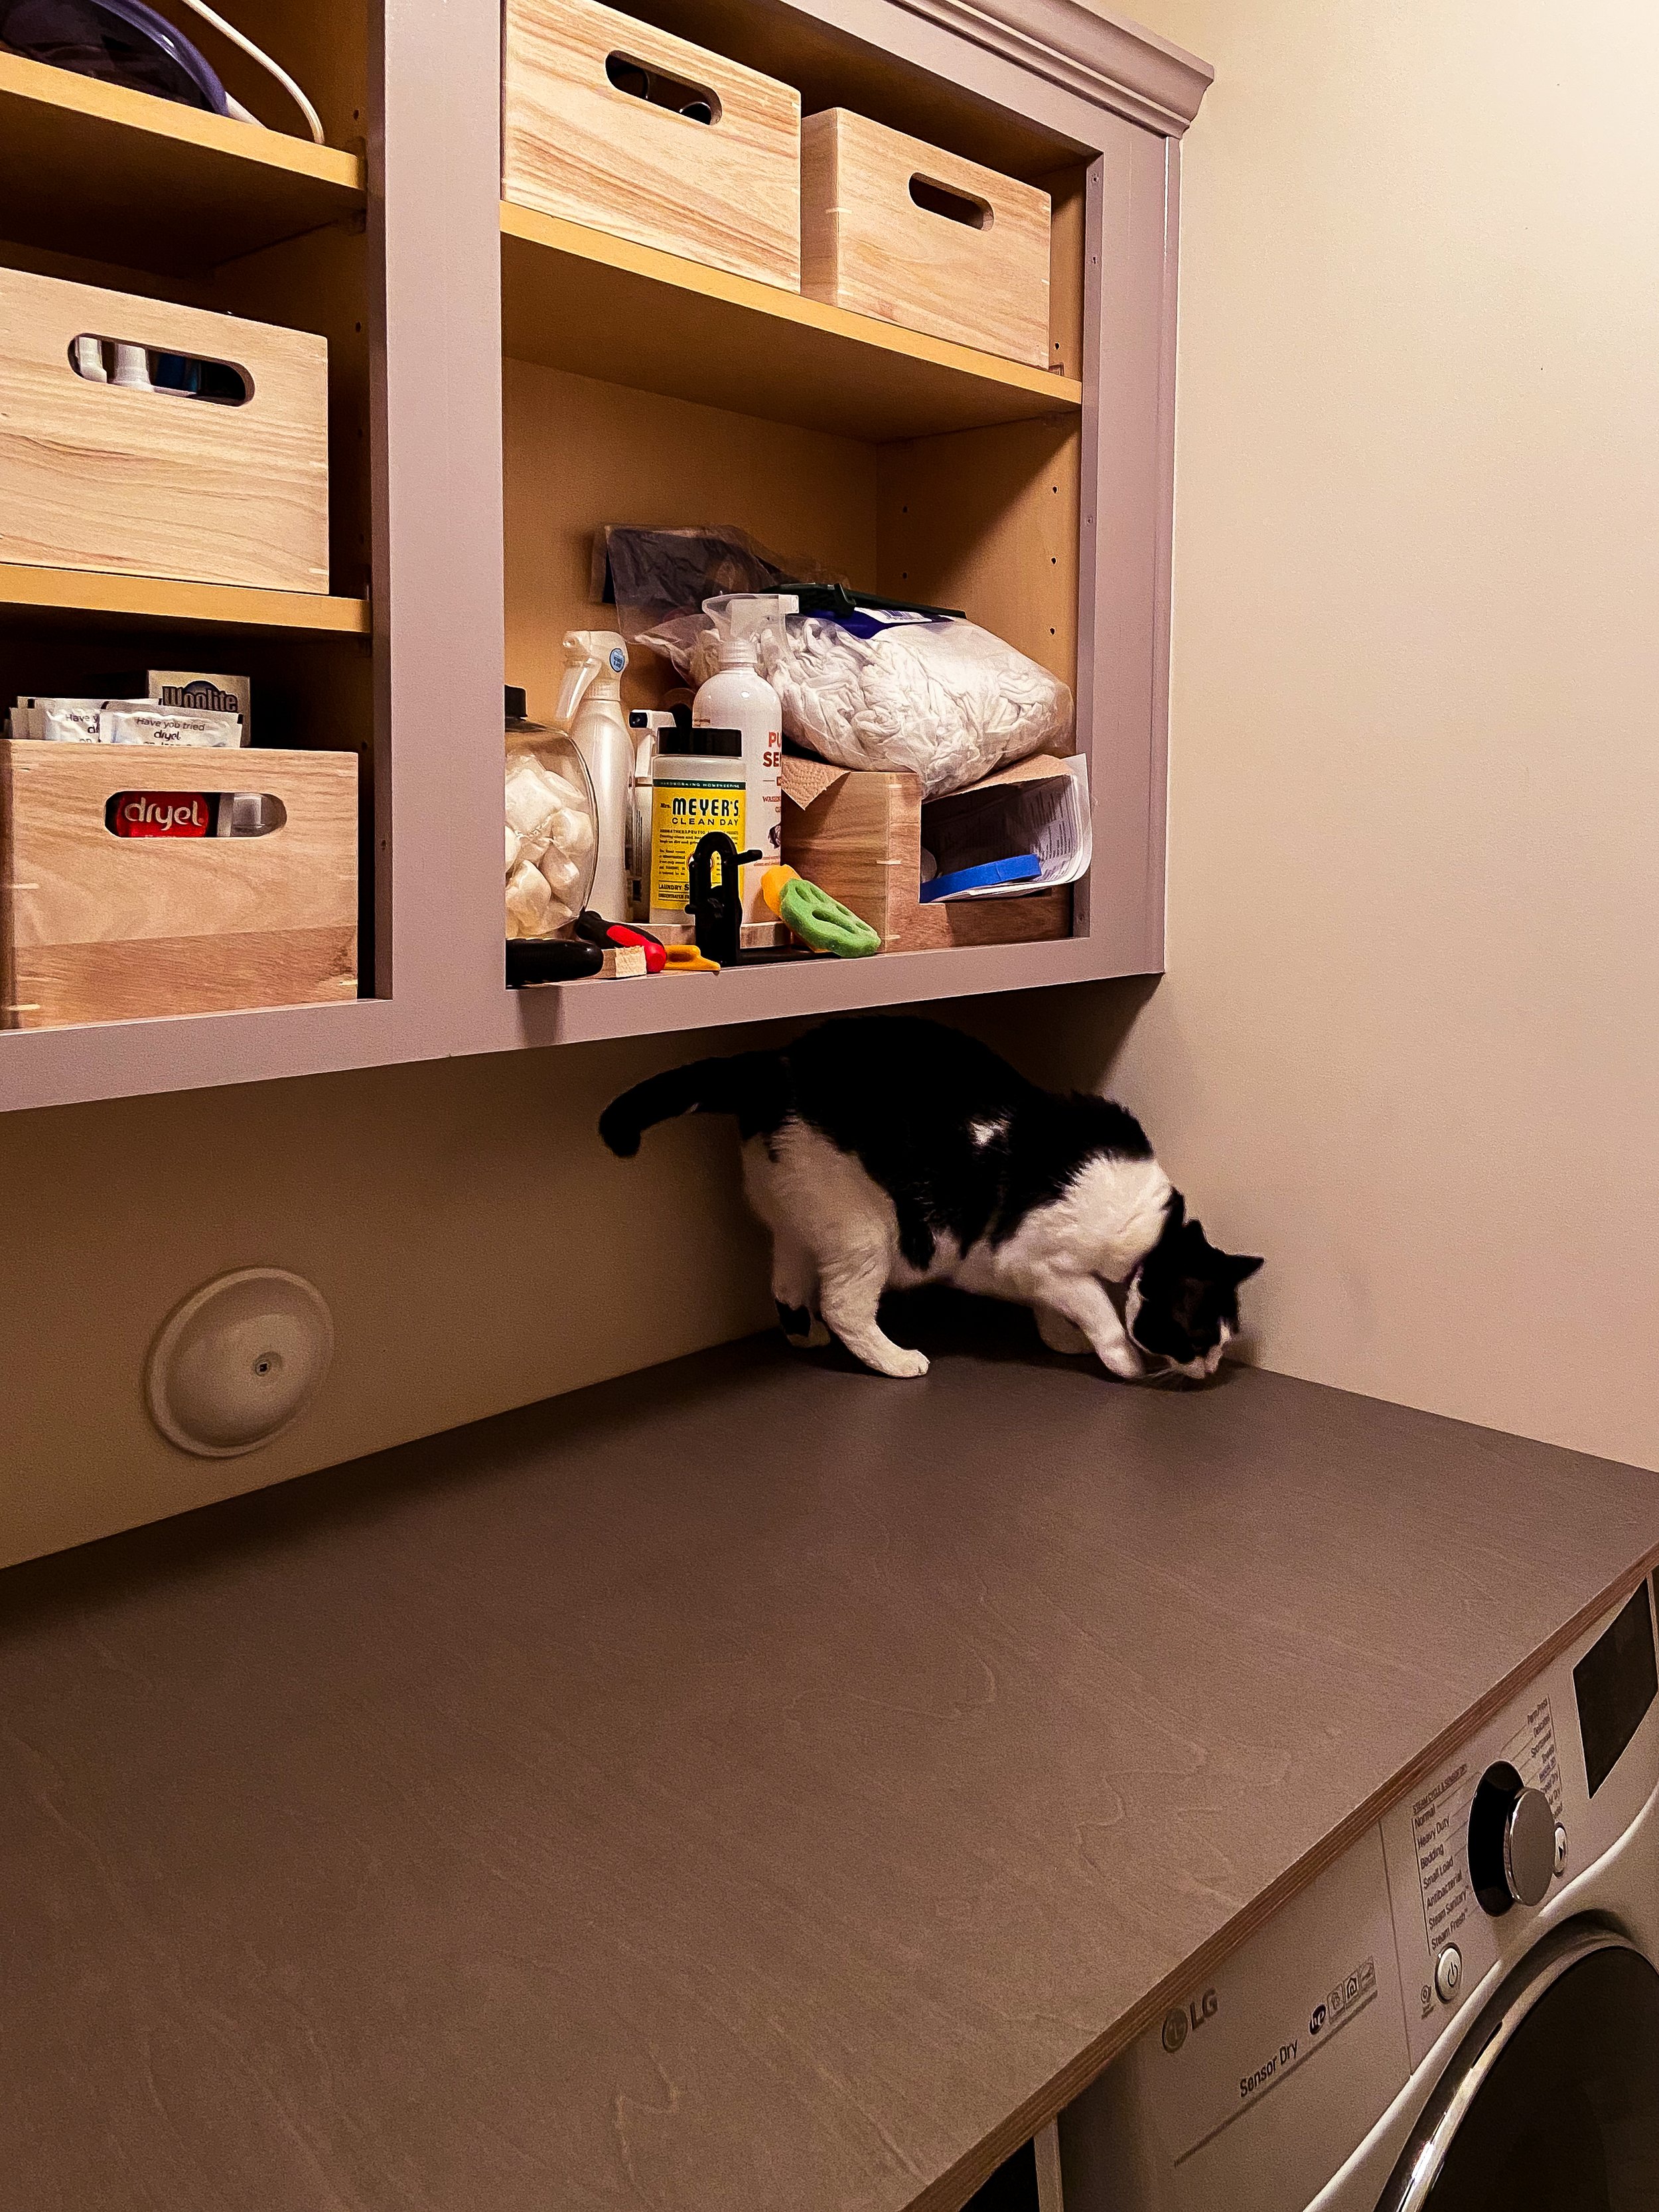
Of course, we had to let Moxxi inspect the countertop. She probably won’t be up here usually as it’s a bit of a tall jump for her, but she loves checking out any new surface. I think she apurroves!
