
To follow along with more participants in the Fall 2021 Challenge, take a visit to the ORC Blog.
With the countertop in place and the cabinet frames painted, we could make some design decisions about the backsplash for the laundry room. Much like the countertop, we need the backsplash to be removable so we can access the washer and dryer hookups. We also want the backsplash to sit a bit in front of the actual wall to hide the hookups and other plumbing.
This post contains affiliate links, labeled after the link. If you use the links to buy something, I may earn a commission, but there is no extra cost to you. I do my best to only link things for house projects that we’ve used ourselves and liked well enough that we would use them again. Thanks!

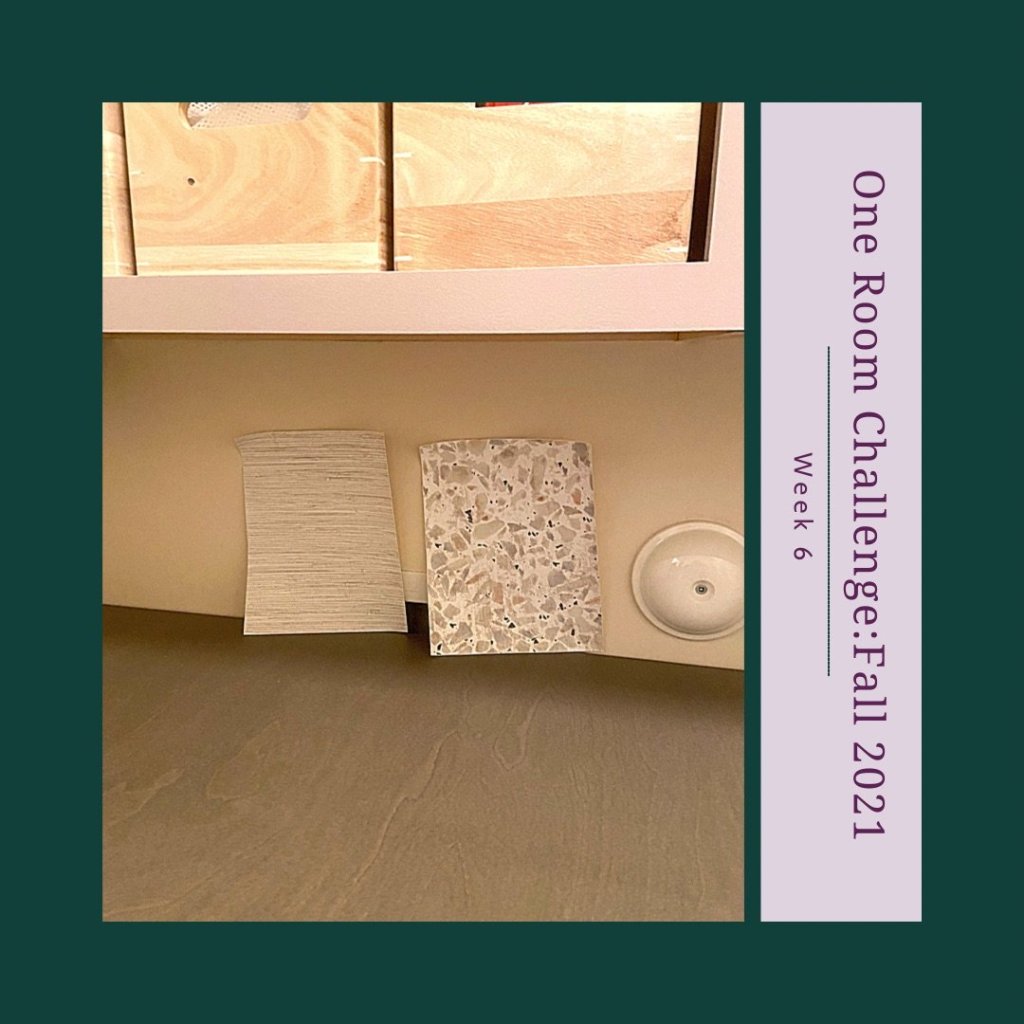
We were considering three options for the backsplash design. The first idea was to continue the plywood up the wall, since we had a good amount of material left after making the counter. While this would have been a nice continuous look, it felt like it wouldn’t bounce enough light back into the room and would end up a little dark.
The other two options we had were both peel-and-stick wallpaper from RoomMates. One was Pink and Taupe Faux Grasscloth (affiliate link), and the other was Terrazzo Tan Multi Colored (affiliate link). After seeing them in context with the cabinets and countertop, the grasscloth was our clear winner. It added just enough texture while really complementing the rest of the colors in the design.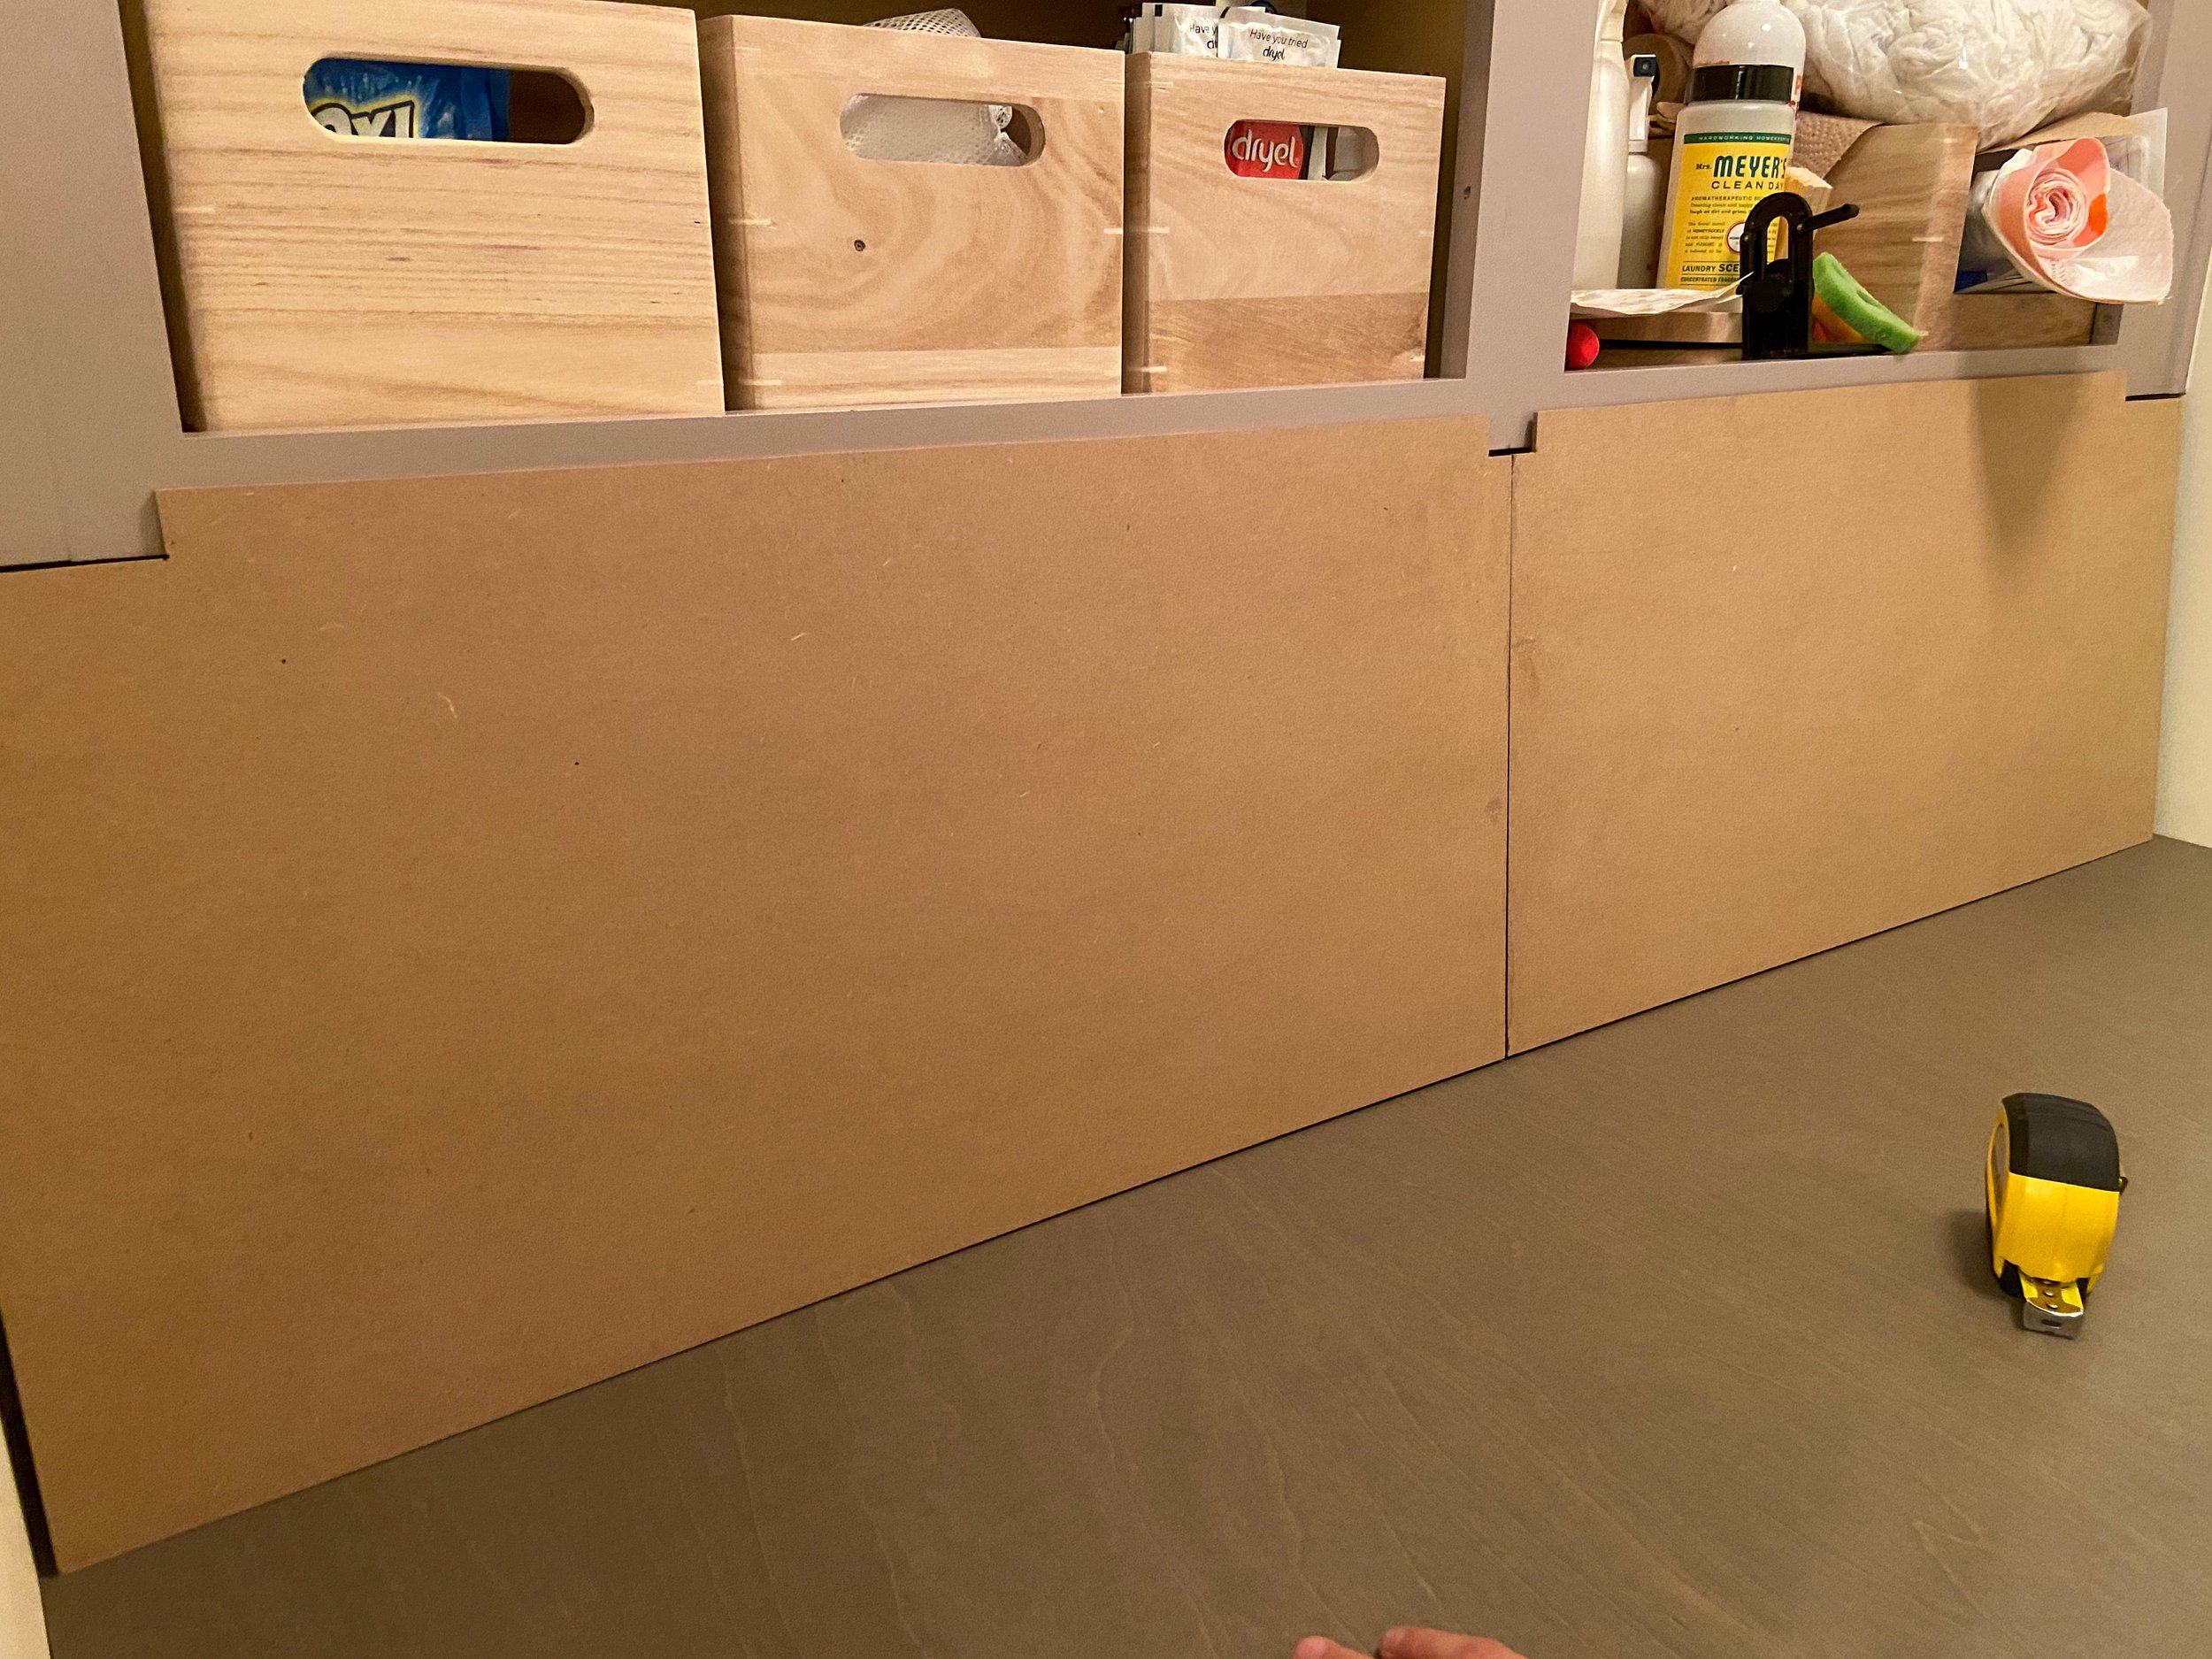
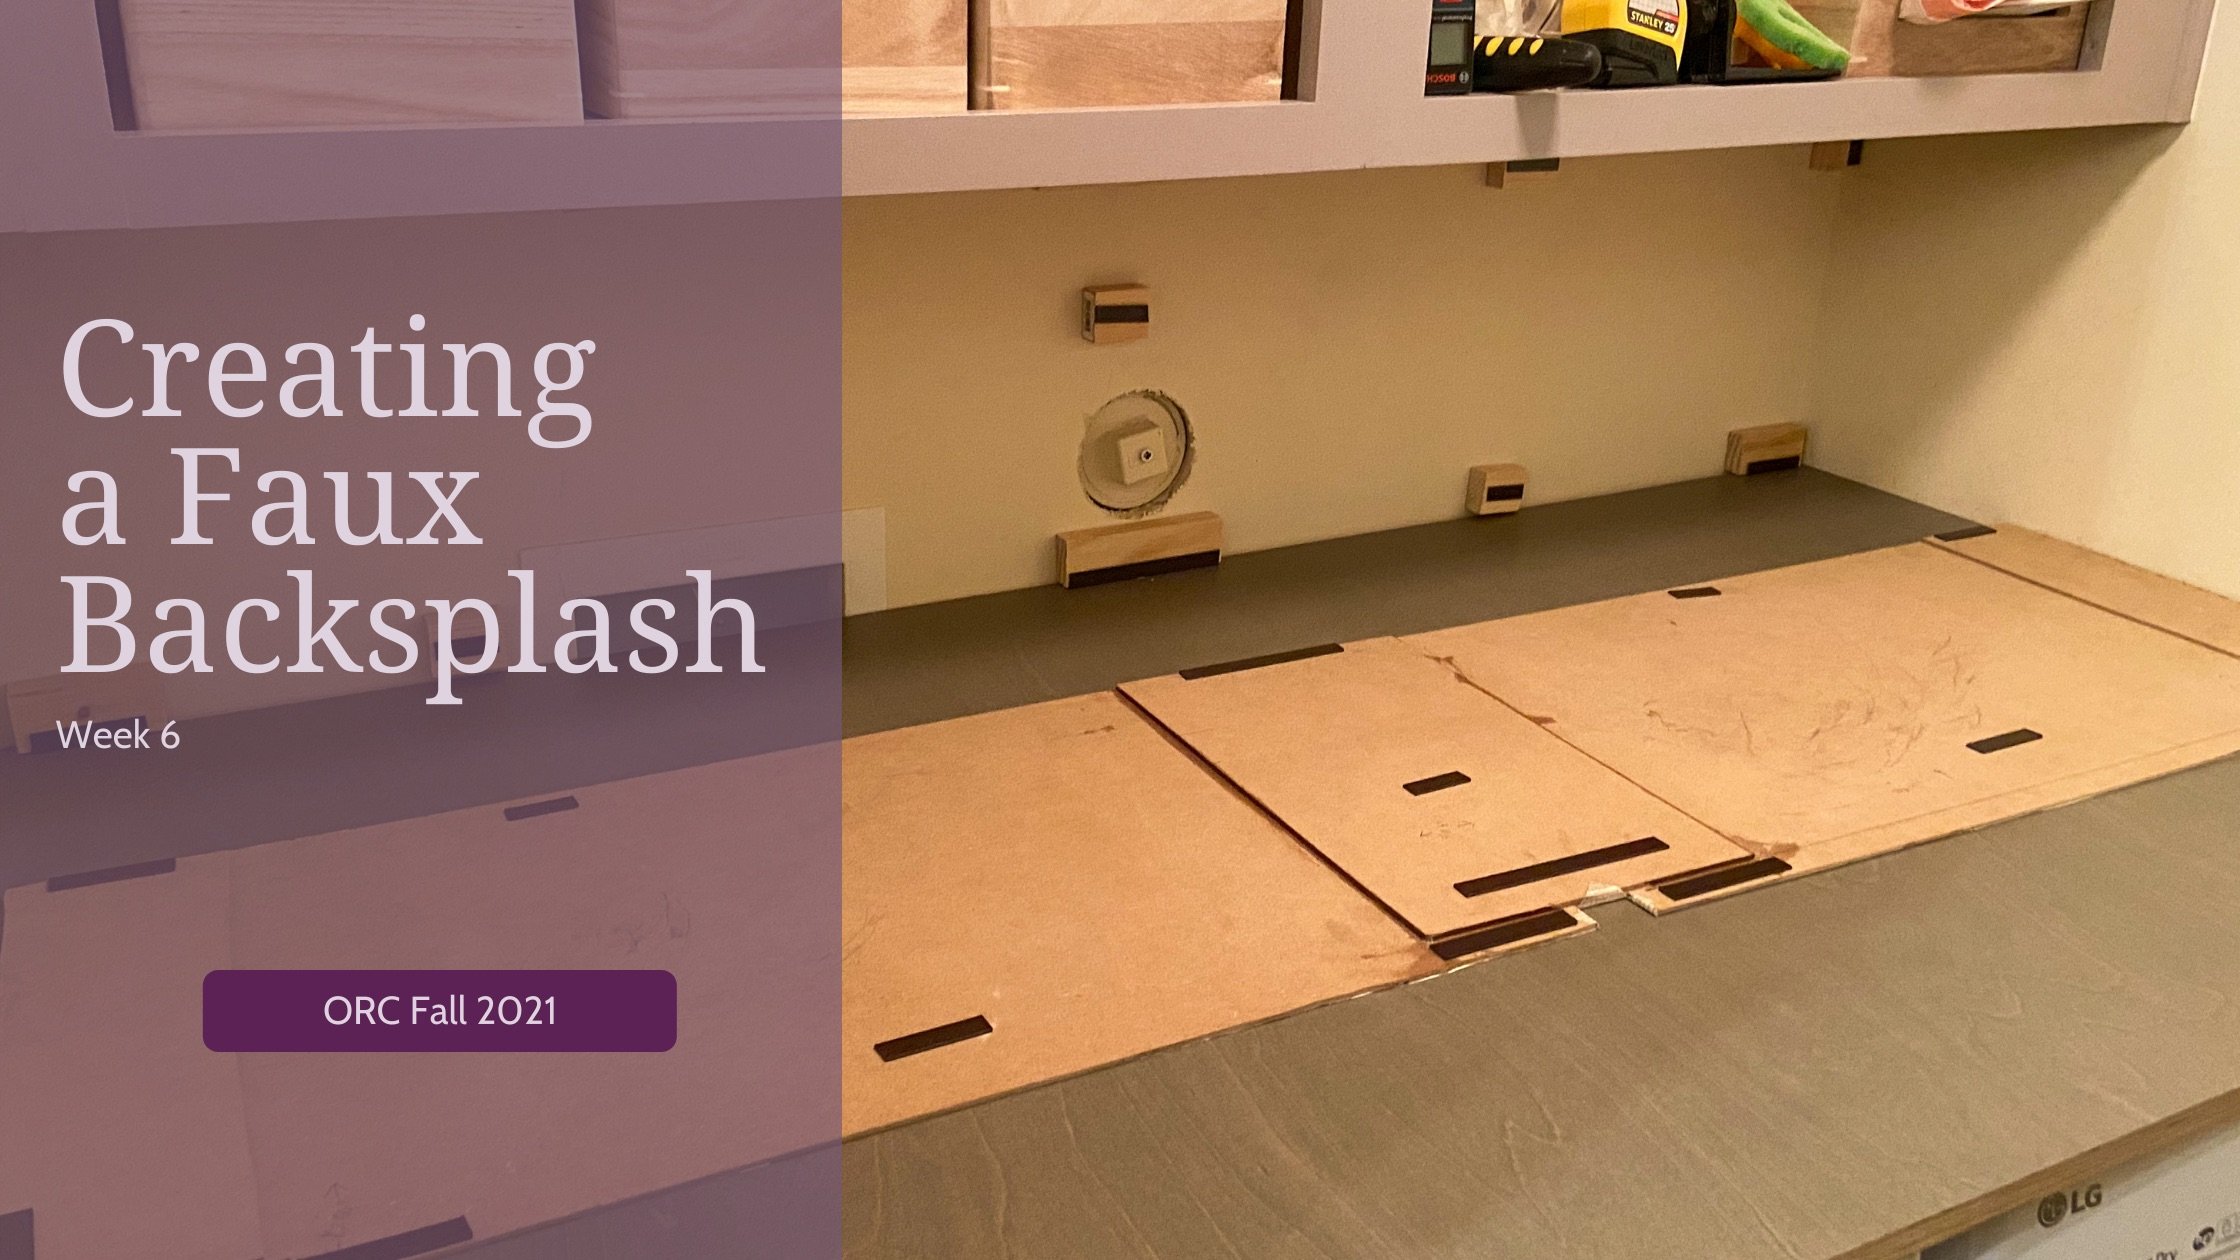
Next, we needed to build the panel to conceal the plumbing. Since we do a number of laser cutting projects, we have a lot of MDF available to work with. We did need to use two sheets to get the full panel length, and they were glued together with another piece on the back bridging the gap. You can see here on the first panel we did that there are notches for where the cabinet boxes come down a bit further, so we can get a really snug fit. This version was a little too tall and needed to be planed down to fit under the cabinets, and also didn’t quite reach to each wall.
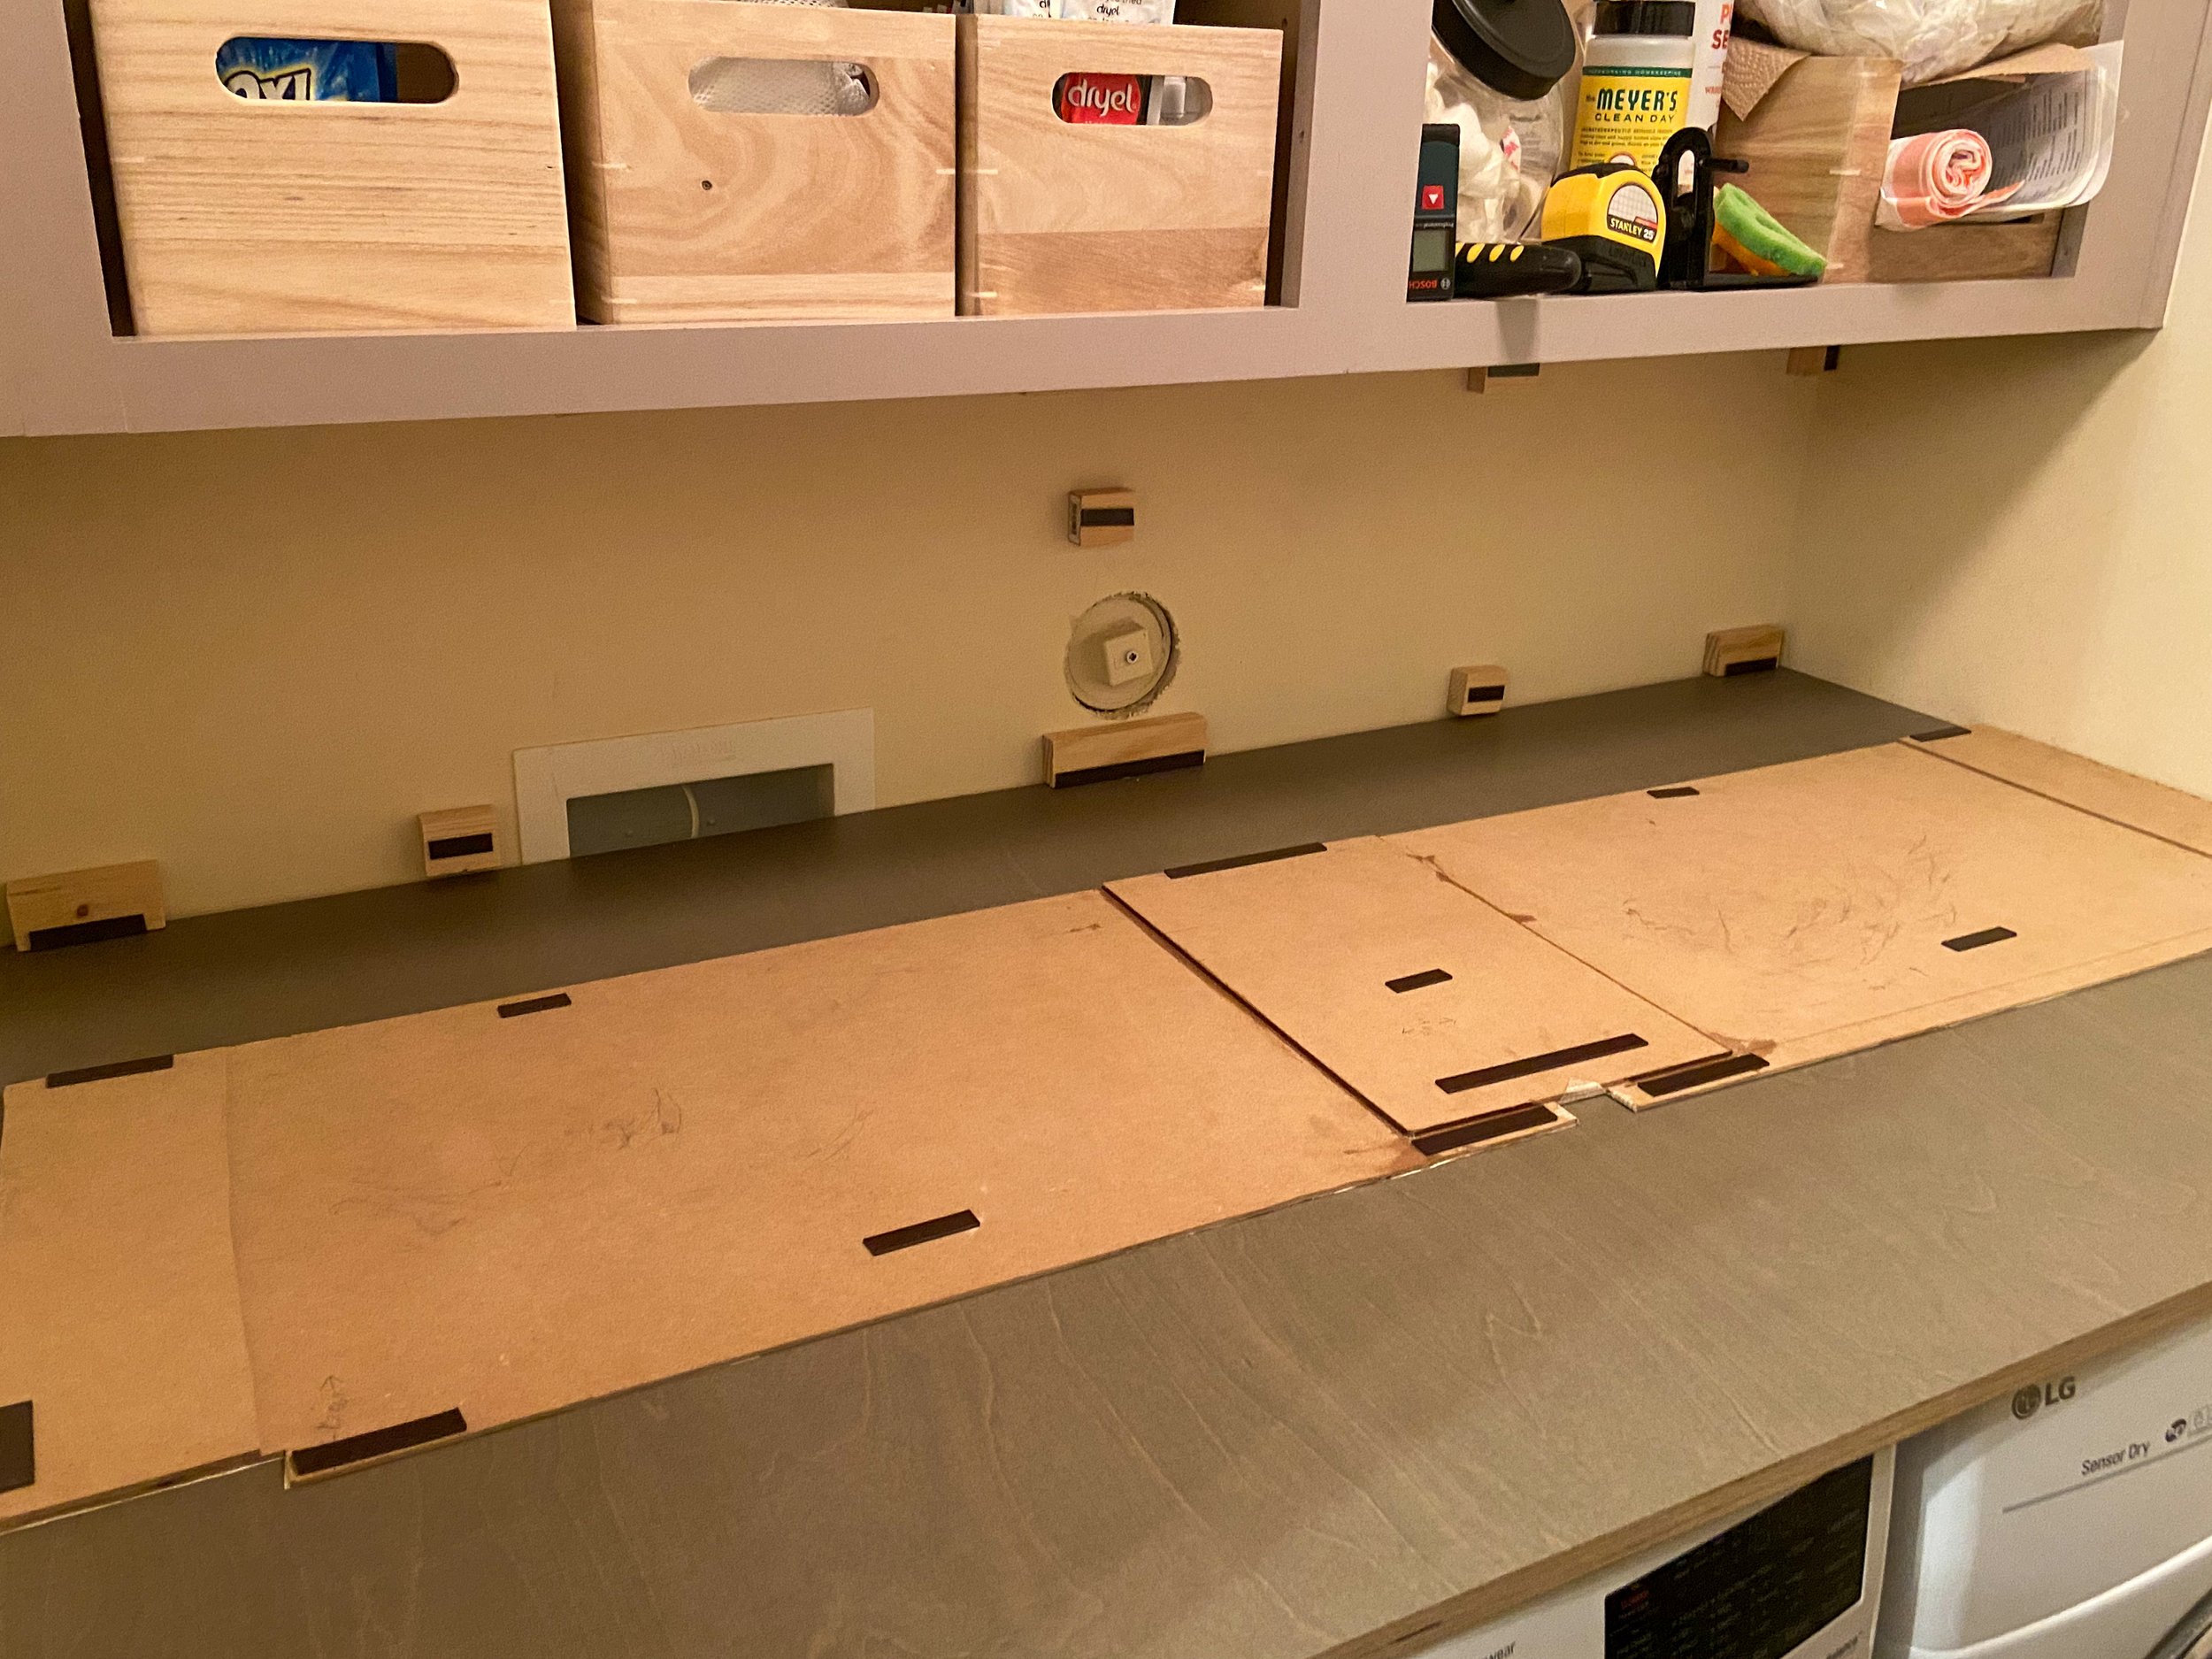
Here, you can see the second version of the panel, ready to be installed. In addition to the middle being bridged by a piece of MDF, the two sides have also been extended. In last week’s post, I talked about how we couldn’t drill into this back wall too much because of the ducting and plumbing in it. That means we used Command strips to affix these small wooden standoffs to the wall. These gave us the clearance for the plumbing shown here, and also meant we could use the inside of the cabinet frame as a brace for the top of the panel. To keep the panel firmly in place, we added this magnetic tape (affiliate link) to the panel and wherever it met a standoff or a cabinet frame. It’s just enough extra hold without being a permanent installation.
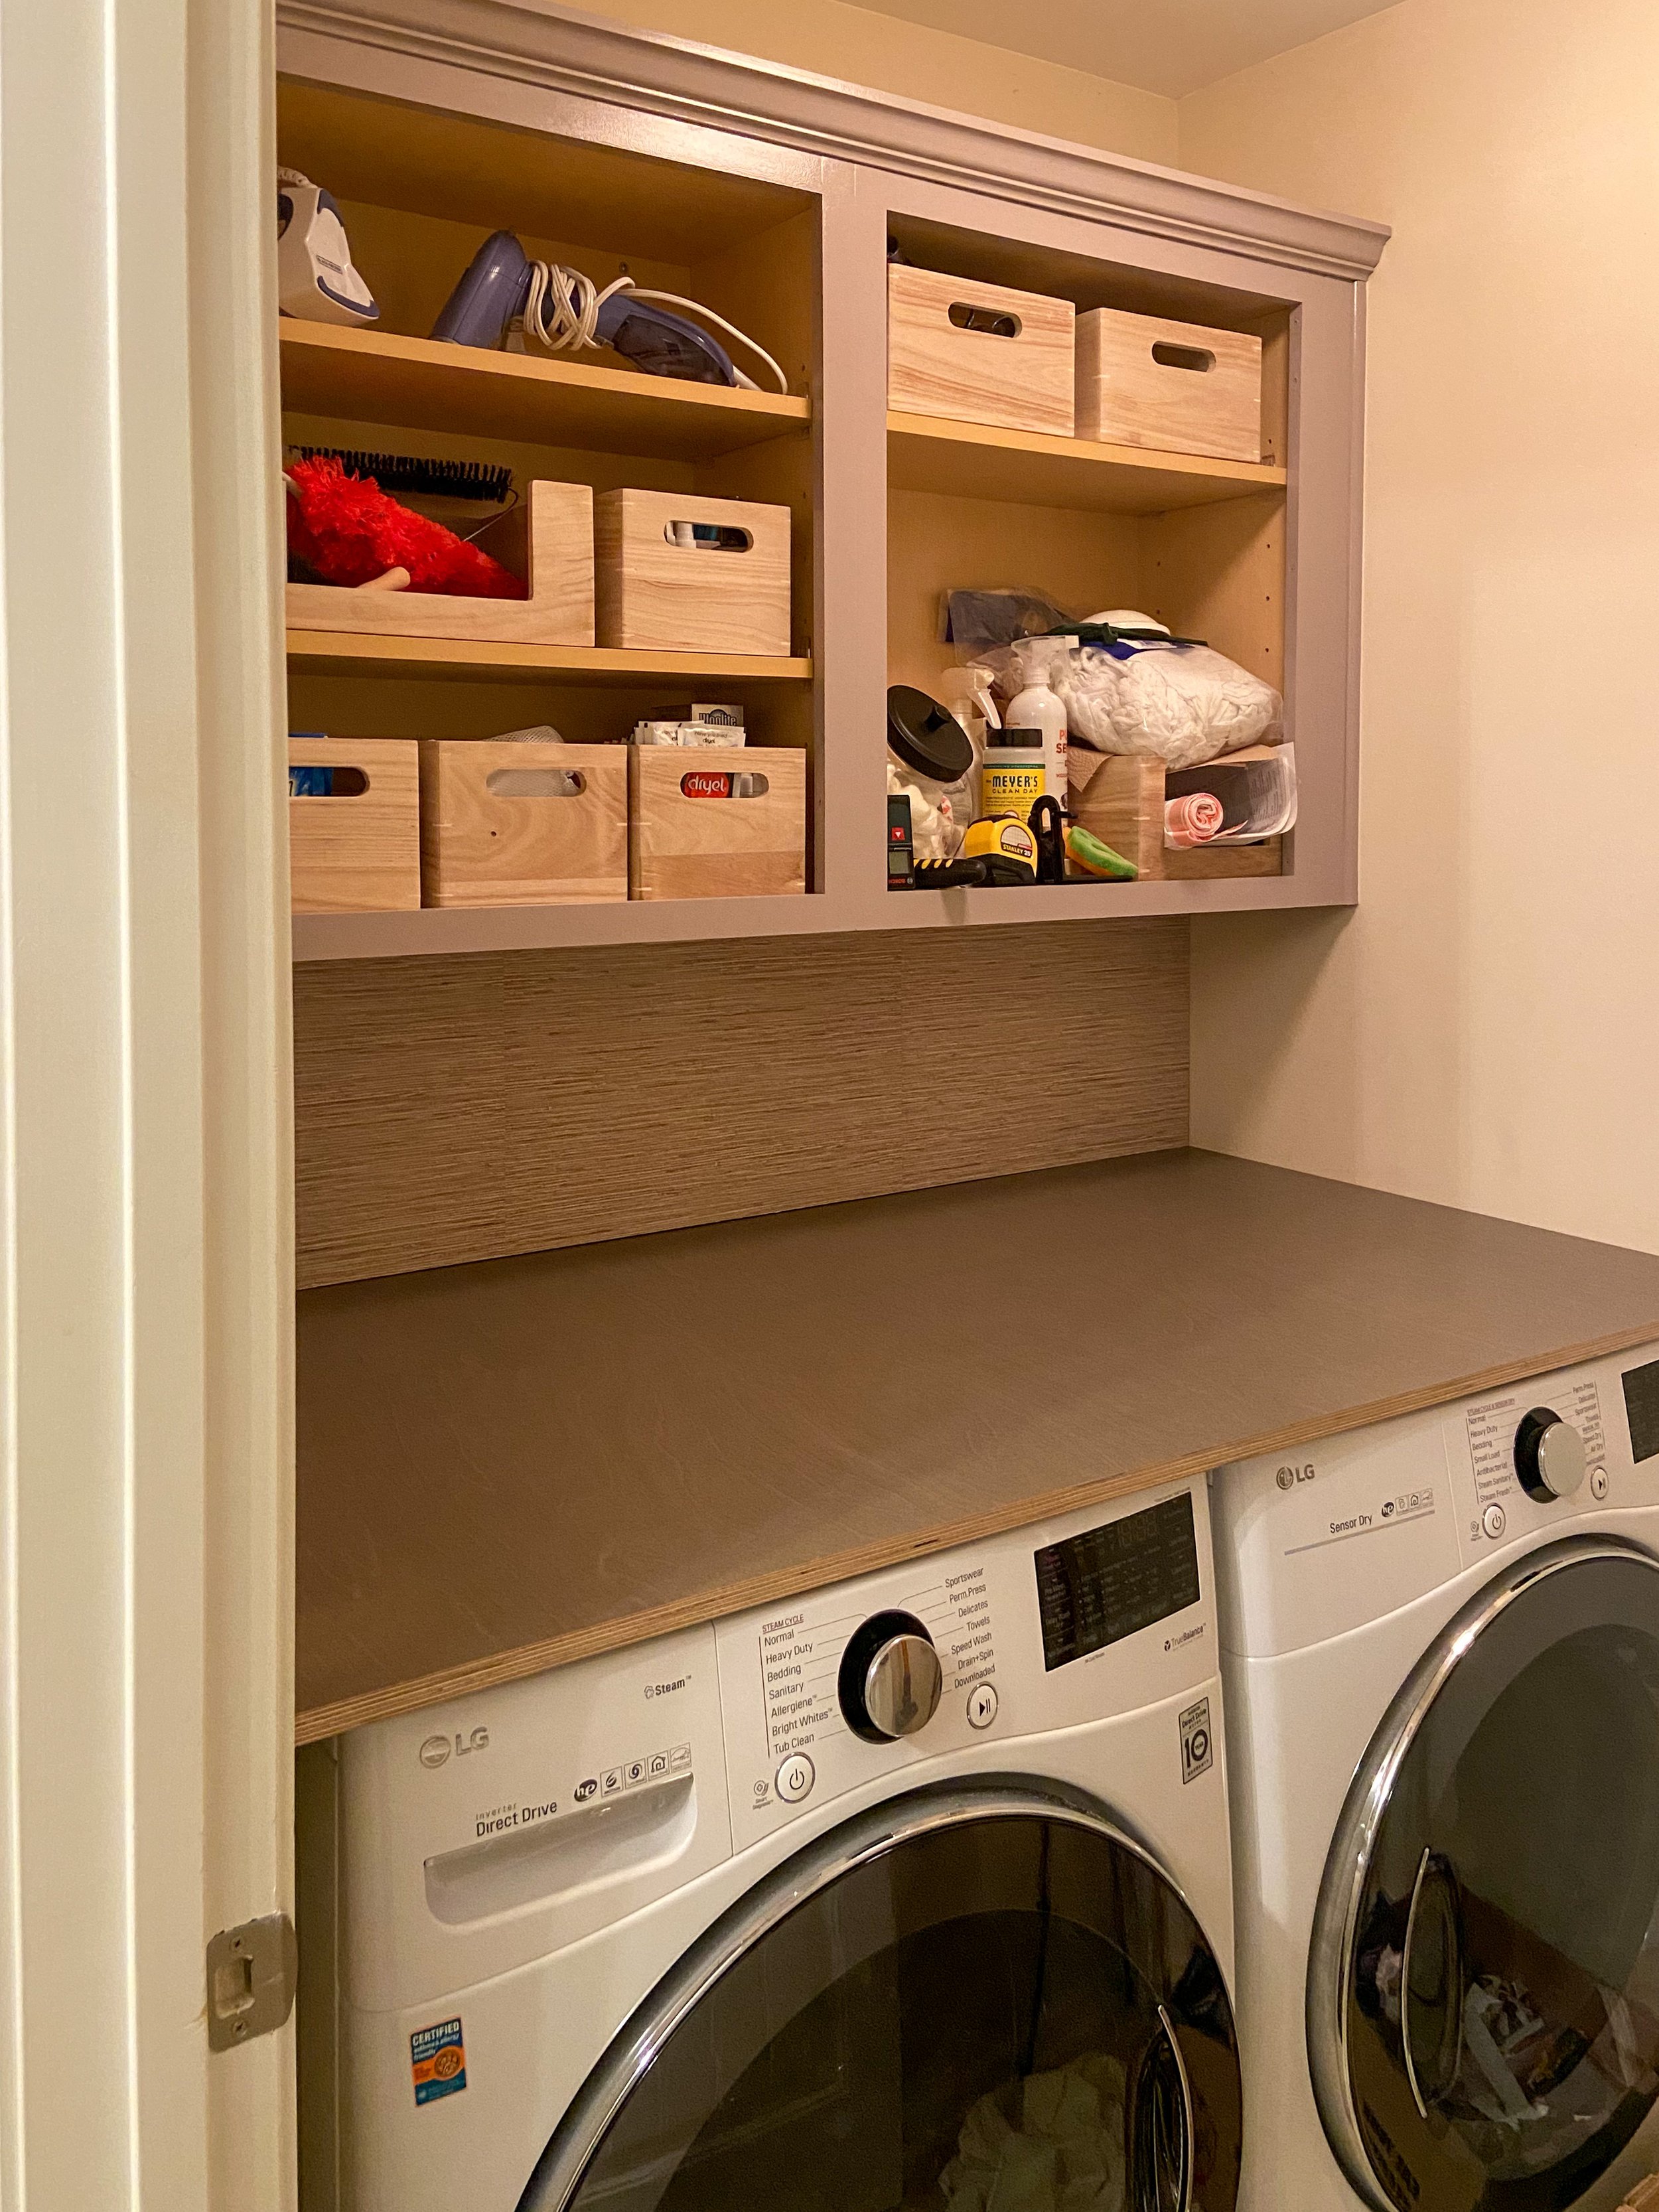
Finally, we covered the panel in the grasscloth peel-and-stick wallpaper, and put it snugly in place against the back wall. Having all of the plumbing and hookups hidden, and getting a layer of great natural texture in the room, means this backsplash is pulling the double duty we needed it to. With the backsplash in place, we have all the structural elements in, and will get to focus on cabinet painting and organization for the next two weeks. Can’t wait to show you all what’s coming up next!
