Affiliate Disclosure: This article contains affiliate links. If you make a purchase through these links, we may earn a small commission at no additional cost to you. We only recommend products we genuinely love and believe you will too.
Sticking up Samples
We are finally to the painting part! We hired a company to paint the cabinets for a few different reasons. We know cabinet painting takes a lot of work, and since we don’t live there, we didn’t want to leave my sister and her boyfriend without a kitchen for a long time while we squeezed DIY time in on the nights and weekends. We also wanted to be sure that the finish was excellent since we had those custom doors built. For us, it made sense to call in the pros for this one!
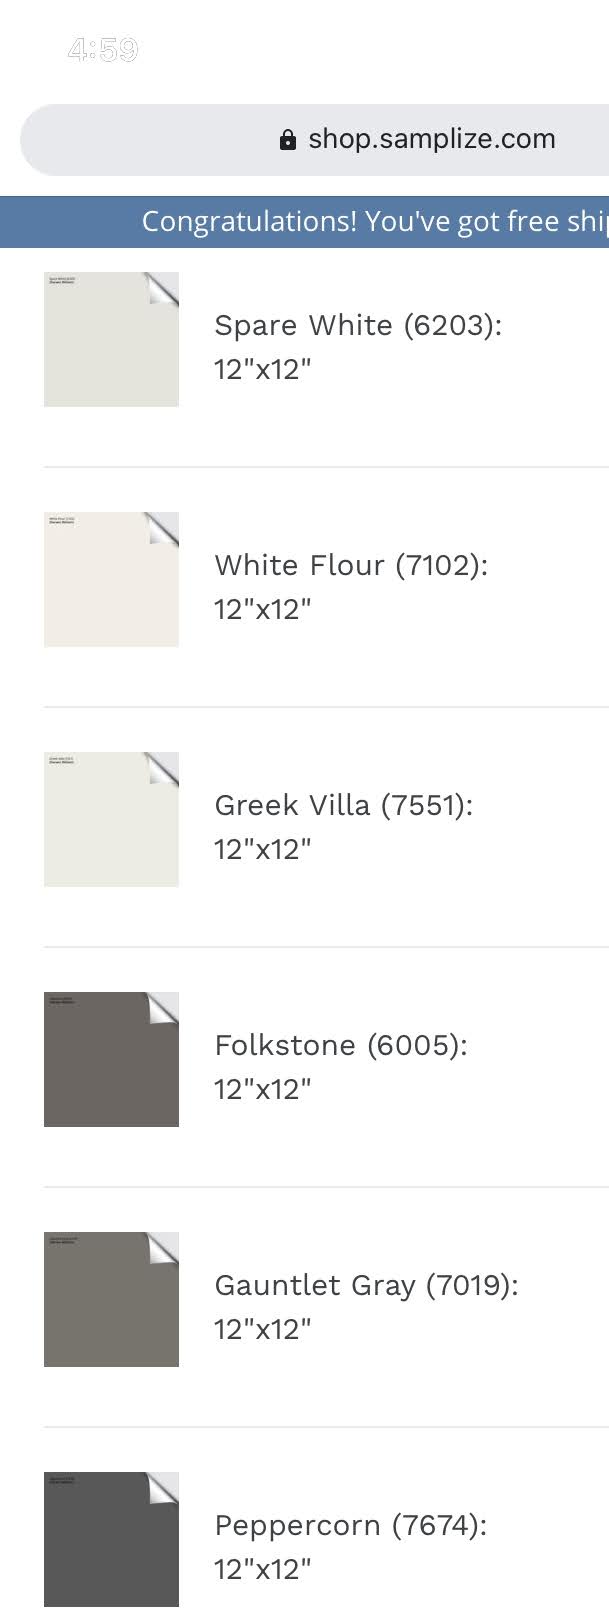
Our cabinet painter requested that we pick colors from Sherwin-Williams or Benjamin Moore. We also wanted a cream or warm white color for the upper cabinets and a warm gray or greige color for the lower cabinets. Here’s the selection of paint samples that I ordered from Samplize (affiliate link) to start with – any initial thoughts about which ones we ended up going with?
| Upper Cabinet Options | Lower Cabinet Options |
| Spare White | Folkstone |
| White Flour | Gauntlet Gray |
| Greek Villa | Peppercorn |
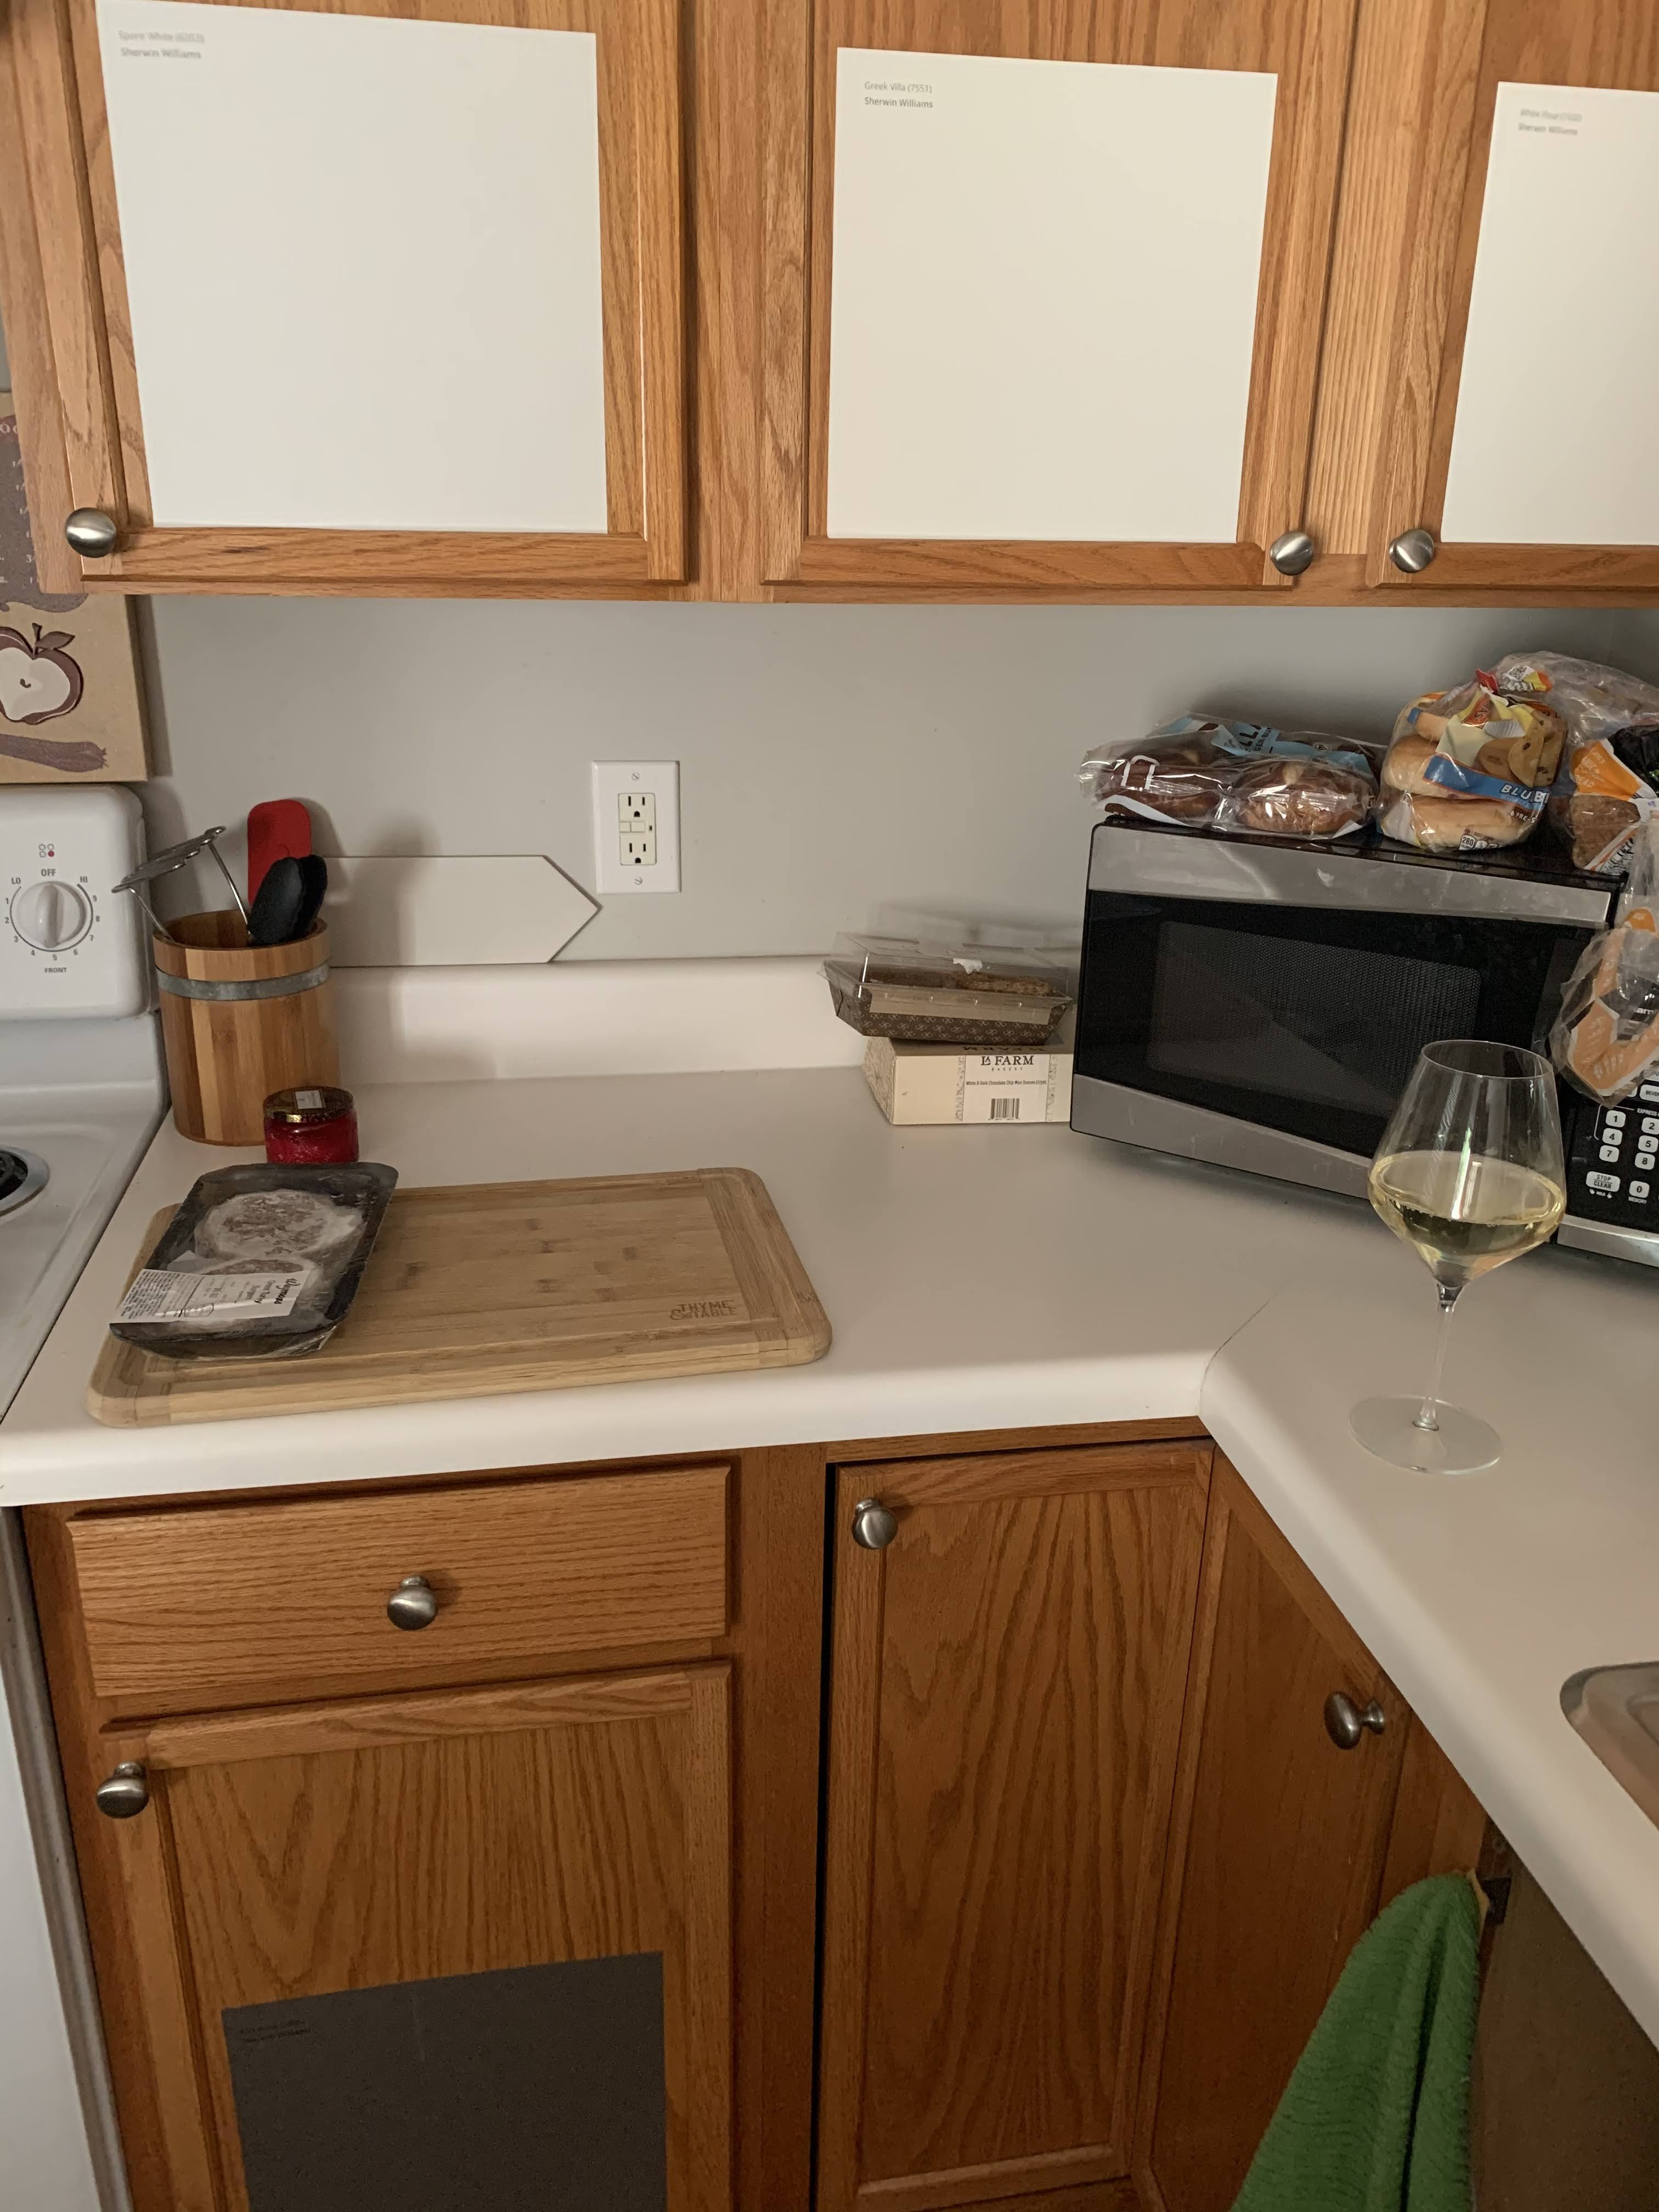
I love sticker paint samples, mainly because it means I will actually use the samples instead of the can sitting in the garage forever. It takes 15 seconds to put one of these up, compared to getting a brush, painting, washing it, putting it back, and waiting for the sample to dry… you get the idea. (Not to mention the extra work involved in sanding down a painted spot to get a good finish once it’s time to paint the whole space.)
See, you can put the samples on your kitchen cabinets while cooking dinner, and it takes no time at all! (Or, you can ask your sister very nicely to stick up the samples and then FaceTime her for her opinions.) Also, this is a picture from very early in the kitchen renovation—can you spot that sneak peek of the backsplash tile?
Sample-sticking and several days of looking at the samples at different times of day later, we had our two color picks! We picked Greek Villa for the upper cabinets and Folkstone for the lower cabinets—both colors from Sherwin-Williams (affiliate links).
The painting process
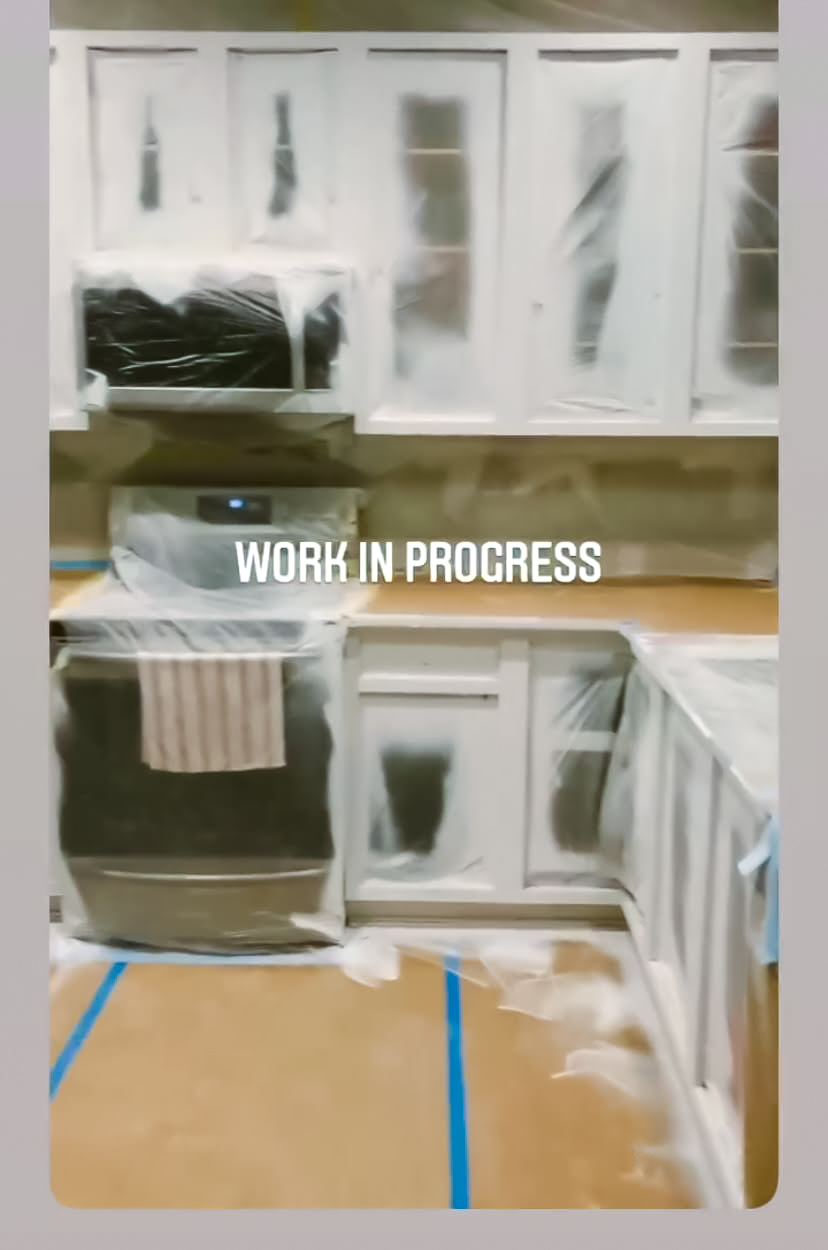
The painters took the doors and drawer fronts to their shop to spray them, taped off the insides of the cabinets, and covered the countertops and floors. All this was inside plastic walls that closed off the kitchen from the rest of the house.
They also filled the wood grain on the cabinet boxes to ensure they would have the same smooth finish as the new MDF doors after they were painted.
Thankfully, the kitchen spent less than a week in this mostly off-limits state, and we set up a mini kitchen with a microwave and a mini-fridge in the dining room.
The plastic and paper came off, although the doors stayed off for a bit longer to ensure the paint was fully cured on the doors and the cabinet boxes before reinstalling them. At this point, though, there were already some pretty major happy dances happening on both sides of the FaceTime calls!
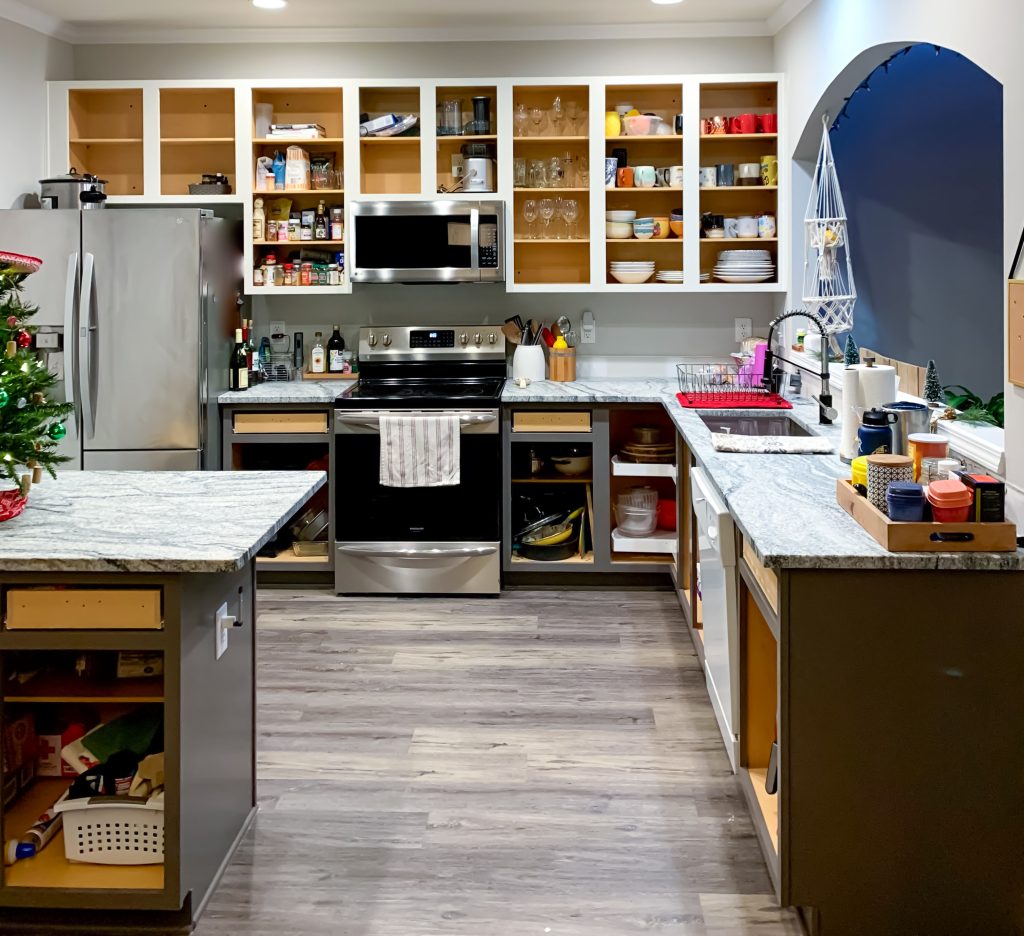
The full paint transformation
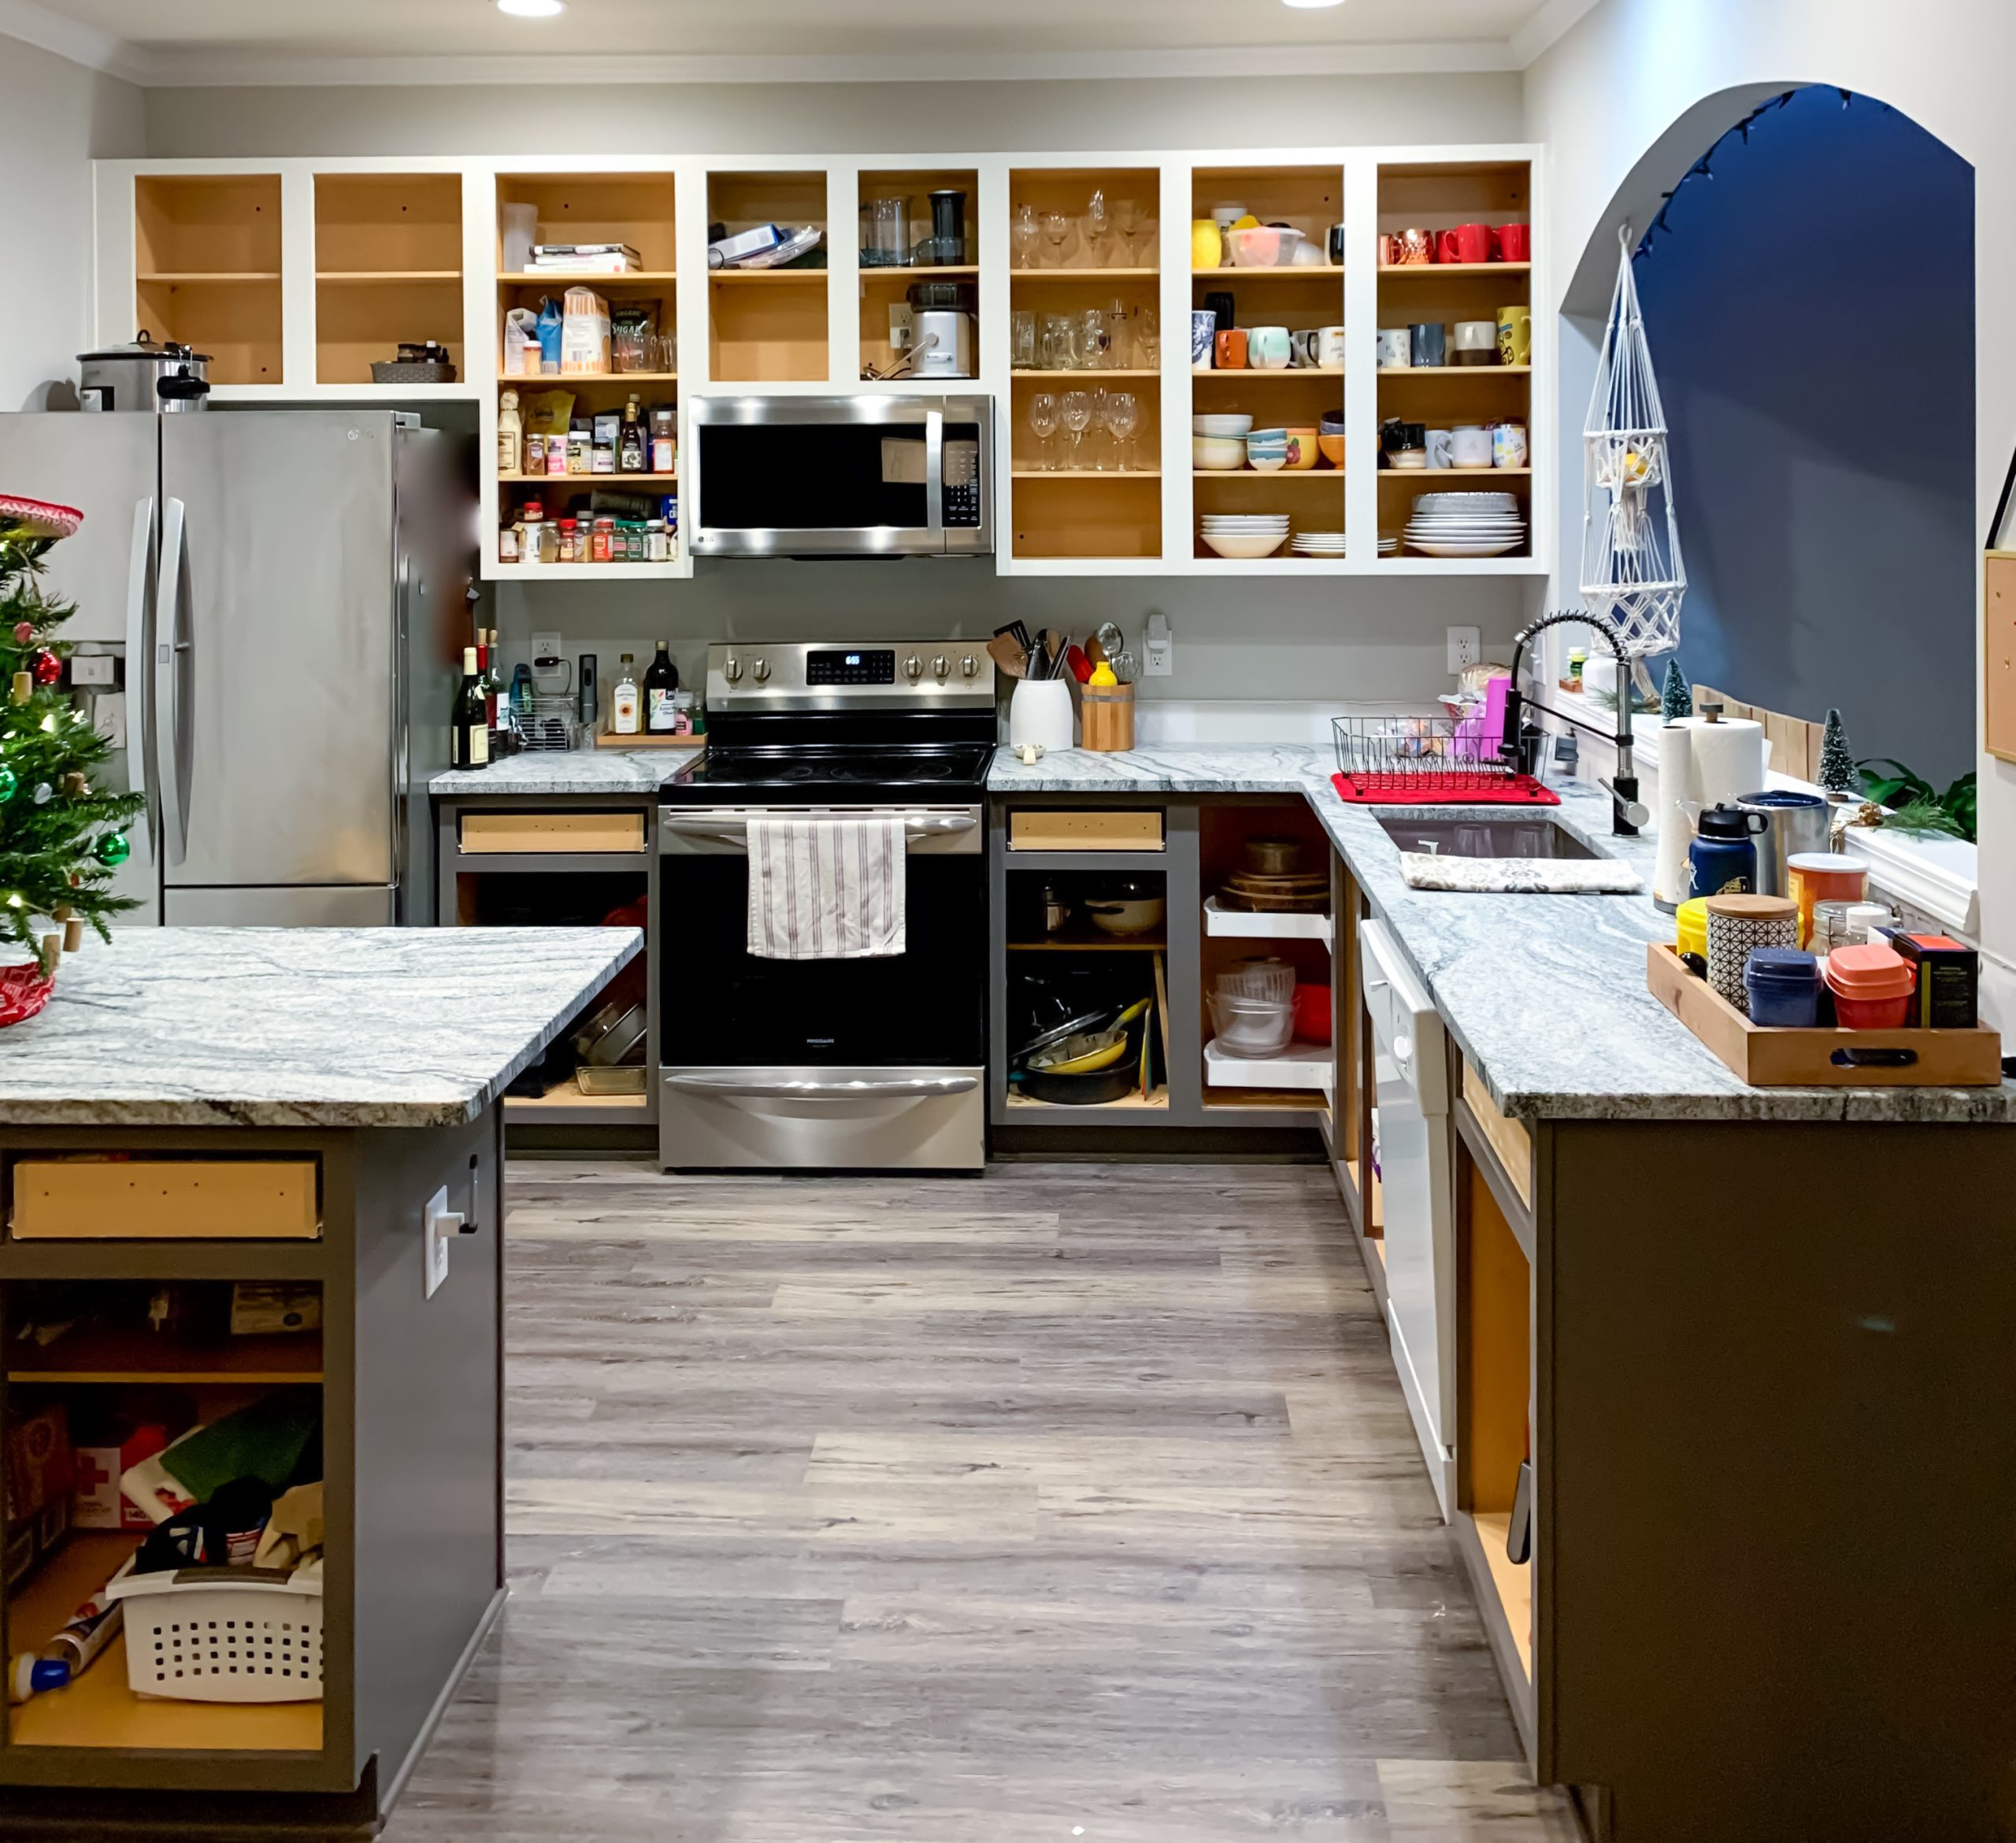
The above and below pictures are very different in terms of installed doors, and I think they also illustrate just how important it is to look at your paint samples at a range of times of day and the different kinds of light the room will get (including artificial). In the top picture, even with the overhead lights on, the Greek Villa on the upper cabinets never washes out to look stark white. In the afternoon light coming in through the windows, you can see the nuances between the different neutrals and how they all come to a cohesive harmony in the design.
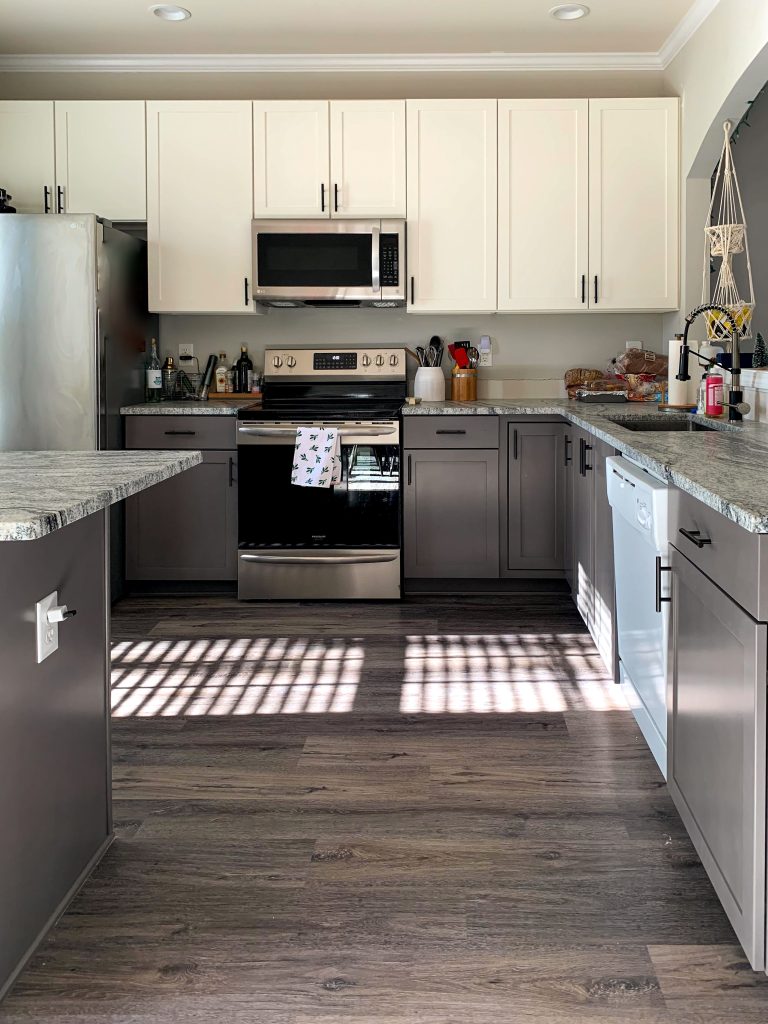
I’m a big fan of two-tone kitchens because they create visual contrast and break up what could otherwise be a large block of a single color. I love how it turned out in this kitchen, too. The kitchen is a great size, and the lighter upper cabinets keep it feeling really open and airy! The lower cabinets provide a sense of grounding without making the space feel too dark. My goal was to pick warm-toned neutrals that wouldn’t clash with the existing walls and floors since they were still fairly new.
I still have at least one more post to go in this kitchen series. I’m excited to share more details, like the cabinet handles, sink and faucet upgrade, and the beautiful backsplash tile. I could also add another post with a detailed breakdown of the costs if you’re interested! The total cost for the entire kitchen renovation (in late 2019 and early 2020) came in under $20,000, which was my target budget.
Leave a Reply