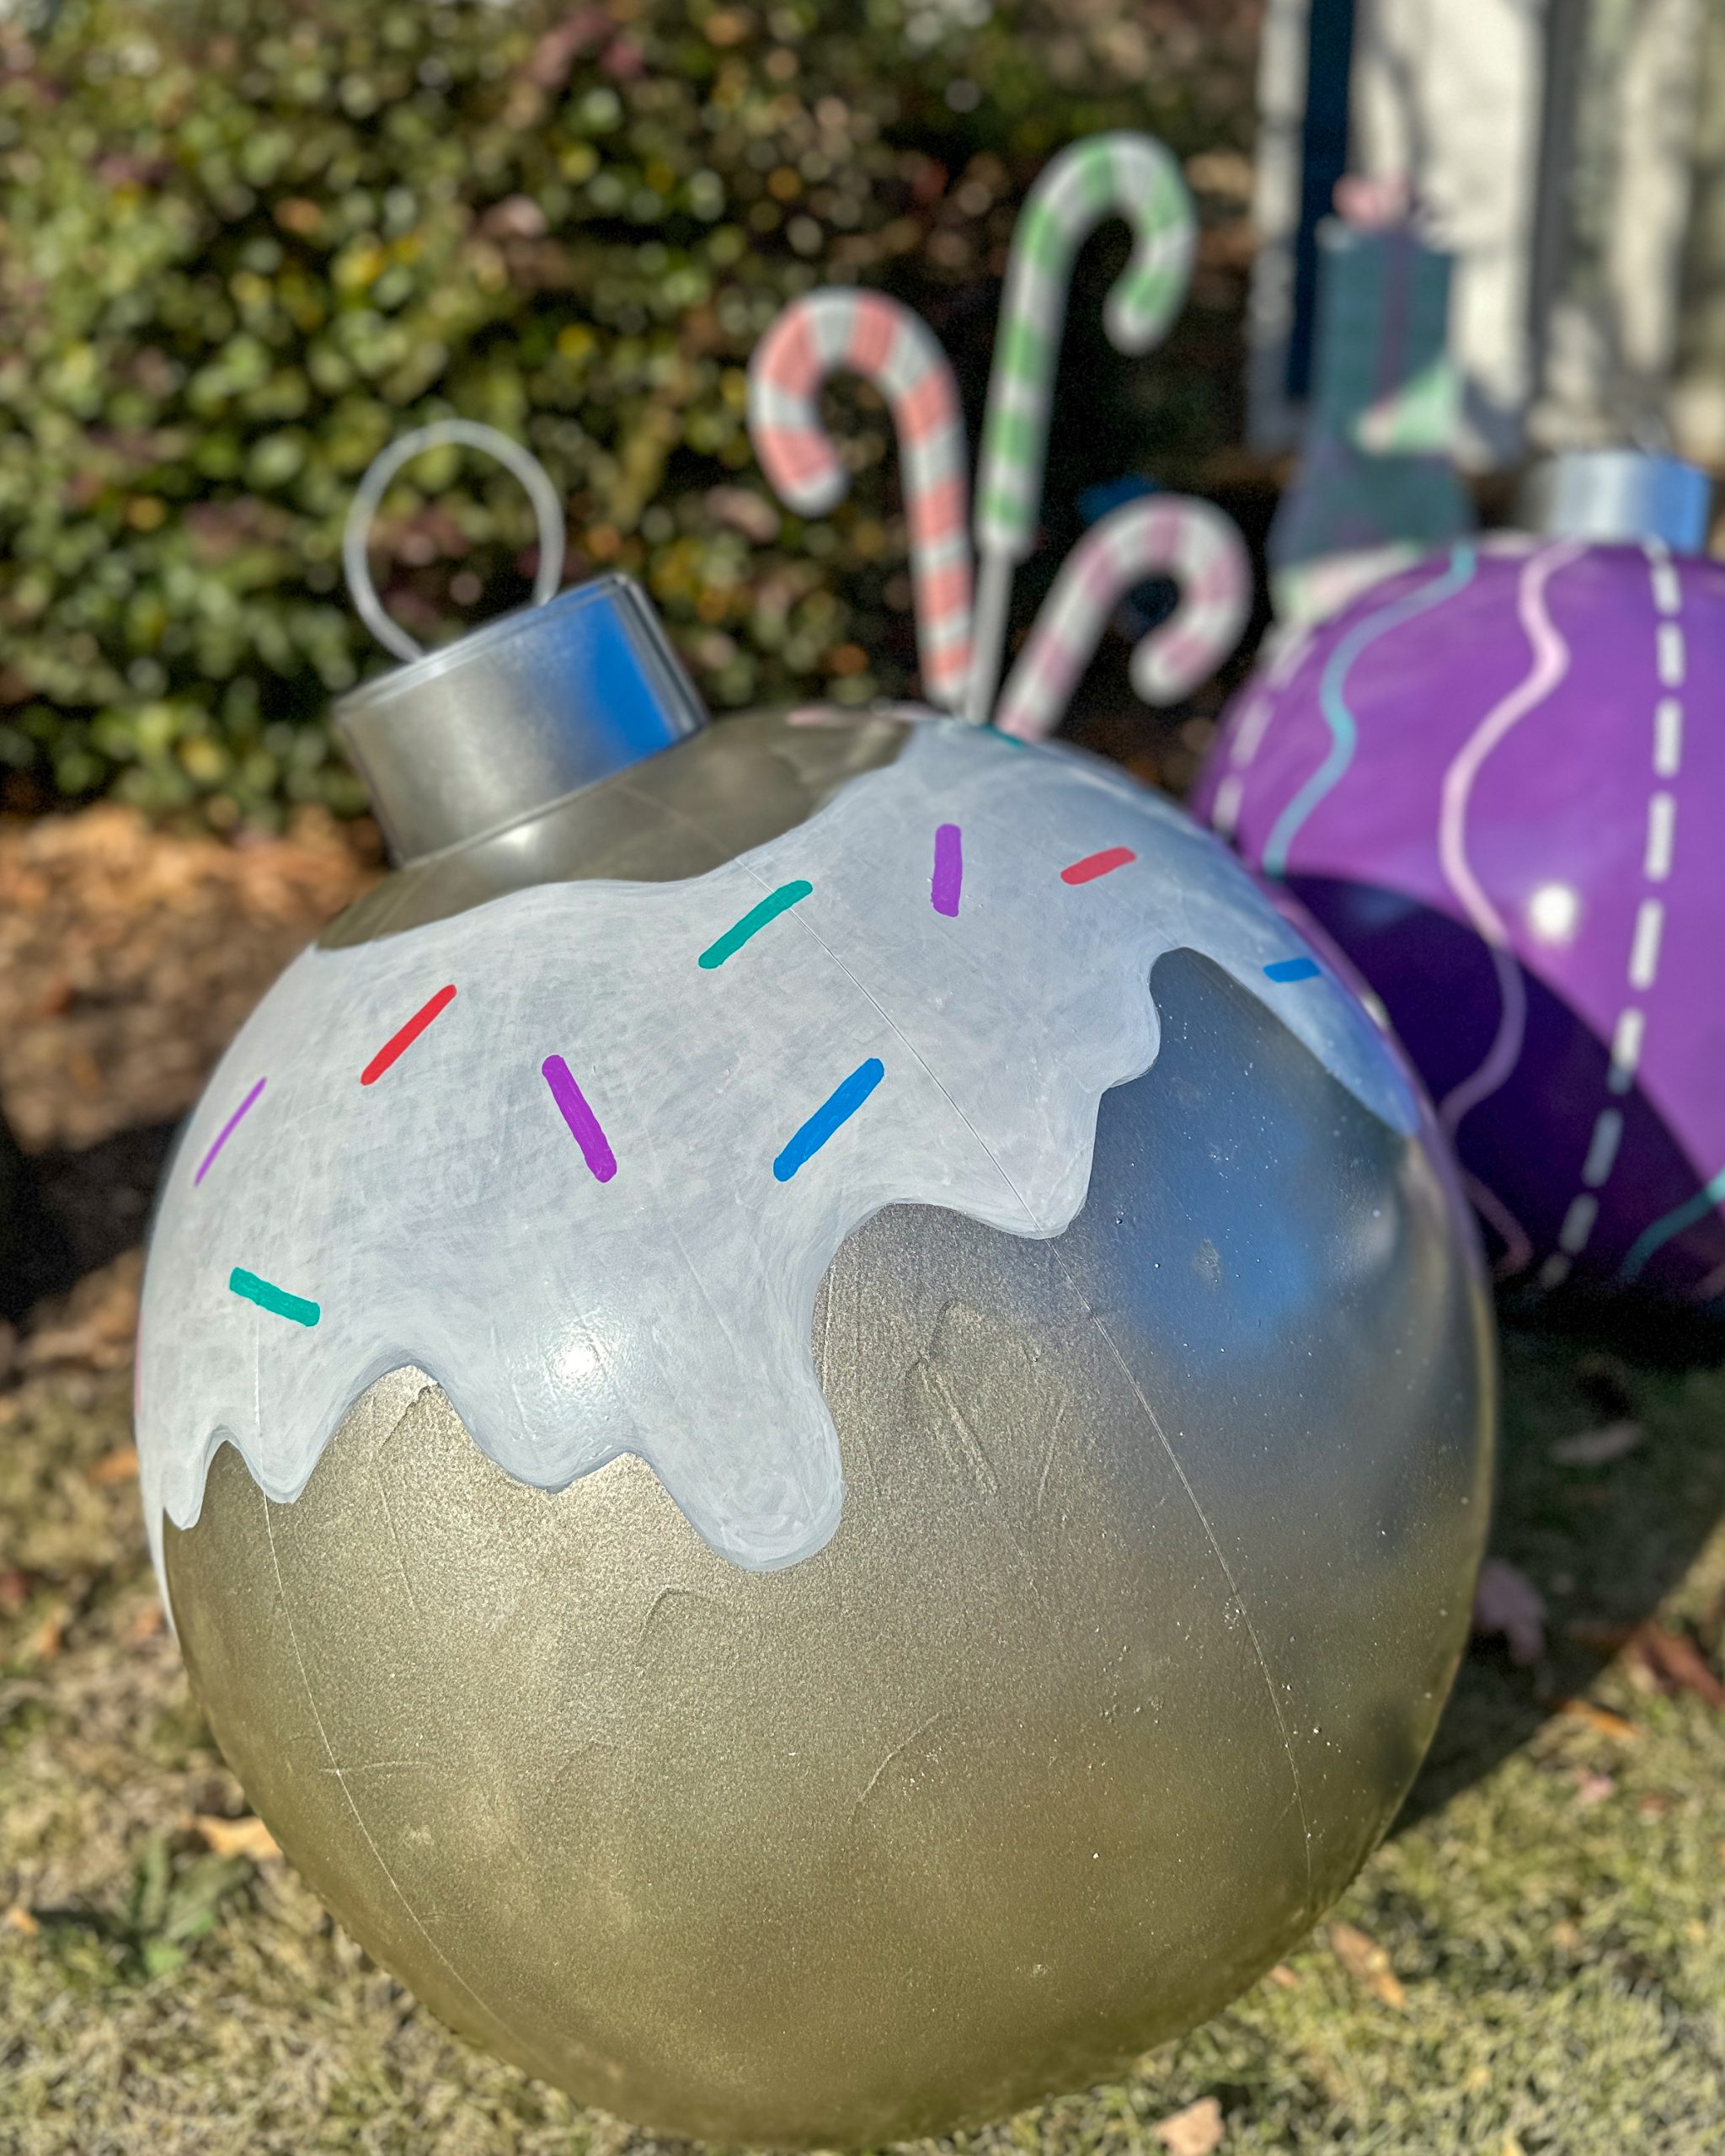
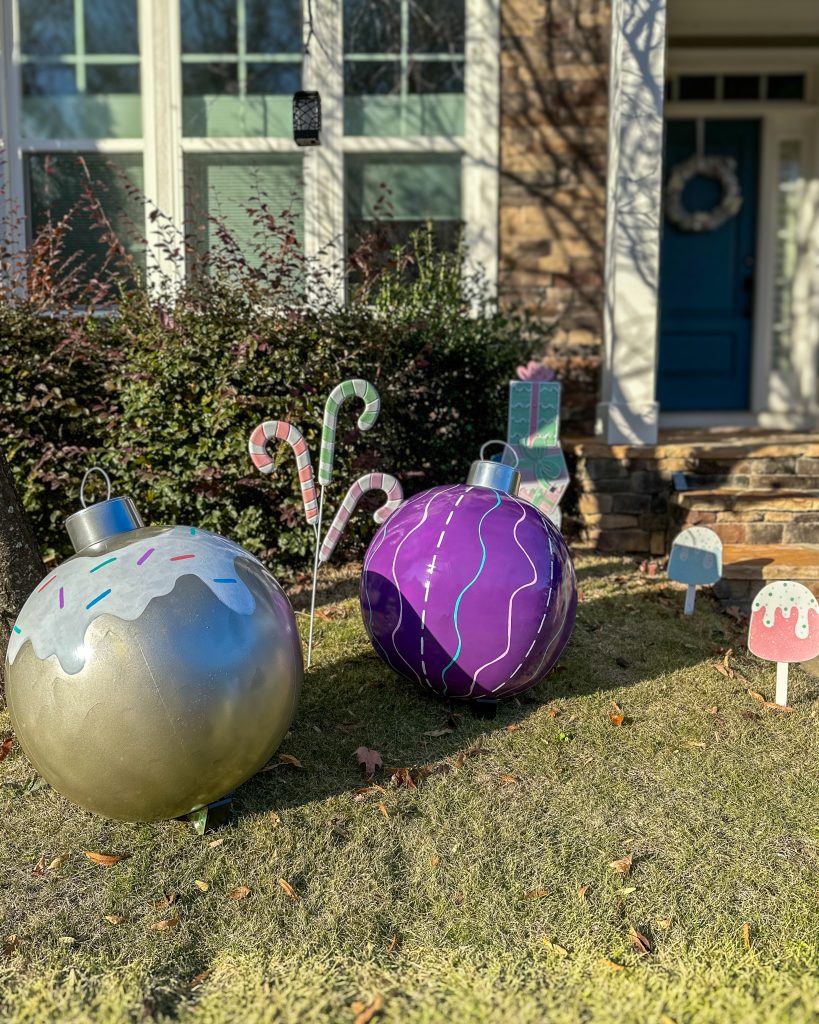
When we decided to deck out The Jeweled Nest in oversized holiday style, we knew we didn’t want the usual holiday color scheme. We wanted a blend of moody and sweet, bold and whimsical. These oversized, candy-inspired ornaments transformed our yard into a festive wonderland with a colorful twist.
If you’re curious about how we made them, follow along for a peek behind the scenes. We also share a few lessons we learned along the way – definitely check those tips out if you’re interested in making your own outdoor ornaments!
The Vision
We were inspired by oversized inflatable ornaments we had seen for sale online. We wanted to take that idea and give them the candy-inspired details and bold colors that would match the rest of our front yard’s holiday decor.
Think: oversized silver and purple ornaments, frosting drips, sprinkles, and fun pastel squiggles. Because who says your holiday decor can’t be a little bit dramatic and a little bit sweet at the same time?
Materials We Used
We had a lot of these materials on hand already – here’s to projects that use up the craft stash!
- Inflatable balls (like beach balls) – we found ours at eFavormart (24″), but any beach ball or exercise ball would probably work
- PVC pipes — to make stands for painting
- Spray bonding primer (affiliate link) — essential for getting paint to stick
- Spray paint — metallic silver, deep purple, and chrome
- Plastic bowls — for those shiny ornament caps
- Drill — to add holes for wire loops in the caps
- Wire — to make the loops for the ornament caps
- Paint pens — we used these chunky paint pens (affiliate link) for the frosting and this Posca pastel marker set (affiliate link) for the details
- Super glue & hot glue — for attaching everything
How We Brought These Ornaments to Life
1. Inflate the Balls
We started by inflating the balls — they were our blank canvases, ready for transformation. We made sure they were fully inflated to get a smooth surface for painting.
2. Create Simple Stands
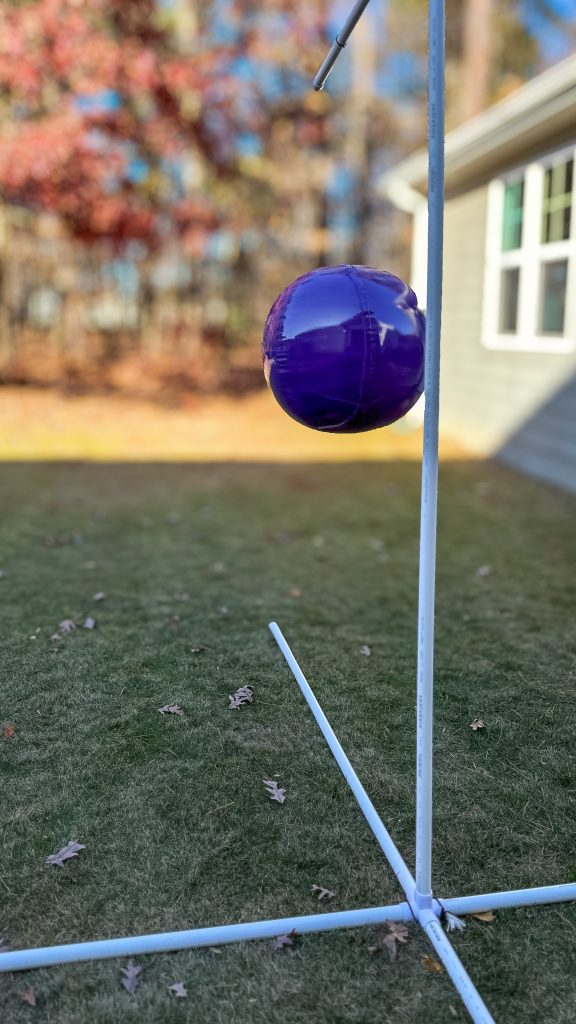
Matt built a quick stand out of PVC pipes to keep the balls suspended off the ground. This made painting way easier (no smudges, no rolling away mid-spray!).
3. Prime for Success
Priming was key to getting the spray paint to stick. We used a spray bonding primer on one ball. We applied spray gesso on the other. Each ball received a light, even coat.
The spray bonding primer was our favorite of the two. It required a little patience since it needed more time to dry. However, it was worth it to get a super-strong base layer.
4. Color Time: Silver & Purple Magic
Next up: color! We chose metallic silver for one ball and a rich, deep purple for the other. The silver gave us that frosty, festive base, while the purple added a moody pop we love.
5. The Ornament Caps
For the tops, we used simple plastic bowls. First, we drilled two small holes in each bowl for the wire. Then, we spray-painted them chrome to give them that classic ornament cap look.
6. Designing the Details
Here’s where the fun really began! We grabbed our trusty Posca paint pens and got creative:
- For the silver ornament, we added a white frosting drip design and topped it off with pastel sprinkles in purple, mint, peach, and blue.
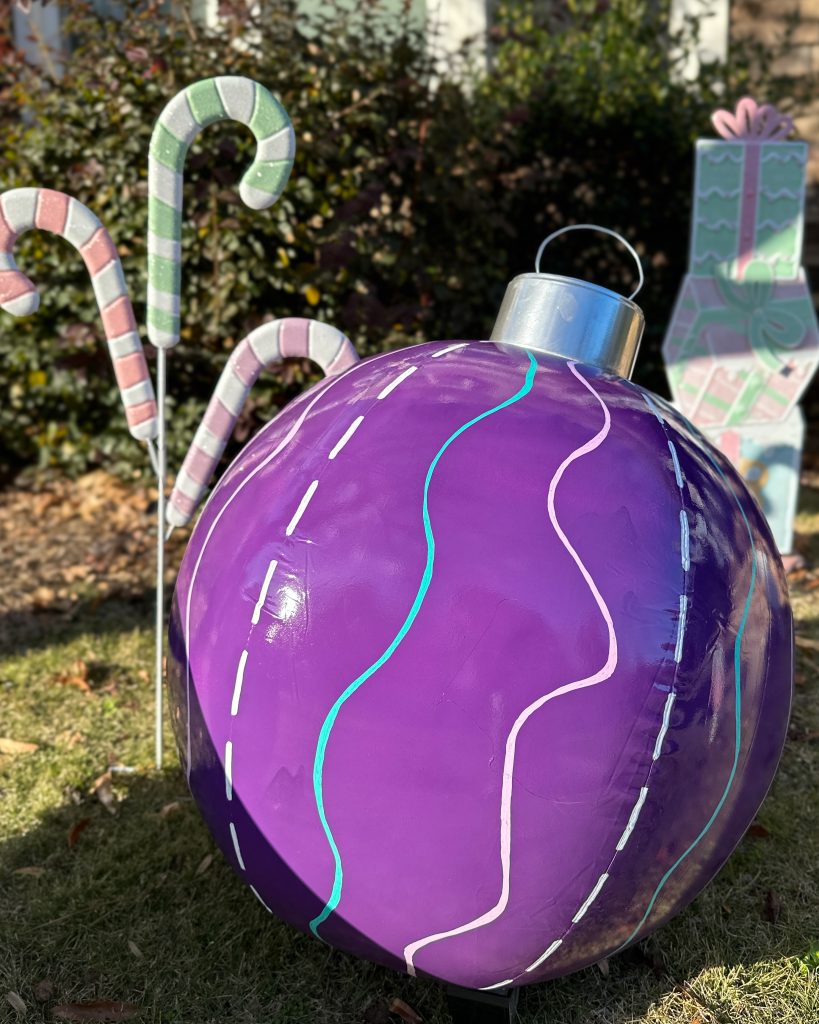
- For the purple ornament, we went for white dashed lines and playful pastel pink and green squiggles.
If you’re doing intricate designs, find examples online or sketch them on paper first. And keep extra paint pens on hand — we went through more white paint than expected!
7. Assembling It All
We looped wire through the holes in each cap, bending the ends to keep it in place. Next, we glued the chrome caps to the bottom of the balls, making sure the inflation valve stayed exposed. (You’ll need this for the next step.)
8. Securing Them in Place
We looped wire around the inflation valve. Then, we staked the wire into the ground to keep the ornaments from blowing away in the wind. Secure and ready to shine!
Tips for Making Your Own Ornaments
Want to try this at home with your own spin? Here are a few things we learned along the way:
- Choose Your Colors with Intention: We love the mix of deep purple, silver, and sweet pastels. However, you can customize this to fit your vibe. Consider moody monochrome, bright and bold, or classic red and green.
- Layer Your Paint: Spray paint works best in thin, even layers. Rushing it can lead to drips, and nobody wants that. We had some drips with our metallic paint, and the small reflective particles in the paint made each drip way more obvious. No stress, though – we drew our frosting drips to help hide them!
- Weatherproof Your Work: If these ornaments will be outside, add a clear sealant to protect them from the elements.
The Big Reveal: A Playful, Bold Holiday Yard
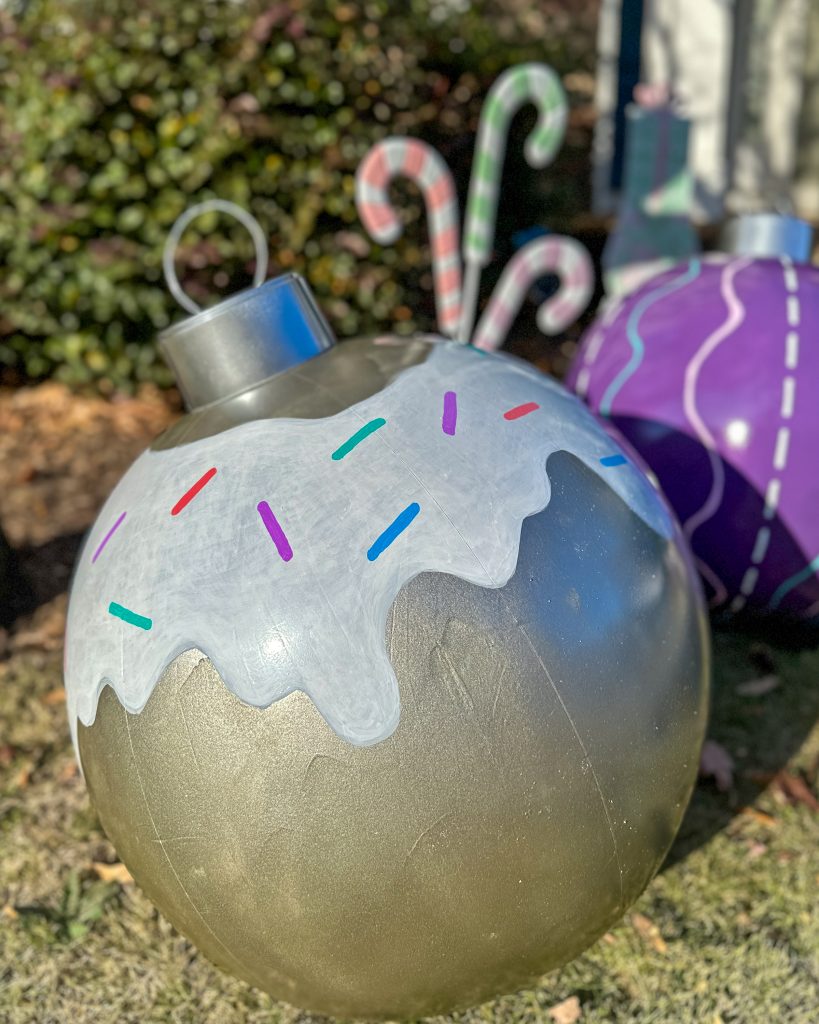
Seeing these oversized, candy-inspired ornaments come together in our yard was so worth the effort. They’re bold, fun, and just the right mix of sweet and moody — a perfect reflection of our love for unexpected holiday decor.
We hope this inspires you to put your own spin on oversized ornaments this season. Whether you go full-on candy fantasy, gothic glam, or a totally different direction, make it yours. Because the best holiday decor is the kind that makes you smile every time you see it.
Leave a Reply